
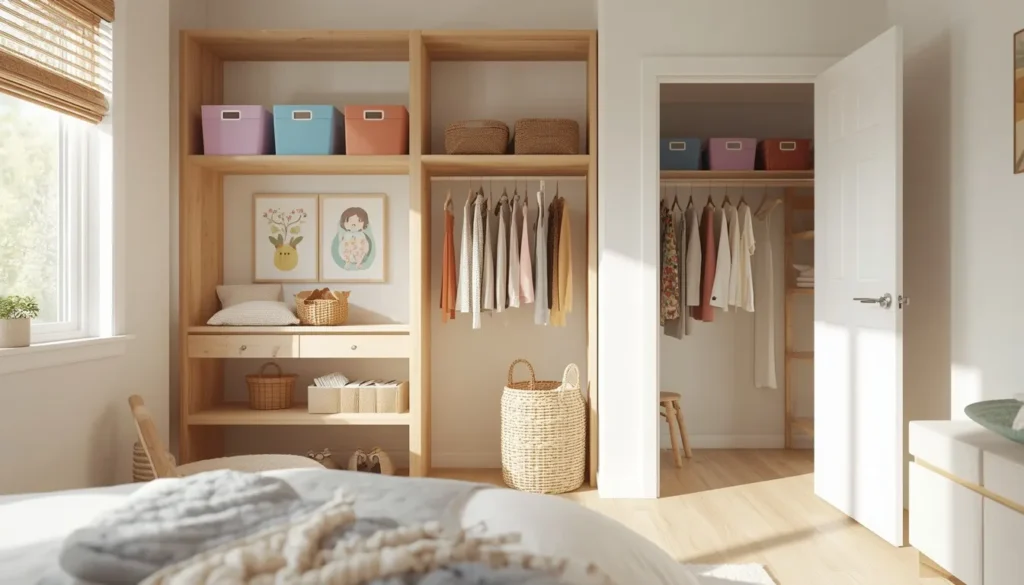
Your kid’s room doesn’t need a magazine-worthy makeover it needs a system your seven-year-old can actually use without you standing over them. I’ve designed enough playrooms and shared bedrooms to know the truth: the prettiest storage cart in the world does nothing if it’s too complicated for small hands to reset every night. What actually works is boring, practical, and a little bit stubborn about function over form. That’s what we’re covering here 15 real hacks, the budget behind them, and a few honest confessions about what I’ve had to redo after it looked perfect on install day.
My Design Notes
I’ll never forget a playroom project I did for a family outside Austin. We’d installed this gorgeous built-in shelving wall — floor to ceiling, custom paint, the whole thing. Six months later I stopped by for a follow-up visit, and every toy was back in a pile on the floor. My beautiful lidded baskets were untouched.
Turns out the lids were the problem. Their five-year-old couldn’t be bothered to open them, so he just tossed everything on the rug instead. I swapped those baskets for open bins set at his eye level, and that was it — problem solved, for about $40 in new bins.
That day taught me something I still tell every client: a $2,000 build-out means nothing if a kid can’t operate it alone. Function has to come before it looks good in photos.
15 Proven Storage Solutions Every Parent Will Love
1. Start With a Decision Rule, Not a Declutter Day
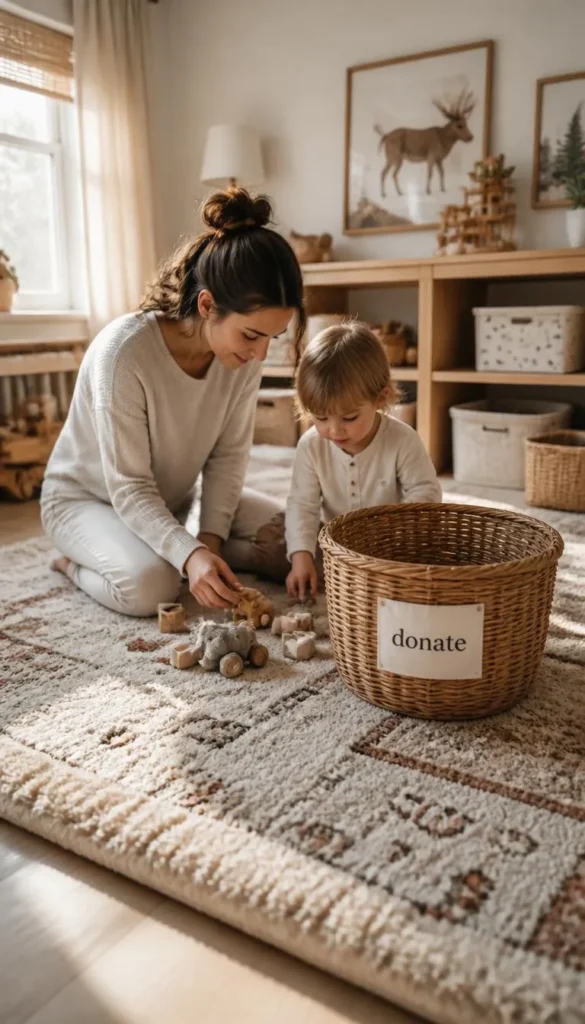
Before you buy a single bin, decide on one rule for what stays and what goes. I like the “one in, one out” approach for toys, meaning if a new toy comes home, an old one leaves. It sounds simple, almost too simple, but it’s the difference between organizing once a year in a panic and never really needing a big declutter day at all.
A lot of parents skip this step and jump straight to buying storage, which honestly just gives clutter a nicer place to live. One thing I’ve noticed with clients is that kids actually respond well to a rule they understand, even a four-year-old can grasp “if it doesn’t fit in the bin, something has to go.” Keep it that basic and you’ll spend a lot less time fighting the same mess every few months.
2. Sort by Zones, Not Categories
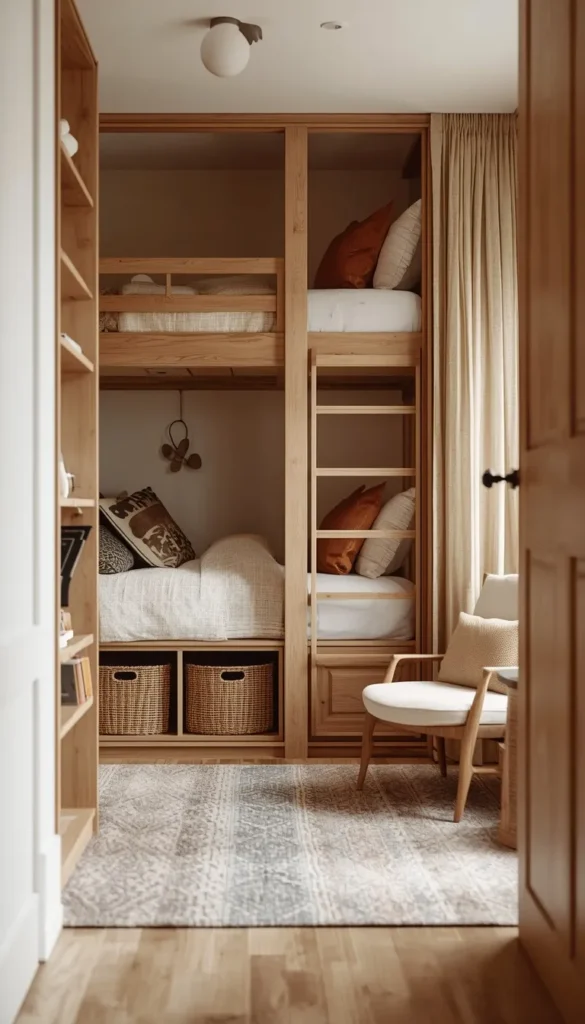
Kids’ rooms work best when they’re divided into zones rather than just categories of stuff. Think sleep zone, play zone, and if there’s room, a small homework or reading corner. This matters even more in shared rooms, where two kids need to feel like they each have their own territory.
- A bunk bed or daybed can anchor the sleep zone
- A low shelf or cart defines the play zone without needing walls
- A single chair with a small lamp is enough to create a reading nook
I’ve done this in tiny New York apartments and in sprawling Texas ranch homes, and the principle holds either way. Zones give a room structure even when square footage is tight.
3. Toy Rotation, the System Nobody Talks About
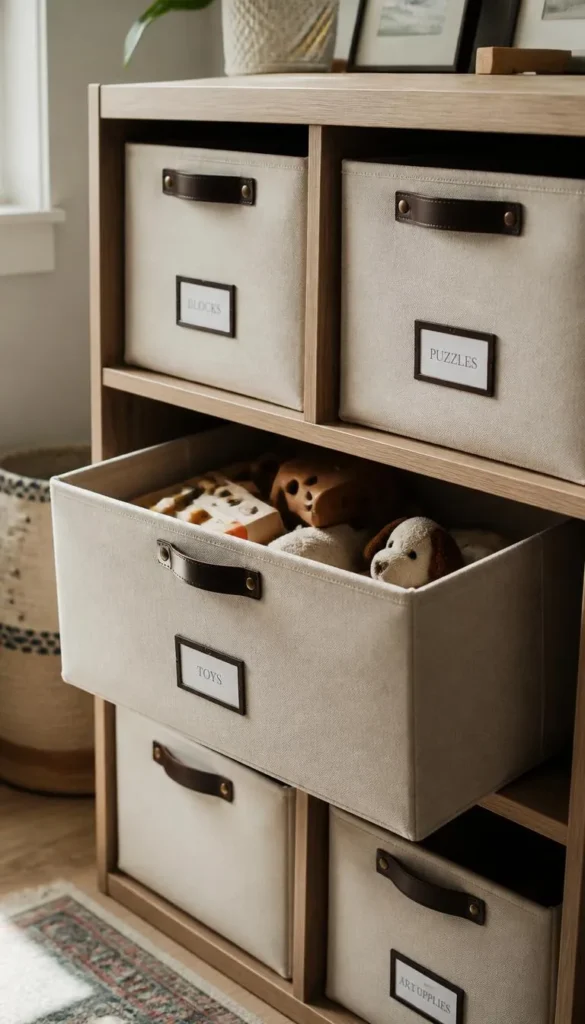
Here’s something almost nobody mentions when they write about kids’ organization, and it’s honestly the biggest lever you can pull. Instead of trying to store every toy your kid owns in the room at once, box up half of them and swap the boxes out every month.
The visual difference is immediate. A room with forty toys out looks chaotic no matter how nice the bins are, but a room with twenty out and twenty in rotation feels calm and curated. Kids also tend to rediscover the stored toys like they’re brand new, which cuts down on the “I’m bored, buy me something” conversations too. Label the rotation bins by month or season so you’re not guessing what’s due to come back out.
4. Low and Open Beats High and Lidded
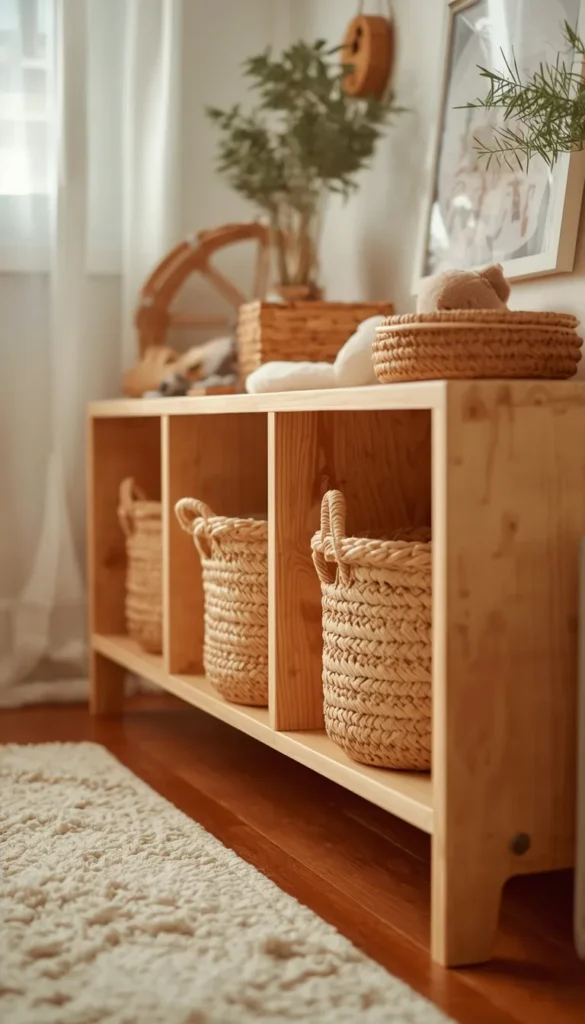
I used to be a big fan of lidded baskets. They photograph beautifully and hide clutter completely, which is exactly why so many design blogs push them. But in real life, with real kids, lids are friction. A five or six-year-old will not lift a lid, unlatch a lever, or dig through a deep bin if there’s an easier option nearby, which usually means the floor.
Open bins on low shelves solve this. Kids can see what’s inside and toss things back in without a second thought. A quick trick I’ve learned is to keep the bins at or slightly below the child’s eye level, not yours, since that’s the entire point. It costs less too, open bins are almost always cheaper than the ones with lids and latches.
Which one of these fifteen hacks feels like the easiest win for your house this week?
5. The Closet Dresser Trick
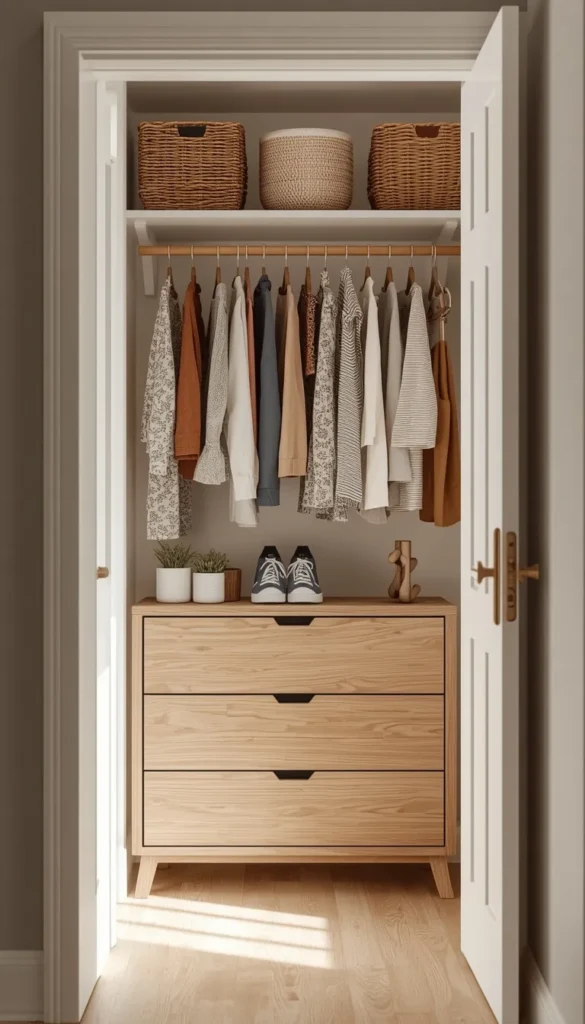
Kids’ clothes are short, which means most closets waste a huge amount of floor space underneath the hanging rod. One of the smartest fixes I’ve used on multiple projects is simply moving the dresser into the closet itself. It sounds almost too obvious, but very few parents think of it until someone points it out.
This works especially well in older homes with small bedrooms, where every square foot in the actual room matters. You free up wall space for a reading chair or a desk, and the closet ends up doing double duty. A basic three-drawer dresser runs anywhere from $60 at a big box store to a few hundred for something sturdier, so this is a hack that scales with almost any budget.
6. File-Folding vs. Stacking, What Actually Works by Age
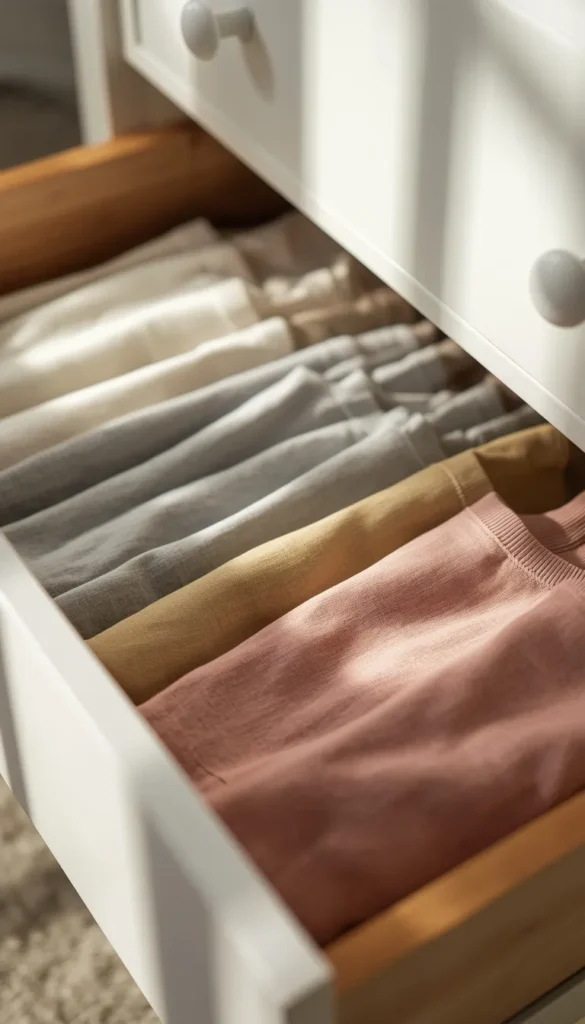
I get asked about this more than almost anything else. File-folding, where clothes stand upright in rows instead of stacking flat, is wonderful for kids old enough to actually see what they own and make their own choices in the morning. It also means one shirt getting pulled doesn’t collapse the whole pile.
But for babies and toddlers, I’ll be honest, file-folding is often more effort than it’s worth. Their clothes are tiny, they get outgrown fast, and a simple stack works just fine. My rule of thumb is to switch to file-folding around age four or five, once a kid starts caring about which shirt they’re wearing.
Top 6 small room makeover ideas
| Idea | Estimated Price | Maintenance |
|---|---|---|
| Toy Rotation System | $20 – $40 (bins only) | Medium |
| Closet Dresser Trick | $60 – $300 | Low |
| Homework or Craft Cart | $30 – $200 | Medium |
| Open Bins on Low Shelves | $25 – $75 | Low |
| Renter-Friendly Hooks & Rods | $15 – $60 | Low |
| Color-Coded Sibling System | $30 – $80 | Medium |
7. Hooks Over Hangers
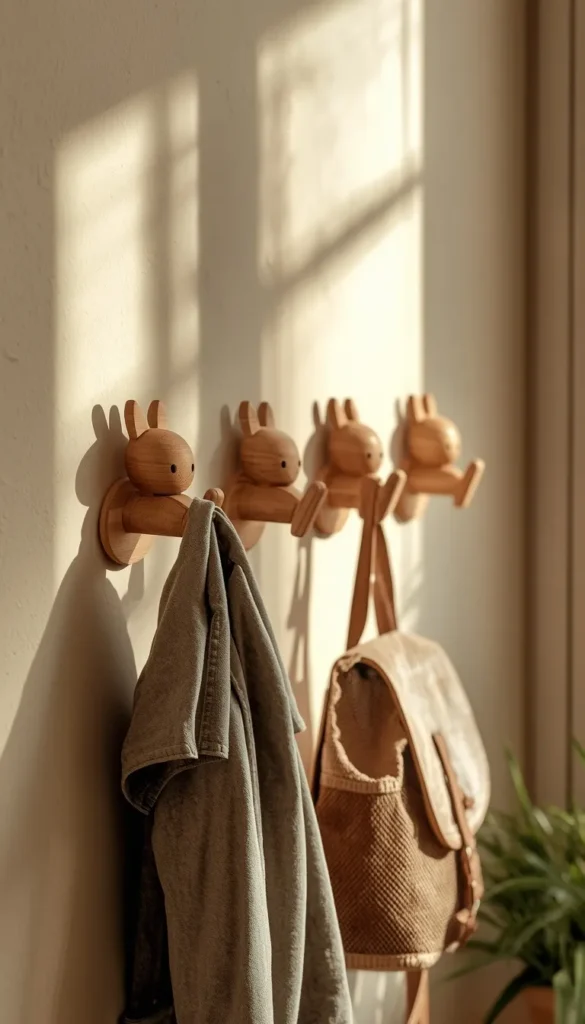
Hooks are one of the cheapest, most effective upgrades you can make to a kids’ room, and I say that as someone who has installed a lot of expensive closet systems. A hanger requires a kid to line up the shoulders just right. A hook just needs them to toss a jacket in the general direction of the wall.
- Mount hooks at the child’s shoulder height, not adult height
- Use two or three per kid so there’s rarely an excuse to skip them
- Choose a fun shape, like an animal or initial, since kids are more likely to use something that feels like theirs
One thing to watch out for is that this trick starts to lose its magic around the early teen years. My older clients with teenagers tell me hooks stop mattering once a kid just doesn’t care where the jacket lands anymore, and that’s a battle worth picking elsewhere.
8. Labels Little Kids Can Actually Read
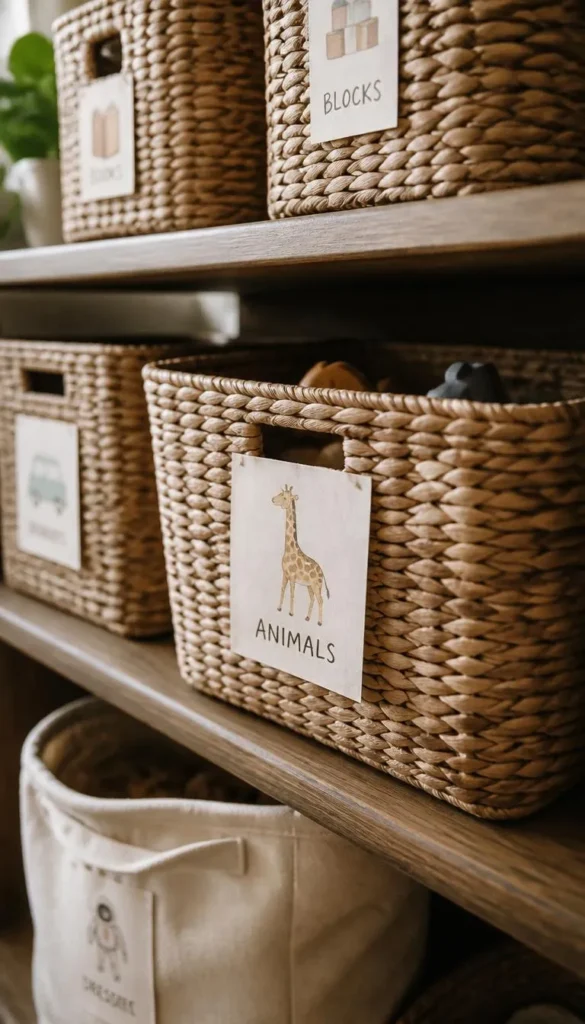
Labels are only useful if the person using the bin can actually understand them. For a child who isn’t reading fluently yet, a text label might as well be blank. Picture labels, or even a small swatch of the actual toy taped to the front, work far better for that age group.
Once kids are reading confidently, usually around six or seven, you can transition to simple word labels and they’ll pick it up fast, especially if the picture label was already there to build the habit. I’ve found that families skip this step because it feels like extra work, but it’s a five-minute project with a printer and some clear packing tape that pays off for years.
Are you dealing more with a toy problem, a clothes problem, or a “everything ends up on the floor” problem right now?
9. The Homework or Craft Cart Hack
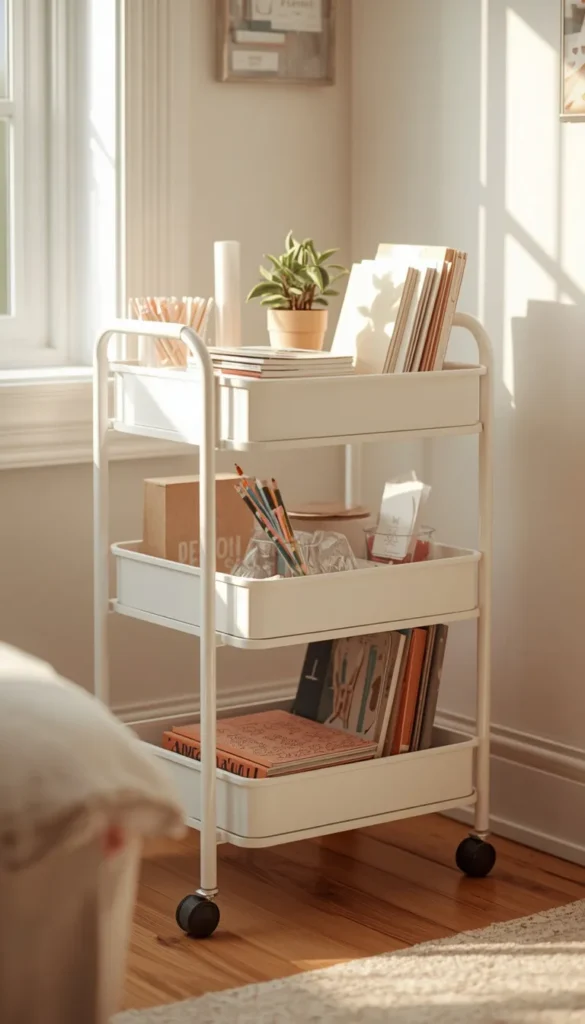
A rolling cart is one of the most flexible tools you can bring into a kids’ space, and I mean that in the literal sense, it rolls, so it can serve one purpose in the morning and a completely different one after school. Stock it with homework supplies during the week and slide it into a closet or corner when it’s not needed.
On a budget, a basic three-tier utility cart from a big box store runs somewhere in the $30 to $50 range, and it does the job just fine. If you want something with more structure, pegboard attachments and custom dividers can push that number closer to $150 or $200. I usually tell clients to start with the cheap version first. If the system actually gets used for a few months, then it’s worth upgrading to something nicer.
10. UnderBed Storage, Best and Worst Uses
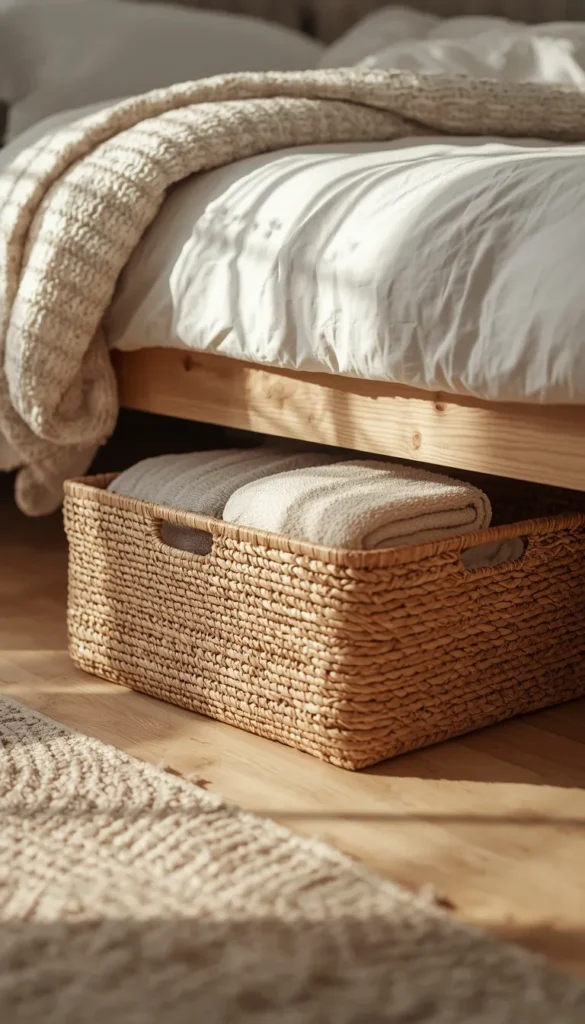
Under-bed storage is one of those ideas that sounds great in theory but goes wrong more often than people expect. The space is hard to reach, especially for a kid, so anything stored there needs to be something you don’t need on a daily basis.
- Good uses: seasonal clothing, spare bedding, out-of-rotation toys
- Bad uses: daily-use items, anything with small loose pieces, anything a kid needs without help
I’ve seen parents shove everyday toys under there thinking it’ll stay tidy, and within a week it’s a chaotic mess of half-pulled-out bins because nobody wants to get down on the floor and dig. Save this space for things that only come out a few times a year.
11. The Cube Organizer Reality Check
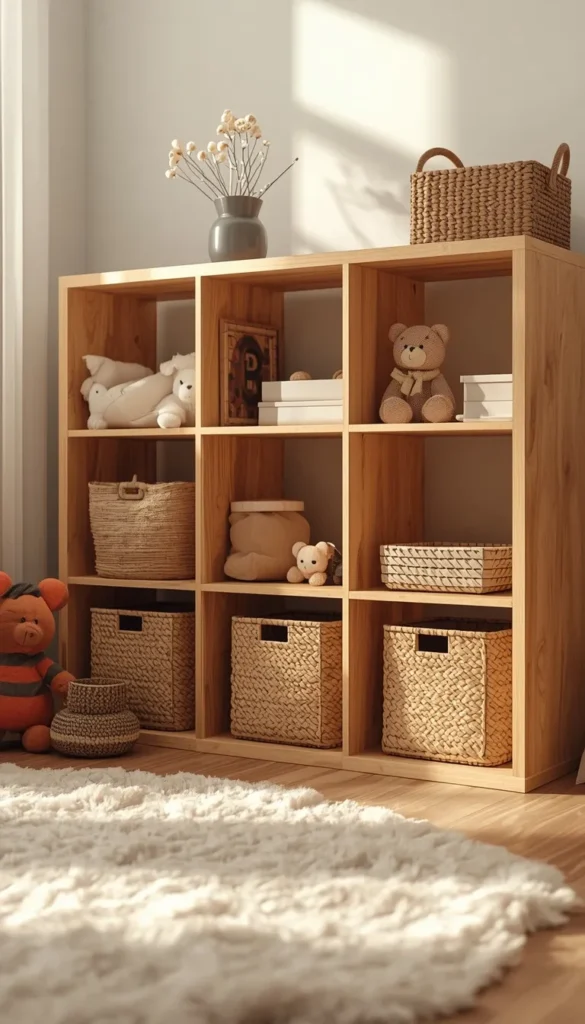
Cube organizers show up in nearly every kids’ room feature you’ll find online, and for good reason, they’re versatile and they look sharp. But here’s the part nobody mentions: the cubes themselves take up a real footprint, often more than a simple set of shelves would, so in a smaller room they can actually work against you.
They also require a bit of maintenance discipline. Each cube needs its own designated category, or the whole thing turns into a jumbled catch-all within a month. I like these for larger playrooms with square footage to spare, but for a tight bedroom, I’d lean toward wall-mounted shelving instead, since it gives you storage without eating into the floor plan.
12. RenterFriendly Wins
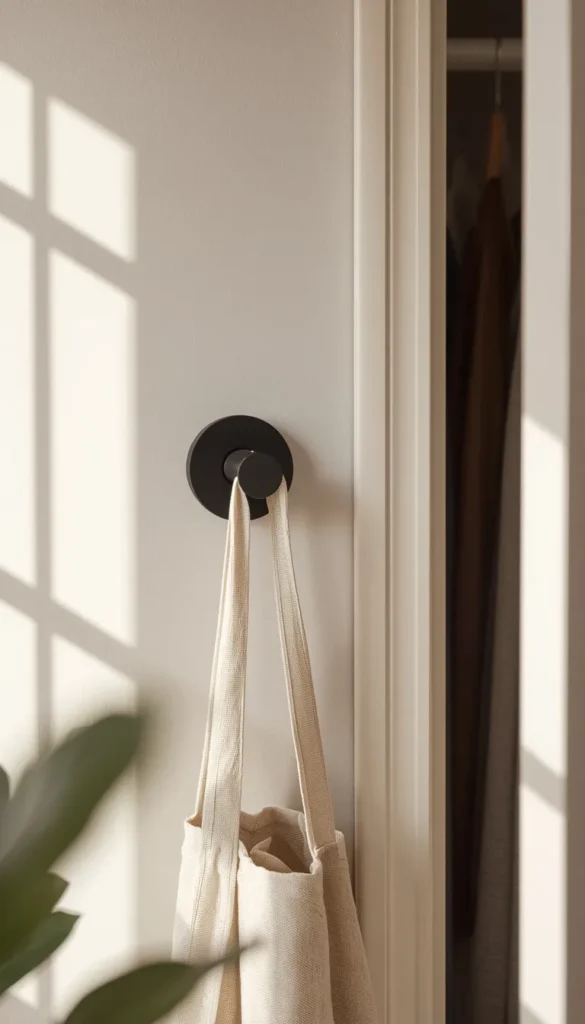
Not everyone can drill into walls, and that shouldn’t mean giving up on a good system. Command hooks hold up surprisingly well for lightweight items like jackets and backpacks, and tension rods can add a second level of closet hanging space without a single screw.
Removable wall organizers with adhesive backing have also come a long way. I’ve used them in a few rental apartments for clients in Chicago and Brooklyn, and as long as the wall surface is smooth, they hold up for years, not just weeks. The one thing I’d skip is anything that claims to hold heavy items with adhesive alone. Weight limits on these products are usually optimistic at best.
If you had to pick just one zone to fix first, would it be the closet, the play area, or the homework corner?
13. Sibling Sharing Without the Meltdowns
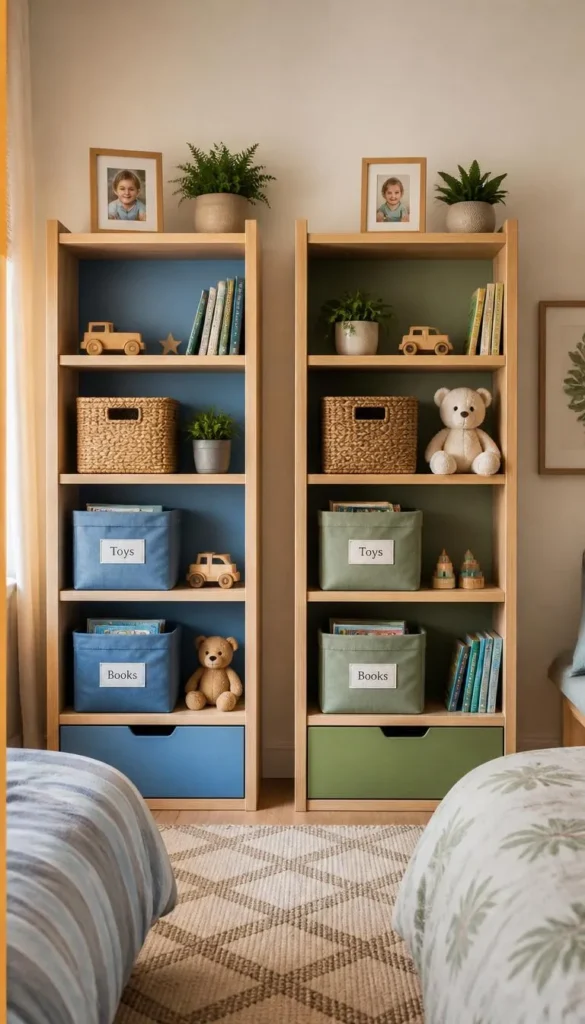
Two kids sharing one room almost always means fighting over shelf space at some point, and pretending that won’t happen is setting yourself up for daily arguments. The fix I use most often is color coding, giving each kid their own color for bins, hooks, and even labels, so there’s a clear visual line of what belongs to whom.
This works even in a room with just one shared dresser or one shared set of shelves. A blue label side and a green label side removes the ambiguity before it turns into a fight. I’ve set this up in a shared boys’ room in a small townhouse and again in a larger house years later, and the color system traveled with the kids both times, which tells me it’s less about the space and more about giving each child a sense of ownership.
14. The Snack or SelfServe Drawer for Independence
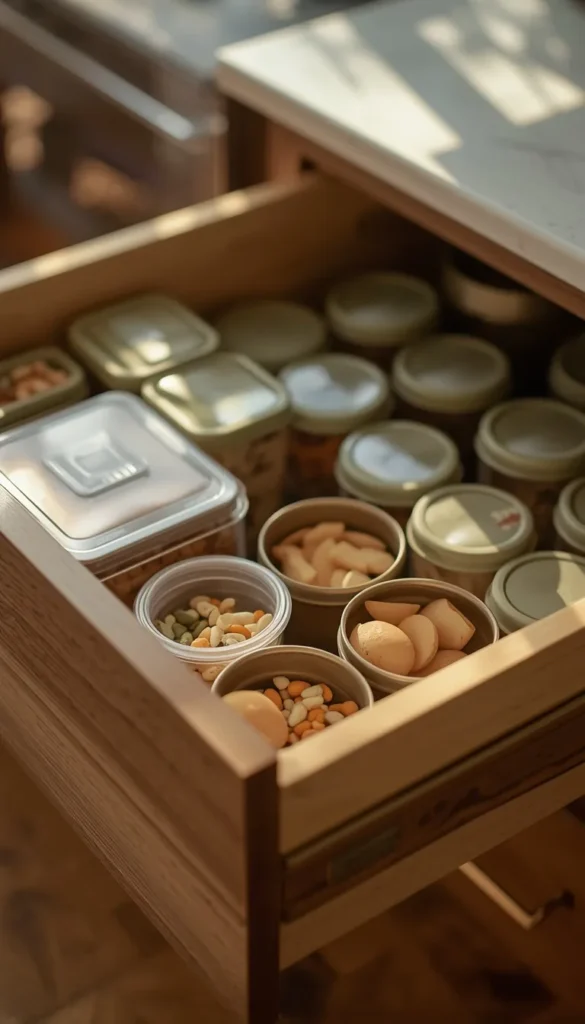
This one crosses over from the kitchen, but it belongs on this list because it solves a real daily annoyance, kids constantly asking for snacks or water they could get themselves if the setup allowed it. A low drawer or cupboard stocked with kid-friendly snacks and their own cups changes that dynamic almost overnight.
Keep it simple: a couple of snack options, a stack of their cups, and maybe a small water pitcher on a low fridge shelf if you’re setting this up in the kitchen instead. Kids as young as three can manage this with a little practice, and it cuts down on those twenty-times-a-day requests that wear every parent down by 3 p.m.
15. What NOT to BuyThree PinterestFamous Products
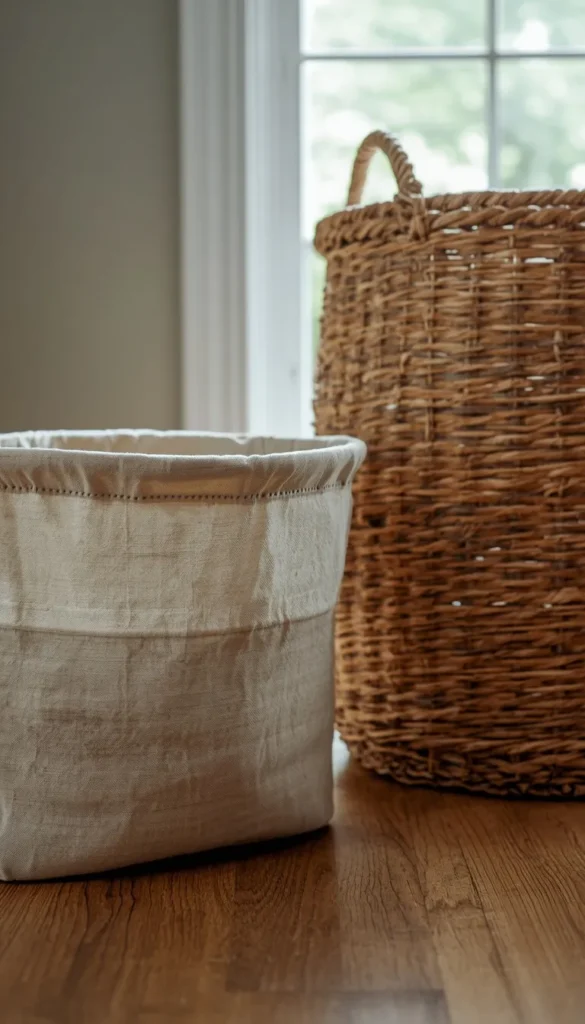
I’ll be honest about a few things that look incredible in photos and fall short in daily use. Fabric bins with cute prints tend to lose their shape within a few months once they’re stuffed and unstuffed daily, leaving them slouched and sad-looking no matter how nice they started out.
Over-the-door shoe organizers marketed for toy storage are another one. The pockets are usually too shallow for anything but small items, and the whole thing sags under any real weight. And finally, oversized wicker baskets, while beautiful, are surprisingly heavy even when empty, which makes them a genuine hazard if a toddler tips one over trying to dig through it. Function first, always, even when the photo looks perfect.
Which Path Is Yours?
By Budget:
- Starter/Budget: Open bins, hooks, picture labels, snack drawer setup
- Mid-Range: Rolling cart, closet dresser move, tension rods for renters
- Investment: Full cube organizer wall, custom color-coded shelving, built-in homework station
By Lifestyle:
- Busy Families: Toy rotation system, snack drawer, color-coded sibling zones
- Small Spaces / Renters: Closet dresser trick, command hooks, tension rods, low open bins
- Design-Focused Parents: Cube organizers, styled craft carts, curated open shelving
Frequently Asked Questions
How do I organize my kids room on a budget?
Start with what you already own before buying anything new. Open bins, command hooks, and a simple labeling system usually cost under $75 total and solve most of the daily clutter.
What is the best age to start teaching kids to organize their own room?
Around age three or four, kids can start putting toys back with picture-labeled bins. By six or seven, they’re ready for text labels and file-folded clothes.
How often should I declutter my kid’s room?
Twice a year works well for most families, ideally before the holidays and right after school lets out. Growth spurts and changing interests move faster than most people expect.
What’s the best storage solution for a small kids bedroom?
Vertical storage and closet reorganization beat adding more furniture. Moving a dresser into the closet alone can free up an entire wall.
How do I stop my kids’ room from getting messy again right after cleaning?
Lower the bar for entry. Swap lidded bins for open ones at your child’s eye level, since most re-clutter happens when the system is just slightly too hard to use.
Conclusion
Here’s the thing I want you to walk away with: you don’t need to fix all fifteen of these this weekend. Pick one, maybe the toy rotation or swapping out a single lidded bin, and just do that. Small shifts compound faster than people expect, and a calmer room changes the whole rhythm of your evenings, not just the way it looks. Clear one shelf today and see how it feels tomorrow morning.
