
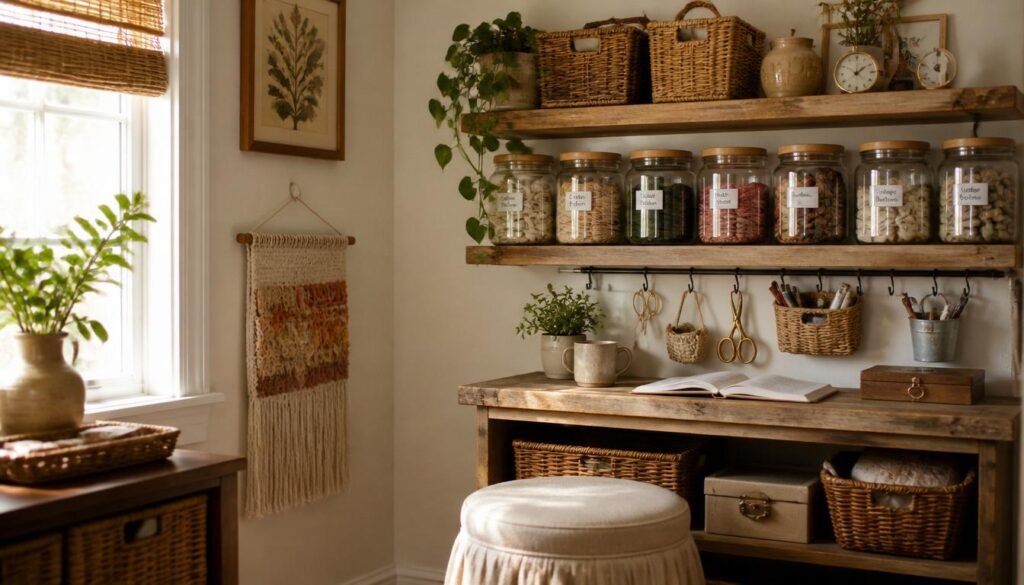
Your craft supplies shouldn’t run your life, but if you’ve ever spent twenty minutes hunting for a missing spool of ribbon, it can feel that way. I’ve walked into more cramped craft corners than I can count, and the problem is almost never the size of the room. It’s the storage system, or the lack of one. The good news is you don’t need a spare bedroom to get organized. You just need the right ideas, sized for the space you actually have
My Design Notes
When I was working on a client’s craft space in a converted basement outside Chicago, the biggest complaint wasn’t the lack of square footage. It was that nothing had a home. Ribbon lived in three different drawers, paint sat in a cardboard box from move-in day, and she’d bought duplicate scissors twice because she could never find the original pair.
We started small. I brought in a few acrylic bins, labeled everything by category, and used a slim rolling cart to catch her most used tools right next to her work table. Within a week, she texted me a photo of her finished project, something she said she hadn’t had time to make in months.
That’s the part I love about this work. It’s never really about the bins. It’s about giving people their creative time back.
1. Use a Rolling Cart to Create Storage That Moves With You
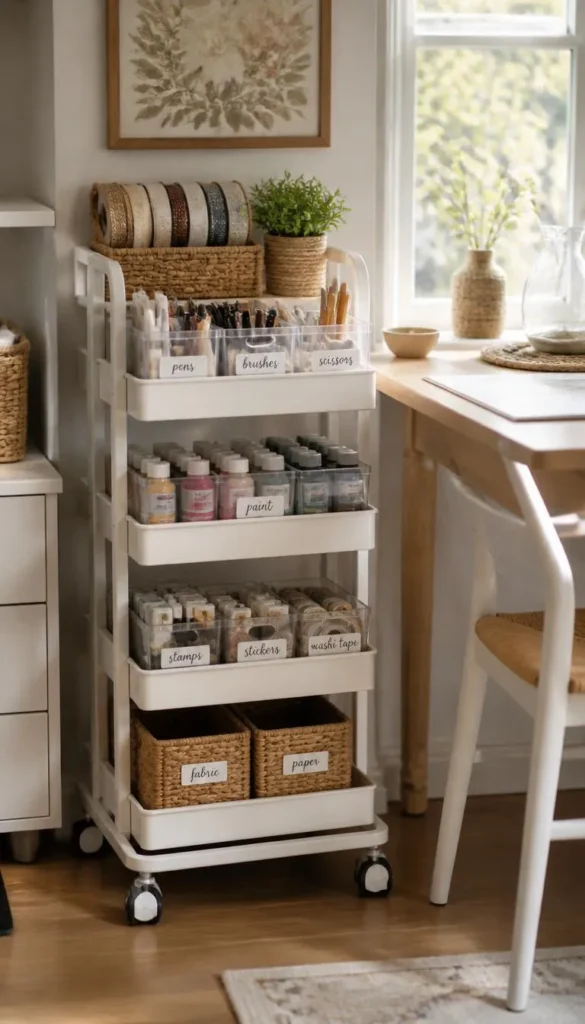
If your craft space doubles as a guest room, an office, or a corner of the living room, a rolling cart might be the single best investment you make. I’ve set these up for clients in tiny apartments where a dedicated craft room simply wasn’t in the cards, and the cart always becomes the MVP. Fill it with your most used supplies, tuck it under a console table when it’s not in use, and roll it wherever the project takes you. It’s storage that adapts to your life instead of the other way around.
2. Choose Stackable Bins Over Baskets to Maximize Vertical Space
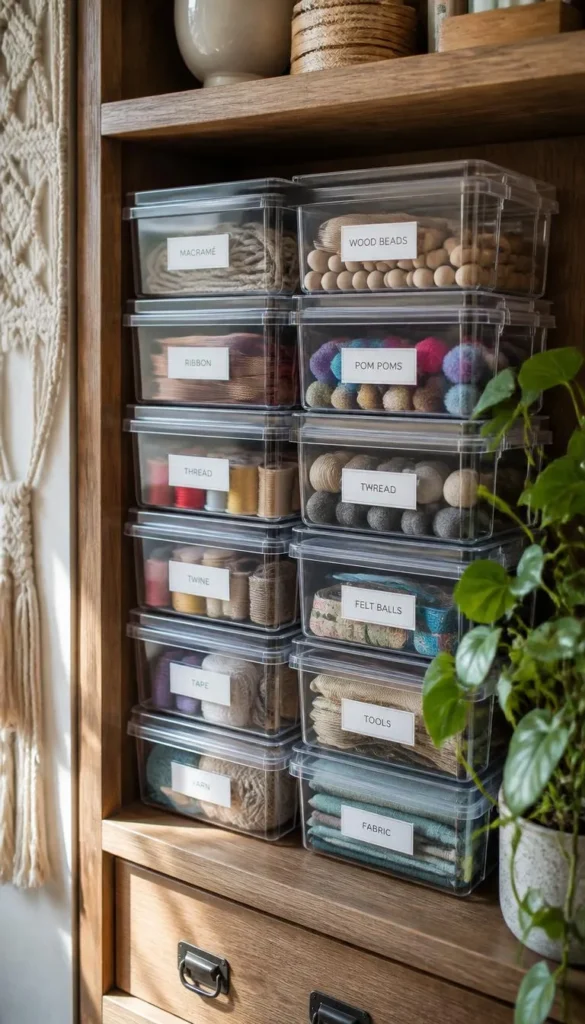
Baskets look charming on a shelf, but they eat up floor and shelf space fast because you can’t stack them without crushing whatever’s inside. Stackable bins solve that problem instantly. Go clear if you want to see contents at a glance, or opaque if you’d rather keep things looking tidy from across the room.
- Clear bins save time hunting for supplies
- Opaque bins create a calmer, more polished look
- Either way, labels are non negotiable
3. Turn a Closet Into a Full Craft Storage Station
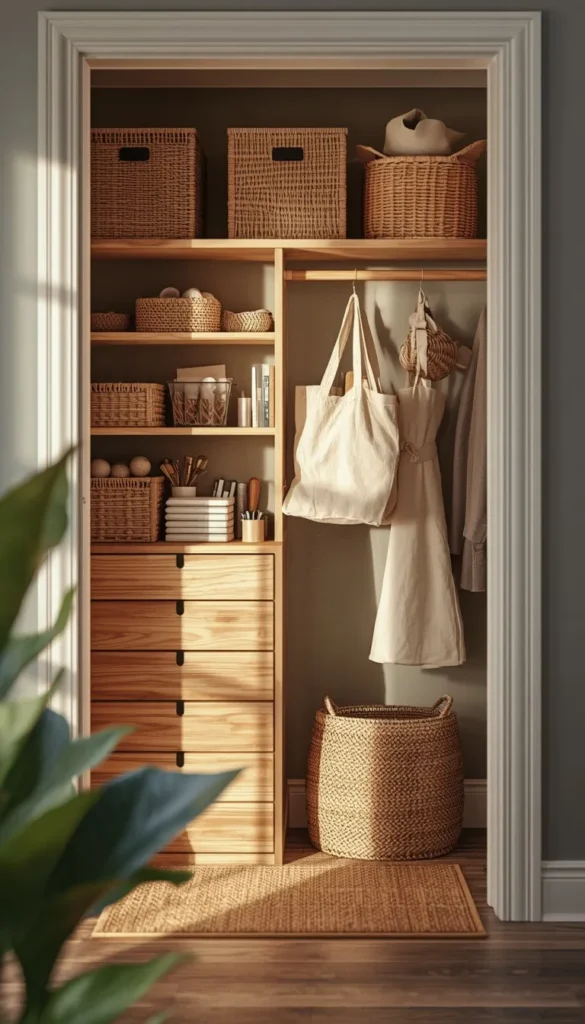
I’ve converted more closets into craft stations than I can count, and it’s honestly one of my favorite transformations to do because the payoff is so immediate. Pull the door off entirely, or leave it on if you like the option to close everything away when company’s over. Add a few shelves, some stackable drawers, and a rod for hanging tote bags or aprons, and you’ve got a fully functional station that didn’t require adding a single square foot to your home. One thing to watch out for is overloading the top shelf with heavy bins. Trust me, gravity always wins eventually, and you don’t want a bin of glass jars coming down on your head while you’re reaching for ribbon.
4. Mount a Pegboard to Free Up Your Table and Floor Space
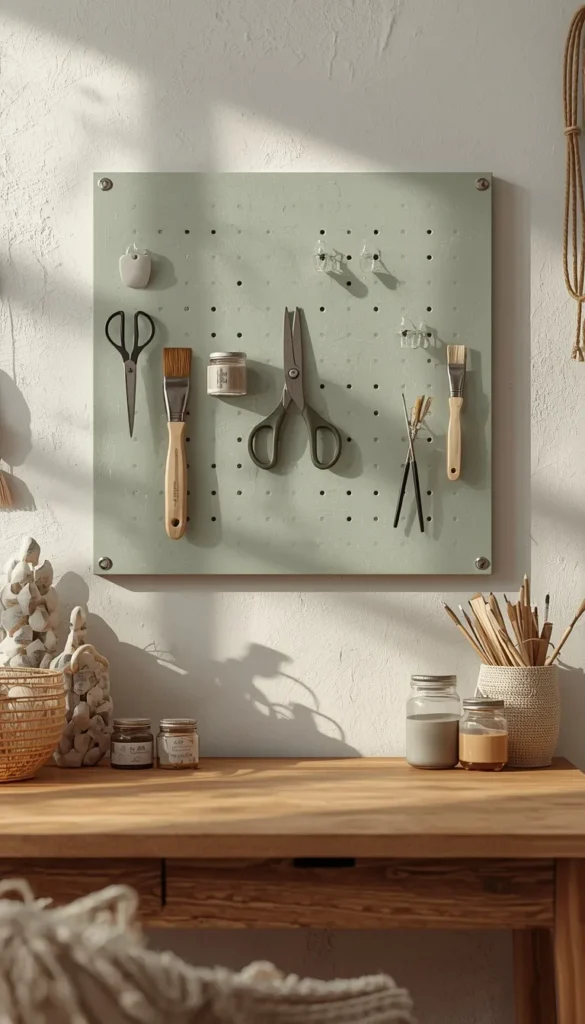
A pegboard is one of the cheapest, most flexible storage upgrades you can make. Paint it a color that complements your space, add hooks and small shelves, and hang your most reached for tools right where you can see them. I like using pegboards for scissors, paintbrushes, and small jars of paint or ink. It keeps your table clear for actual crafting instead of acting as a dumping ground for everything you own.
5. Use Clear Acrylic Drawers for Small, Easy to Lose Items
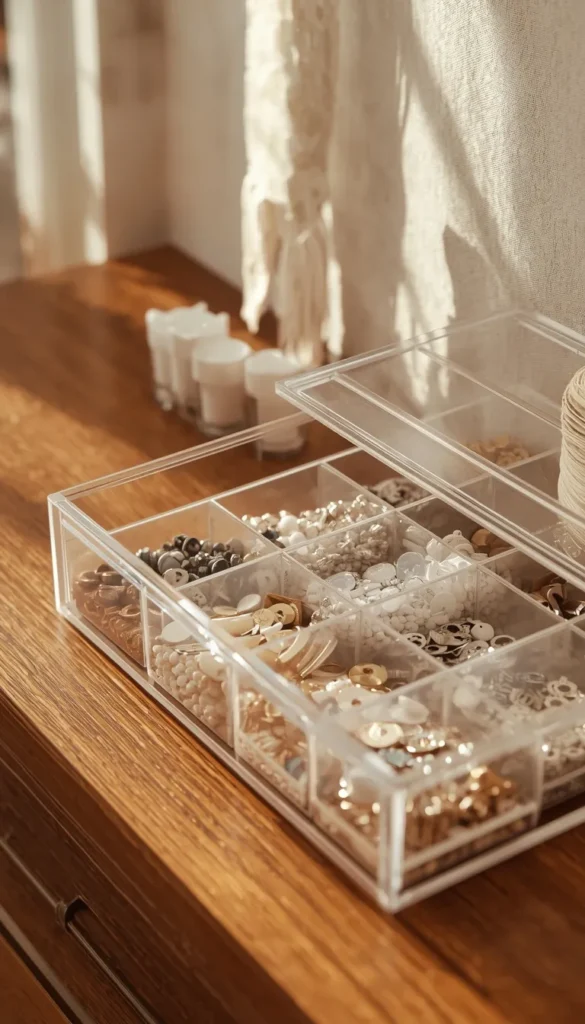
Small items are the worst offenders when it comes to craft room chaos. Beads, brads, sequins, tiny embellishments, they all seem to vanish the second you turn your back. Clear acrylic drawer units solve this beautifully. You can see exactly what’s inside each one without opening a single drawer, which saves more time than you’d think over the course of a year.
6. Repurpose a Bar Cart or Kitchen Cart for Extra Storage
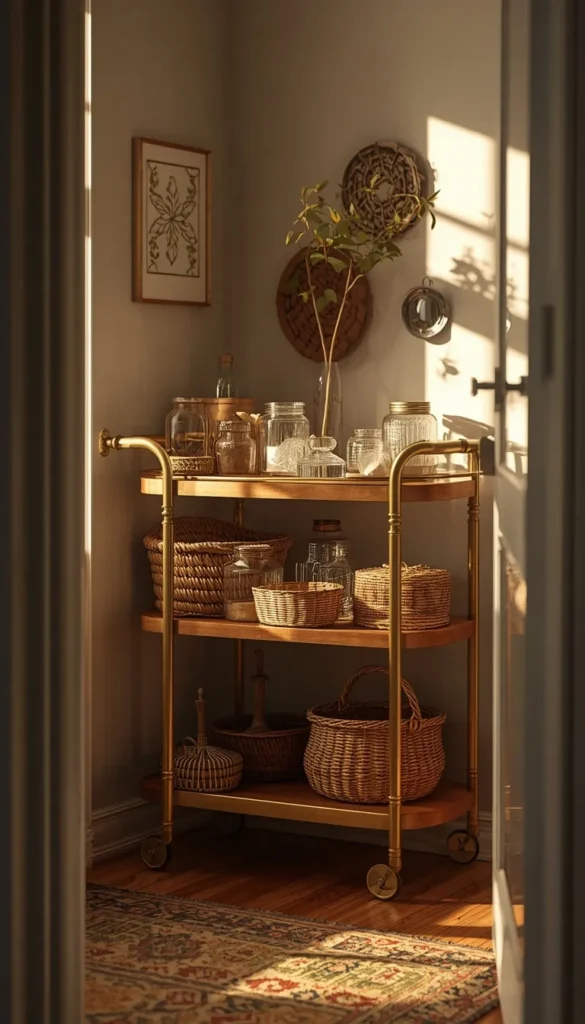
Not every storage solution needs to come from the craft aisle. A bar cart or a small kitchen cart works just as well, and honestly, they often look better doing it. I used one in a client’s sunroom turned craft nook in Austin, and it doubled as both her supply station and a spot to display finished projects. The wheels make it easy to tuck away, and most carts have two or three tiers, which is plenty for daily essentials.
Top 6 craft room storag ideas
| Idea | Estimated Price | Maintenance |
|---|---|---|
| Rolling Cart Storage | $40 to $120 | Low |
| Stackable Clear Bins | $30 to $80 | Low |
| Pegboard Wall Storage | $25 to $70 | Medium |
| Over the Door Organizer | $15 to $40 | Low |
| Fold Down Wall Desk | $80 to $250 | Medium |
| Multi Functional Storage Ottoman | $60 to $200 | Low |
7. Add an Over the Door Organizer for Instant Vertical Storage
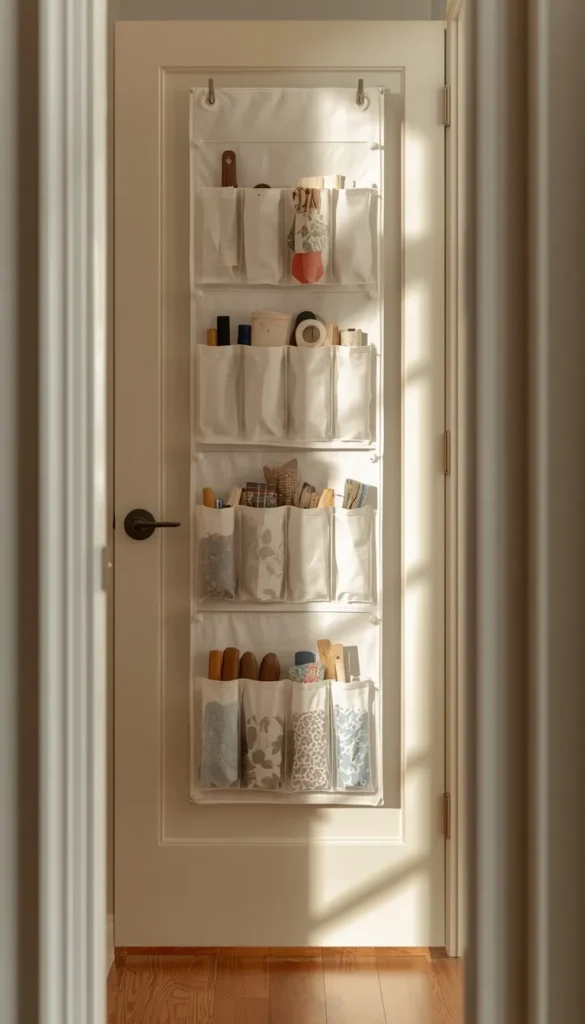
This is one of my go to recommendations for anyone working with a truly tiny space, because it uses square footage most people forget exists. An over the door organizer with clear pockets is perfect for ribbon, washi tape, small tools, or anything you’d otherwise be digging through a drawer to find.
- Works on closet doors, bedroom doors, or even a pantry door
- No drilling required, which makes it rental friendly
- Clear pockets keep everything visible at a glance
8. Store Vinyl and Paper Rolls Upright to Save Desk Space
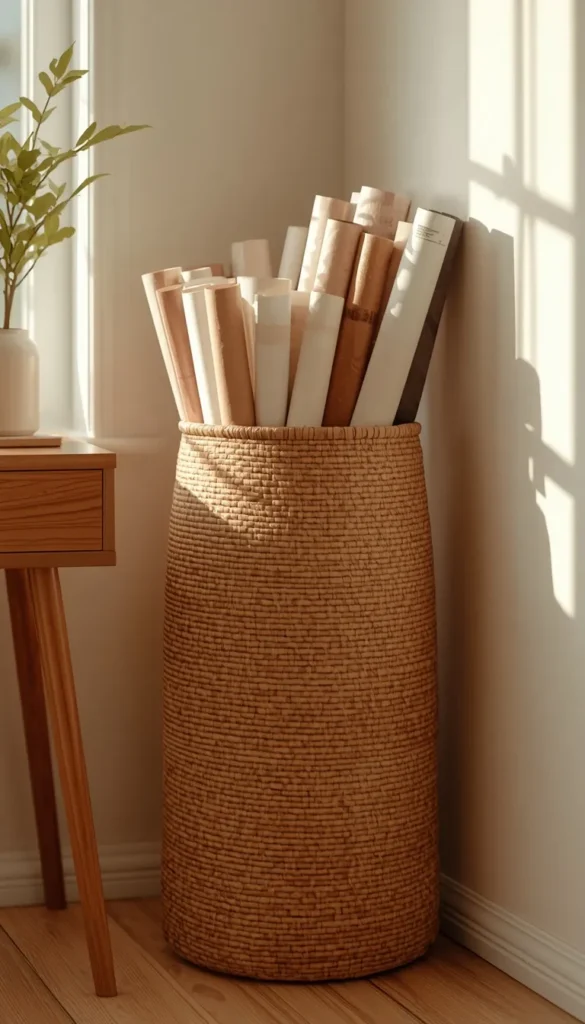
If you’re into Cricut projects, scrapbooking, or gift wrapping, you know how quickly rolls of vinyl and paper can take over a room. Laying them flat wastes a shocking amount of space. Store them upright instead, in a tall bin, a repurposed umbrella stand, or a dedicated roll organizer. A quick trick I’ve learned is grouping rolls by color family rather than by type, since most people reach for a shade before they think about the material.
9. Use a Wall Mounted Shelf Above Your Desk for Daily Supplies
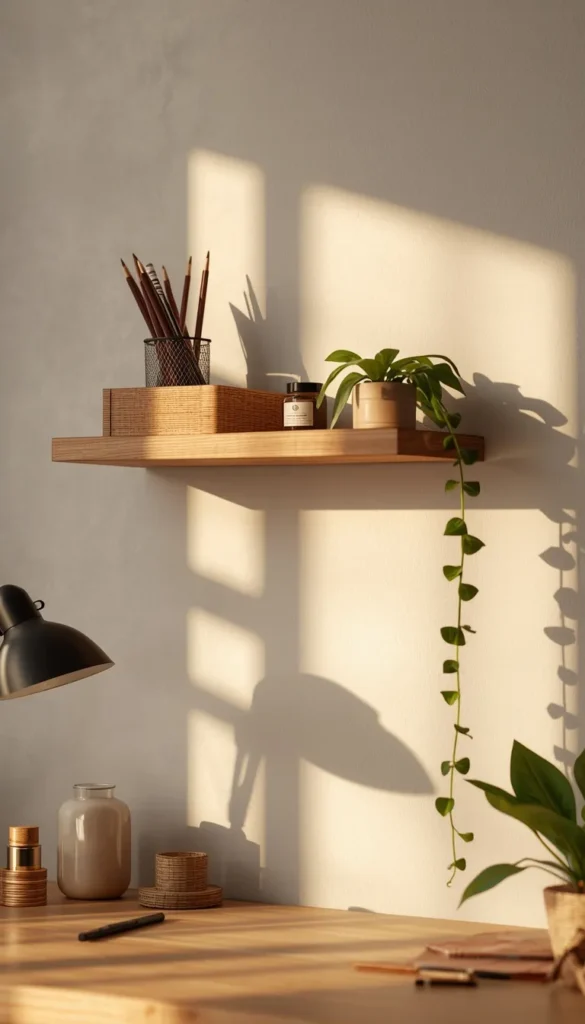
Desk space is precious, especially in a small craft area, so anything you can lift off the surface and onto the wall is a win. A floating shelf above your desk gives you a spot for daily essentials like your most used paints, a small caddy of pens, or a favorite plant to keep the space feeling alive. Keep it to one or two shelves so it doesn’t start to feel cluttered itself.
10. Choose Multi Functional Furniture That Doubles as Storage
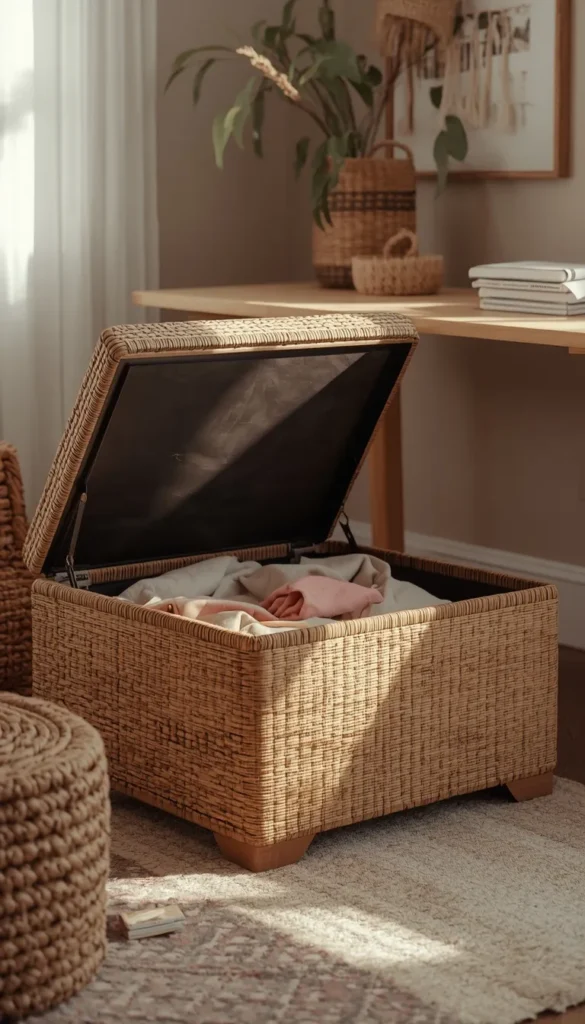
This is a piece of advice I give almost every client with a small space, not just for craft rooms. An ottoman with a lift top lid, a bench with drawers underneath, even a coffee table with hidden compartments, these pieces work twice as hard as anything single purpose ever could. In one Nashville project, we used a storage ottoman as both extra seating for a crafting friend and a home for fabric scraps that would have otherwise taken over a closet.
11. Label Everything So You Never Waste Time Searching
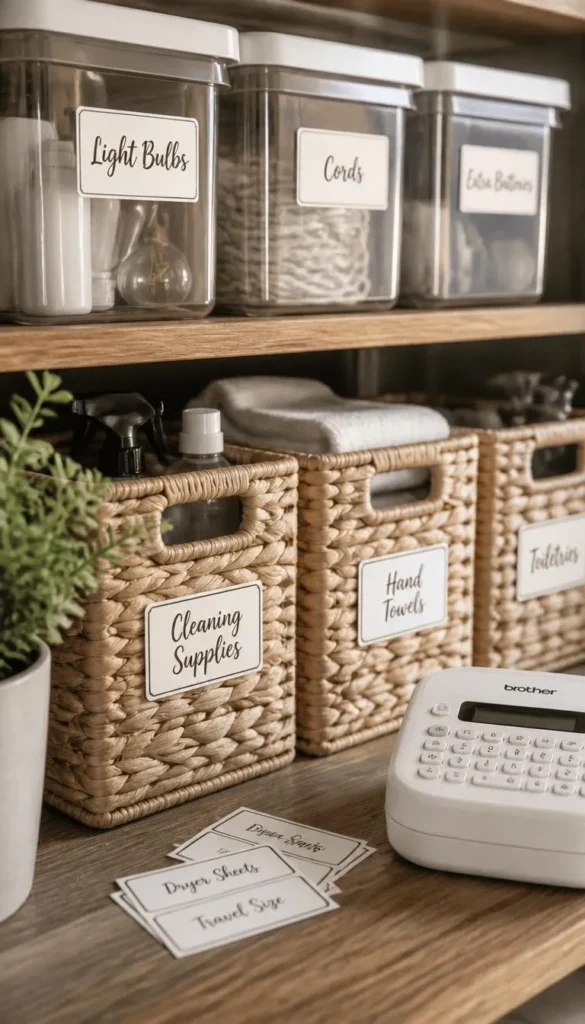
I know labeling feels like a small, almost obvious step, but it’s the one people skip most often, and it’s the one that saves the most time in the long run. Without labels, even the most beautifully organized bins turn into a guessing game within a few months.
- A label maker gives a clean, consistent look
- Printable labels are a budget friendly alternative
- Even simple handwritten tags beat no labels at all
12. Use Mason Jars or Small Containers for Loose Supplies
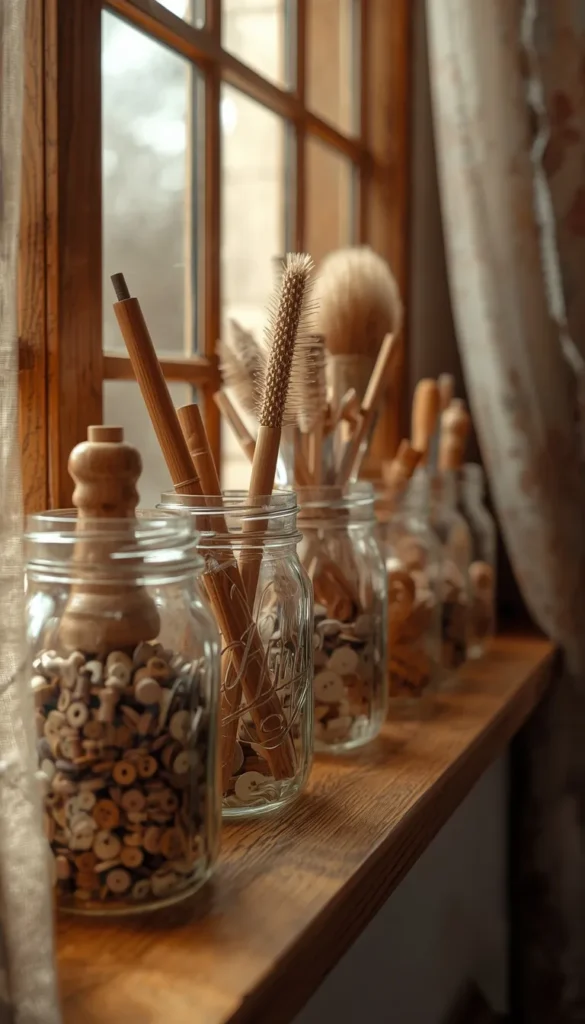
There’s something about mason jars that just makes a craft space feel warmer and more personal, and they’re genuinely useful too. Buttons, brushes, pencils, small spools, all of it looks intentional lined up in glass rather than shoved in a drawer. One thing worth knowing is that mason jars aren’t the best choice if you’re working with anything sticky or prone to melting in direct sunlight, so keep them out of that spot by the window where the afternoon sun really blazes in.
13. Try a Fold Down Desk for Ultra Tight Spaces
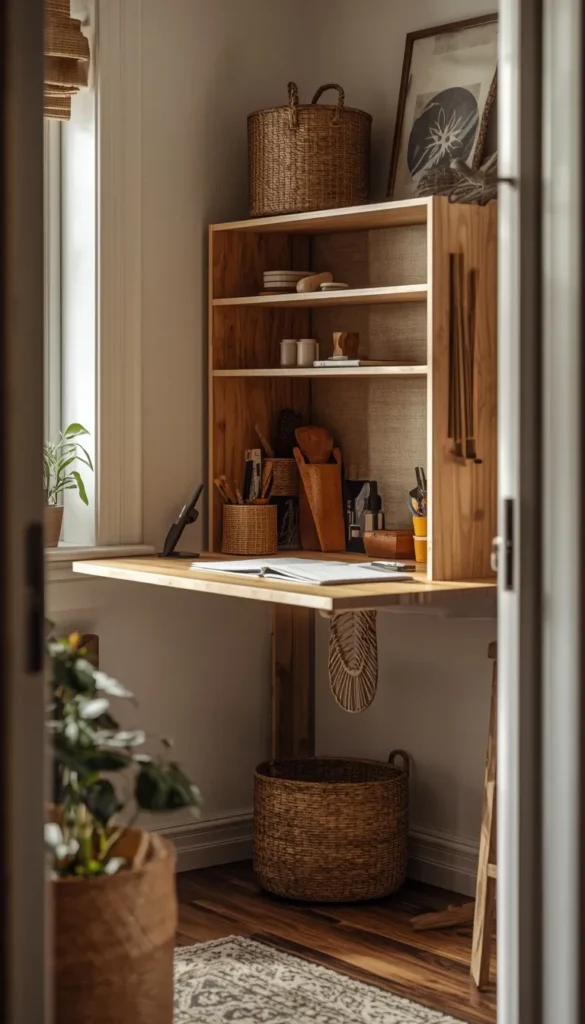
When floor space is truly at a premium, a fold down desk mounted to the wall might be your best option. It gives you a full work surface when you need it and disappears flat against the wall the moment you’re done. I’ve installed these in studio apartments where the craft space had to share a wall with the entryway, and it worked far better than anyone expected going in.
14. Sort Supplies by Project Type Instead of by Item
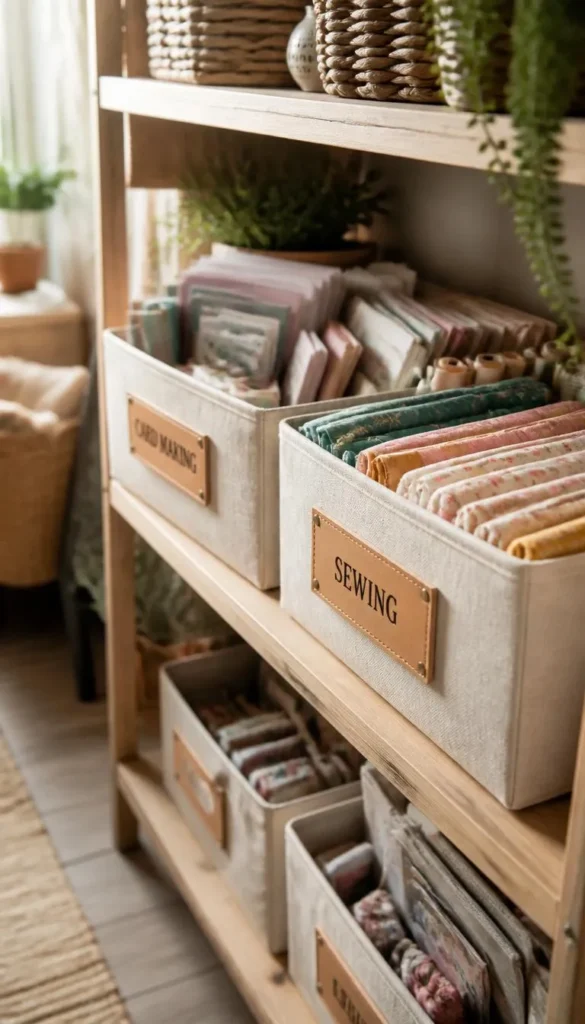
Most people organize by category out of habit, all the paint together, all the fabric together, and so on. But if you tend to work on the same kinds of projects repeatedly, sorting by project type can actually save you more time. Keep a bin dedicated entirely to card making, another for kids’ crafts, another for sewing projects, each one stocked with everything you’d need to sit down and start immediately. We used this method for a scrapbooking client in Denver, and she said it cut her setup time in half.
15. Keep a Small Rotating Caddy for Your Most Used Tools
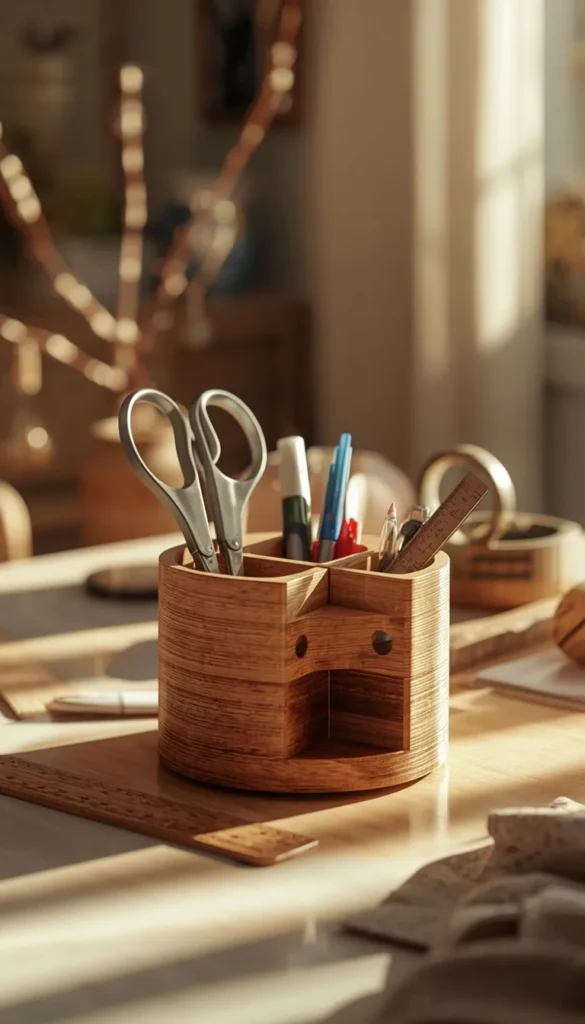
The last idea, and honestly one of the simplest, is keeping a compact rotating caddy right on your desk for the tools you reach for constantly. Scissors, tape, a few favorite pens, maybe a small ruler. Having them within arm’s reach means you’re not getting up mid project to hunt down a pair of scissors you swear you just had. It’s a small habit, but it makes the whole process of creating feel a little more effortless.
Noted for future use this “Dynamic Decision Guide” section will get a varied heading each time, punchy bullets only, split by Budget and Lifestyle with contextual labels, and kept scannable in under 30 seconds.
Since our craft room storage article is otherwise complete, here’s that section applied to this piece:
Your Quick Storage Decision Map
By Budget
- Starter Budget: mason jars, over the door organizer, pegboard
- Mid Range: stackable acrylic bins, rolling cart, wall shelf
- Investment Level: fold down desk, closet system, multi functional furniture
By Lifestyle
- Tiny Studio or Shared Space: rolling cart, over the door organizer, fold down desk
- Dedicated Craft Corner: pegboard, wall mounted shelf, closet station
- Families With Kids Underfoot: labeled bins, closet system, rotating caddy
- Minimalist at Heart: multi functional furniture, closet station, clear acrylic drawers
Frequently Asked Questions
How much does it cost to organize a craft room on a budget?
You can fully set up a small craft space for under 150 dollars if you lean on mason jars, an over the door organizer, and a basic pegboard. Most of the cost creep happens when people jump straight to custom cabinetry before trying the cheaper options first.
What is the best storage for a craft room with no closet?
A rolling cart paired with an over the door organizer works best when there’s no closet to claim. Both give you real storage without needing to alter the room or drill into walls.
Should I use clear bins or opaque bins for craft supplies?
Clear bins win if you want speed, since you can see contents without opening anything. Opaque bins are better if you’re short on time to keep things tidy looking, because they hide the mess.
How do I organize a craft room in a small apartment?
Go vertical first. Wall shelves, pegboards, and over the door storage all free up floor space without needing more square footage.
What is the cheapest way to store ribbon and washi tape?
Mason jars or a repurposed drawer with dividers cost almost nothing and work surprisingly well. A vintage tin or an old spice rack does the same job if you already have one lying around.
Conclusion
Your craft space doesn’t need to be Pinterest-perfect to work for you, it just needs a system that fits how you actually create. Pick one idea from this list, even something as small as labeling three bins, and try it this weekend. Your future self, mid-project and actually able to find the scissors, will thank you.
