

My clients keep sending me the same screenshot lately, some dreamy little corner covered in fairy lights and mismatched teacups, asking “can we do this?” I get it. There’s something about a whimsical space that makes a house feel less like a showroom and more like a story. The good news is you don’t need a big budget or a design degree to pull it off. You just need a few smart ideas and a little patience with hot glue.
My Design Notes
When I was working on a client’s guest cottage outside Asheville, North Carolina, she kept using the word “magical” but couldn’t tell me what that meant in practice. So we started small. I brought in a few mismatched vintage jars, strung some warm fairy lights along the porch beam, and added a little moss covered wreath by the door. That was it for week one.
By the time we finished the project, that porch had become the one spot every guest photographed first. My biggest takeaway from that job? Whimsical decor doesn’t need to be expensive or overdone. It just needs one or two unexpected touches that make people pause. I use that lesson on almost every project now.
Unforgettable Whimsical DIY Ideas to Elevate Your Home
1. Fairy Light Mason Jar Lanterns
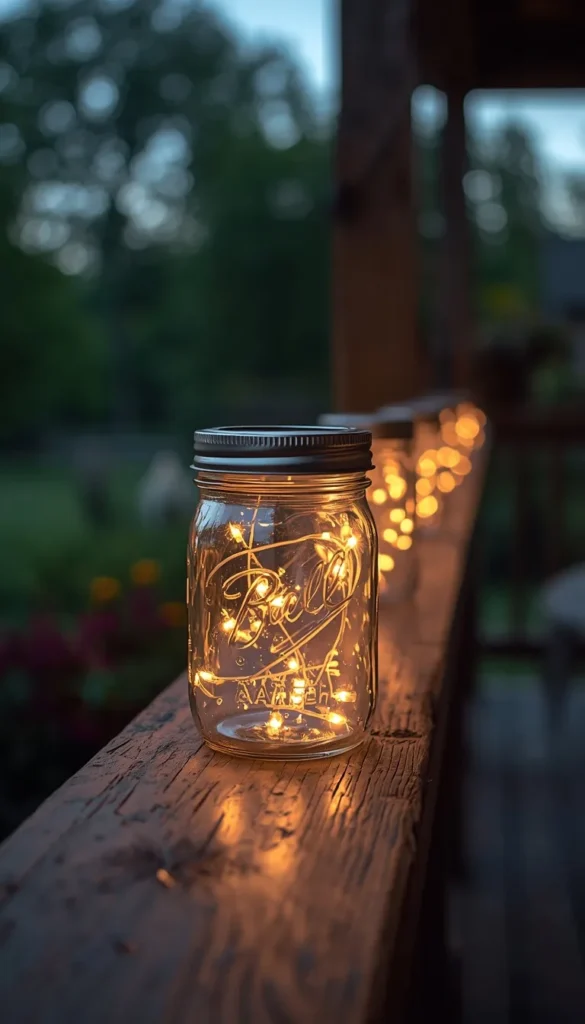
There’s a reason this idea shows up on every whimsical decor board out there. Mason jars are cheap, they’re everywhere, and a strand of fairy lights turns them into something that looks pulled straight out of a storybook. I usually tell clients to budget under twenty dollars for a set of six jars if they’re thrifting instead of buying new.
A quick trick I’ve learned is to go with battery operated lights instead of plug in ones if you’re using these outdoors. Plug in strands mean cords running across your patio, and that never looks intentional. Battery packs hide inside the jar lid, and most last a full season before you need new batteries.
One thing to watch out for is condensation. If you’re leaving these outside and it rains, moisture can build up inside the jar and short out cheaper lights faster than you’d expect. I’d stick to LED strands rated for outdoor use, even though they cost a few dollars more.
2. Vintage Teacup Herb Garden
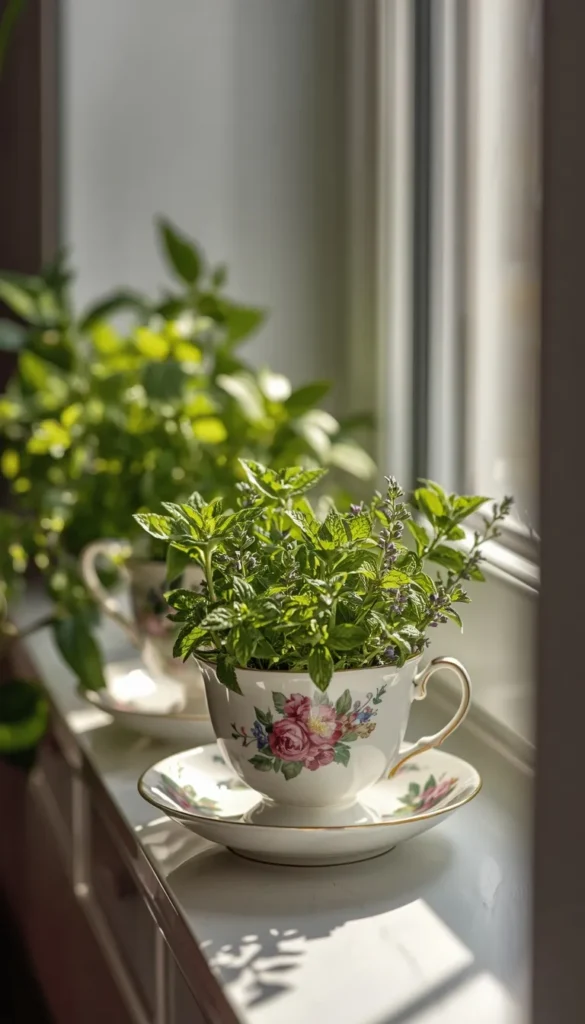
This one is a favorite for anyone who loves the cottagecore look but still wants their decor to be useful. Thrifted teacups make surprisingly good little planters, and they add a delicate, old world charm that a plain terra cotta pot just can’t match.
Here’s what most tutorials leave out:
- Teacups don’t have drainage holes, so you’ll need to drill one yourself or add a thick gravel layer at the bottom
- Not every herb does well in such a shallow container
- Mint and thyme tend to thrive, while rosemary usually struggles for root space
My honest advice is to treat these as a windowsill accent rather than your main herb source. They’re charming, but a teacup will never hold enough soil to grow a plant to its full size.
3. Moss Covered Wreaths

Moss wreaths have that soft, enchanted forest feel that photographs beautifully, especially against a wood door or a pale entryway. They’re also one of the easiest whimsical projects to put together in an afternoon.
The real question is whether to use preserved moss or the real thing. Real moss looks incredible for about two weeks and then it starts drying out and shedding little green flecks everywhere. Preserved moss, on the other hand, holds its color and texture for months and doesn’t need any water at all. I almost always recommend preserved moss unless you’re making something for a single event like a wedding or a photoshoot.
If you live somewhere humid, keep in mind that preserved moss can still soften and mold if it’s hung somewhere without airflow. A covered porch is usually fine. A fully enclosed, damp entryway is not.
4. Dried Flower Ceiling Hangings
There’s something dreamy about walking into a room and seeing dried flowers suspended overhead like a soft, upside down garden. It’s one of those details that makes guests stop and ask where you found it, even though most of the materials probably came from your own backyard or a farmers market bundle.
A few things I always mention to clients before they commit to this one:
- Dust collects on dried flowers fast, especially in a kitchen or dining area
- Anyone with allergies in the house should think twice about this placement
- Most arrangements hold their look for about six months before they start looking tired and need replacing
Which one of these feels the most “you” the fairy light jars, or the garden pathway stones?
5. Painted Terra Cotta Fairy Houses
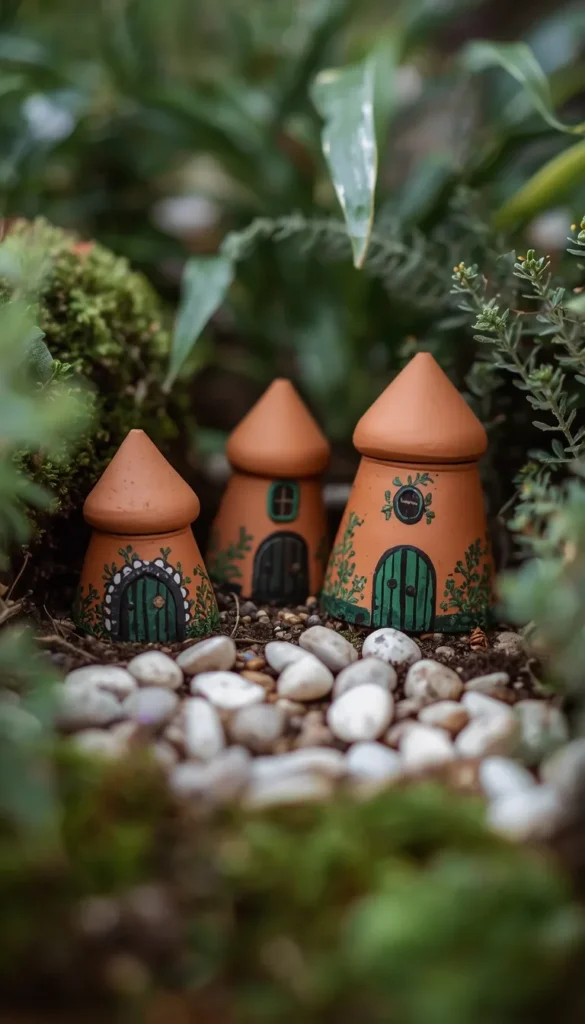
These little painted pots turned into miniature fairy houses are an easy weekend project, and they work just as well tucked into a garden bed as they do lining a windowsill. I like recommending this one to clients who want a whimsical touch but don’t have a big budget or a lot of outdoor space to commit.
If you’re planning to keep these outside, regular acrylic paint won’t hold up past one season. What I usually tell people is to seal the whole piece with an outdoor grade varnish after painting, and to bring the pots in during winter if you’re somewhere that gets hard frost. Terra cotta cracks easily once water gets into the clay and freezes.
A few quick notes on paint that actually lasts outside:
- Outdoor acrylic sealant, applied in two thin coats rather than one thick one
- Matte finishes tend to hide weather wear better than glossy ones
- Avoid chalk paint here, since it chips fast in rain
6. Whimsical Gallery Wall with Mixed Frames

A mismatched gallery wall is one of those ideas that looks effortless but actually takes a bit of planning to pull off well. The whimsy comes from the variety, ornate gold frames next to a plain black one, next to something with a little chipped paint that adds character instead of looking messy.
My advice is to hit up thrift stores and estate sales rather than buying a matching frame set. You’ll spend less and end up with pieces that actually have some personality. I’d budget around five to fifteen dollars per frame if you’re patient and shop around over a few weeks instead of buying everything in one trip.
Spacing is where most people go wrong. Leave two to three inches between frames, and lay everything out on the floor first before you touch a single nail. It’s tempting to just start hammering once you’re excited about a project, but that’s exactly how gallery walls end up looking cluttered instead of curated.
Top 6 whimsical Diy ideeas
| Idea | Estimated Price | Maintenance |
|---|---|---|
| Fairy Light Mason Jar Lanterns | $15 – $25 | Low |
| Vintage Teacup Herb Garden | $10 – $20 | Medium |
| Moss Covered Wreaths | $20 – $35 | Low |
| Painted Terra Cotta Fairy Houses | $10 – $20 per pot | Medium |
| Whimsical Gallery Wall with Mixed Frames | $50 – $120 | Low |
| Enchanted Garden Pathway Stones | $10 – $15 per stone | Medium |
7. DIY Stained Glass Effect Window Clings
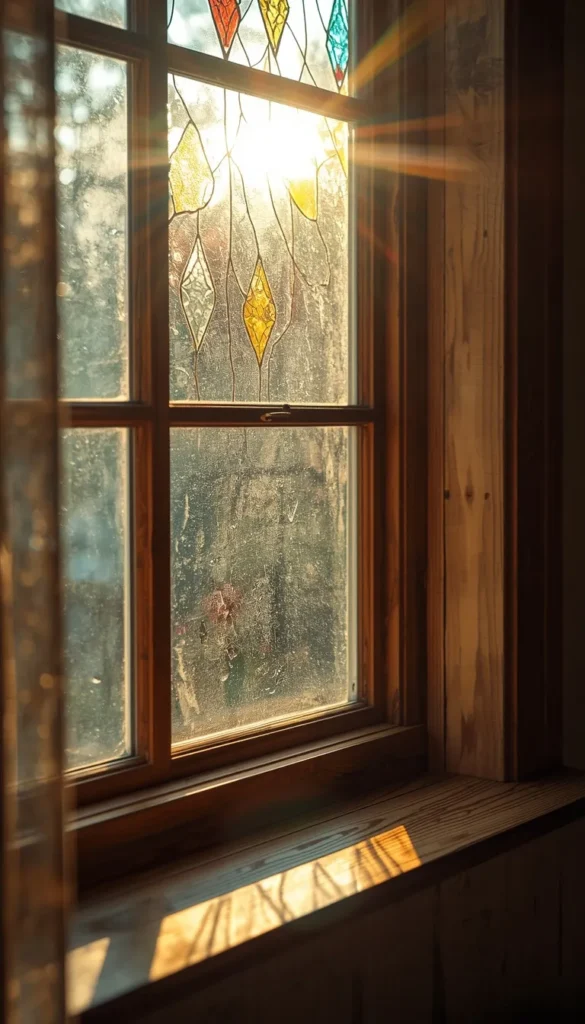
This is one of my favorite suggestions for renters, since it gives you that colorful, storybook window look without any permanent changes to the glass. You can make these with tissue paper and glue, or with specialty window cling paint if you want something a bit more durable.
One thing to watch out for is sun exposure. South facing windows will fade tissue paper versions within a few months, so if you want something longer lasting, the paint based clings hold their color much better over time.
Removal is simple with either method:
- Peel gently starting from one corner
- Use warm water and a soft cloth for any sticky residue
- Avoid scraping with anything sharp, since it can scratch the glass
8. Cottagecore Ribbon Curtain Doorways

Ribbon curtains have that soft, fairy tale movement to them, and they’re a lovely way to section off a nursery, closet, or reading nook without installing an actual door. They’re inexpensive too, usually costing less than thirty dollars for enough ribbon to cover a standard doorway.
If you have pets or young kids in the house, this is one to think through carefully. Curious hands and paws tend to pull on hanging ribbons, and some fabrics fray quickly with repeated tugging. I’d lean toward a tightly woven cotton or satin ribbon over something loosely knit, and I’d avoid this option entirely in a home with a cat that likes to climb
If you had to start with just one project this weekend, which corner of your home would you tackle first?
9. Enchanted Garden Pathway Stones
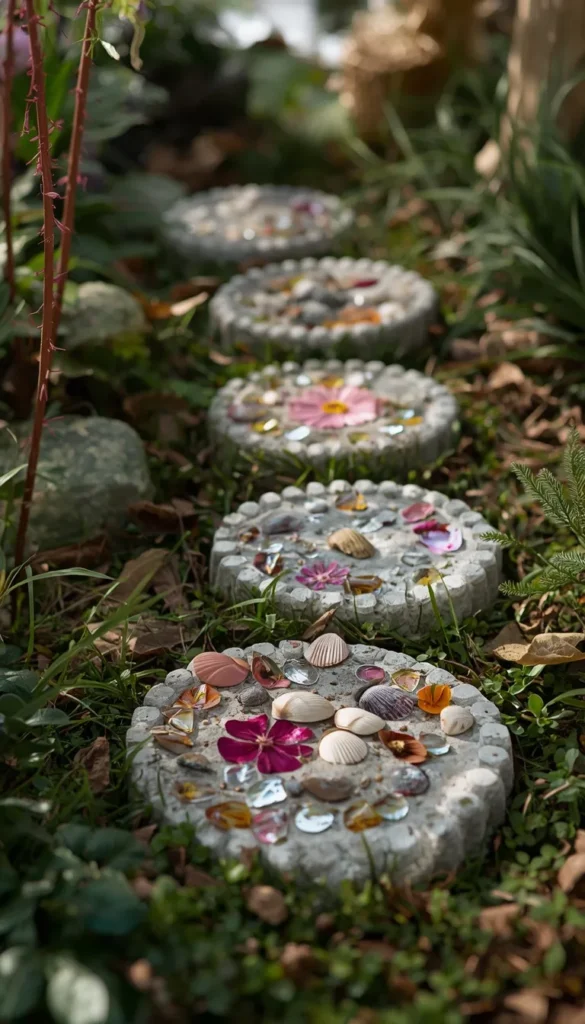
This is one of my favorite weekend projects for anyone who wants their yard to feel a little more like a storybook path than a plain concrete walkway. You can make your own stepping stones with quick set concrete, then press in glass beads, small shells, or pressed flowers before it cures.
Cost wise, this is one of the biggest wins on this list. A bag of concrete mix runs around ten dollars and makes several stones, while store bought decorative pavers can run you five to twenty dollars each depending on the design. Making your own also means every stone is a little different, which honestly adds to the charm.
The part most tutorials skip is sealing. Once your stones are fully cured, a coat of concrete sealant protects the embedded pieces from cracking or fading in direct sun, and it keeps the stones from becoming slippery when wet. I’d reseal once a year if the path gets regular foot traffic and full weather exposure.
Which Path Is Yours?
By Budget
Starter Picks (under $25):
- Fairy Light Mason Jar Lanterns
- Vintage Teacup Herb Garden
- Moss Covered Wreaths
Investment Pieces ($30 and up):
- Whimsical Gallery Wall with Mixed Frames
- Painted Terra Cotta Fairy Houses
- Enchanted Garden Pathway Stones
By Lifestyle
Busy Households (low upkeep, forgiving):
- Fairy Light Mason Jar Lanterns
- Moss Covered Wreaths
- Whimsical Gallery Wall with Mixed Frames
Hands On Hobbyists (enjoy regular maintenance):
- Vintage Teacup Herb Garden
- Painted Terra Cotta Fairy Houses
- Enchanted Garden Pathway Stones
Frequently Asked Questions
How much does whimsical DIY decor typically cost?
Most projects on this list run under fifty dollars each. Mason jar lanterns and moss wreaths sit closer to fifteen to twenty five dollars, while gallery walls and garden pathway stones can climb higher depending on scale.
Is whimsical decor hard to maintain?
It depends on the project. Fairy lights and preserved moss need almost no upkeep, but real herb gardens and painted terra cotta pieces need occasional attention, especially outdoors.
Can renters do whimsical DIY projects without damaging walls?
Yes, several ideas here are renter friendly. Window clings, ribbon curtains, and gallery walls using removable hooks all work without a single hole in the wall.
What’s the easiest whimsical DIY project for beginners?
Mason jar lanterns win this one every time. All you need is a jar, a string of lights, and about ten minutes.
Will whimsical decor hold up outdoors year round?
Some pieces will, others won’t. Sealed terra cotta and preserved moss handle most climates fine, but real moss and unsealed concrete stones need seasonal care.
Conclusion
Pick one idea from this list and just start this weekend. Grab a mason jar, thrift a few frames, or press a handful of flowers into fresh concrete. You don’t need to overhaul your whole house to feel the shift. One small corner done with care can change how a whole room feels to walk into.
