
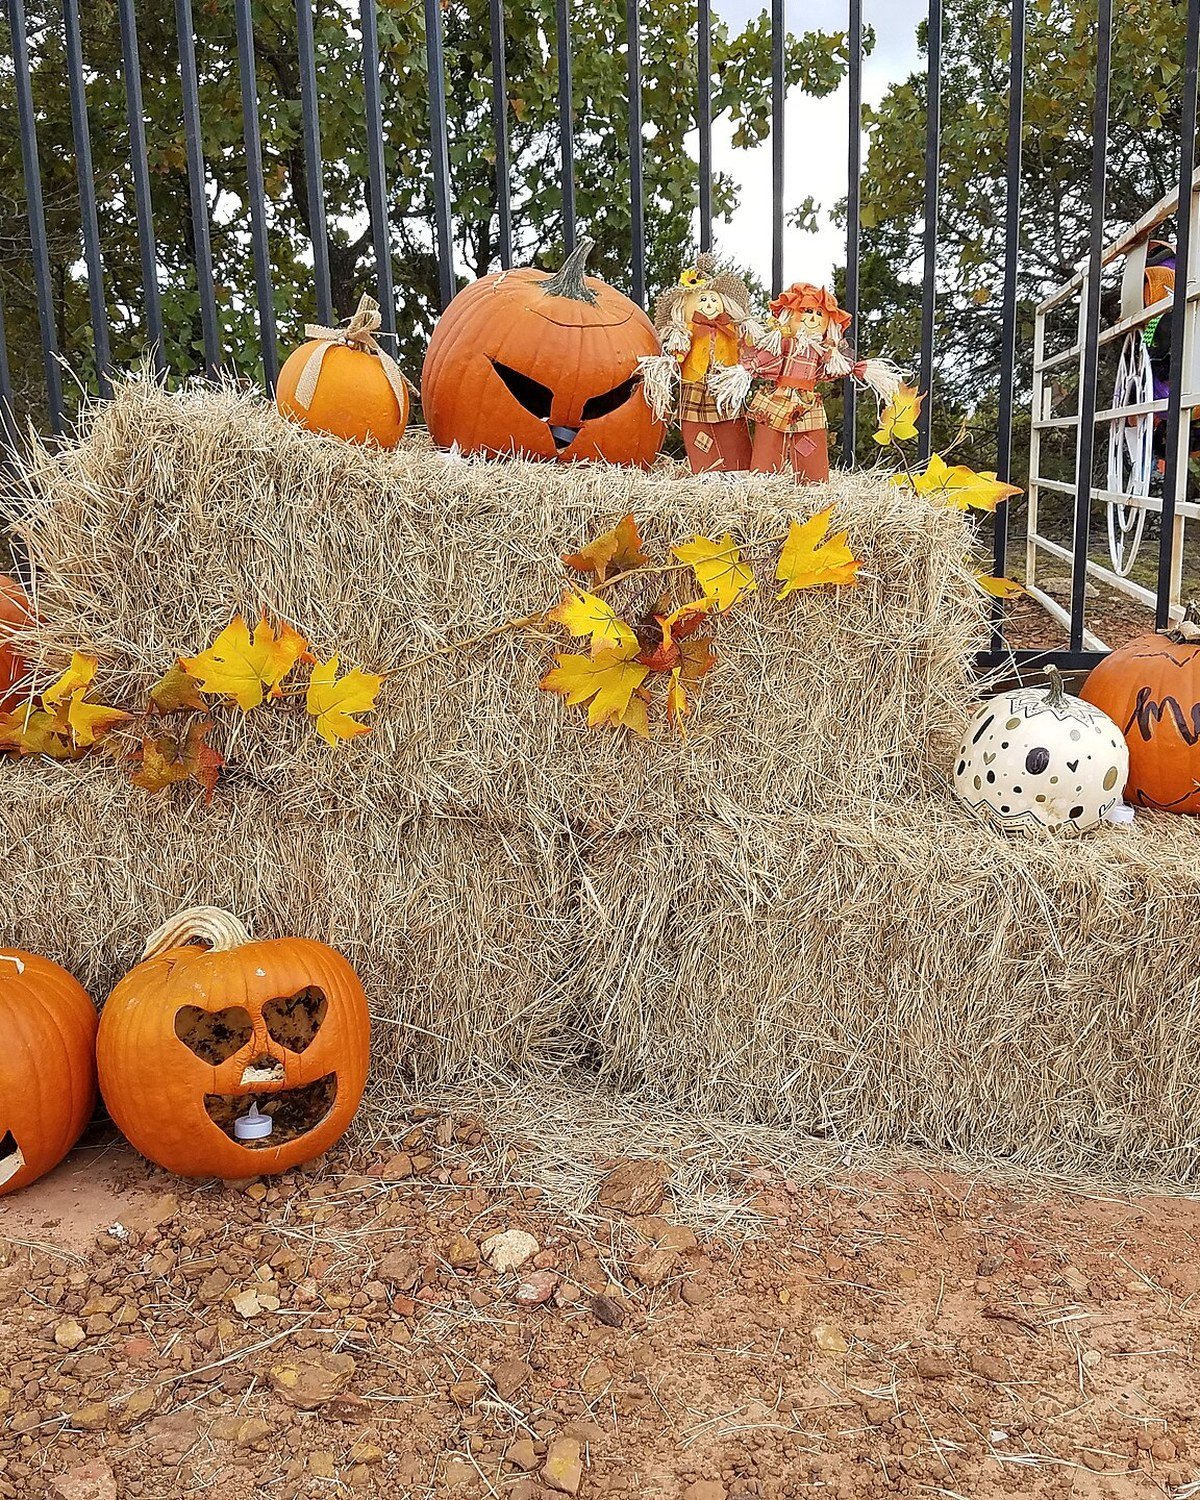
If you want pumpkin carving ideas that are actually cute, actually easy, and actually finishable in one evening, you are in the right place. This list has 32 cute and easy pumpkin carving ideas for Halloween, and most of them take under 30 minutes from first cut to porch. Every idea below lists its difficulty, time, and whether kids can help, so you can pick in seconds and start carving. Whether you want a smiling face, a funny face, or something spooky-cute, there is a design here that fits your pumpkin and your skill level.
Quick-Pick Table
| Idea # | Name | Difficulty | Time | Kid-friendly |
|---|---|---|---|---|
| 1 | Ghost-Topper Pumpkin | Easy | ~25 min | Yes |
| 2 | Kids’ Smiling Pumpkins | Easy | ~20 min | Yes |
| 3 | Floor Greeter Smile | Easy | ~20 min | Yes |
| 4 | Pouty-Face Pumpkin | Easy | ~15 min | Yes |
| 5 | Happy Yellow Pumpkin | Easy | ~20 min | Yes |
| 6 | Cat Silhouette Pumpkin | Easy+ | ~25 min | Yes |
| 7 | Barn Owl Pumpkin | Medium | ~40 min | No |
| 8 | Trio of Smiling Pumpkins | Easy | ~45 min | Yes |
| 9 | Mini Squash Jack-o’-Lantern | Easy | ~15 min | Yes |
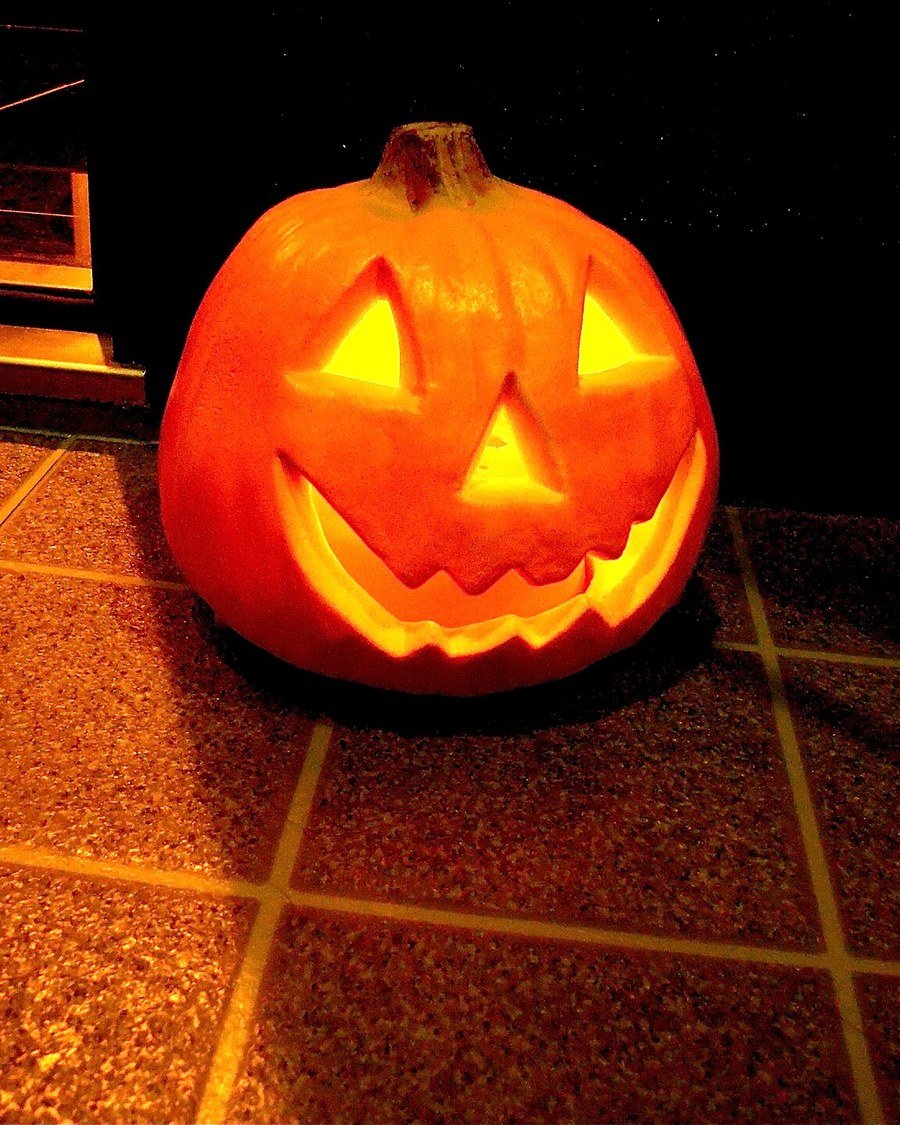
| 10 | Daylight Classic Triangle Face | Easy | ~20 min | Yes |
| 11 | Classic Grinning Jack-o’-Lantern | Easy | ~25 min | Yes |
| 12 | Porch-Steps Pumpkin | Easy | ~20 min | Yes |
| 13 | White Pumpkin Simple Face | Easy | ~20 min | Yes |
| 14 | Glowing Night Grin | Easy | ~20 min | No |
| 15 | Pumpkin with Witch Hat Topper | Easy | ~25 min | Yes |
| 16 | Trio of Lanterns Set | Easy+ | ~50 min | Yes |
| 17 | Winking Pumpkin with Hat | Easy | ~25 min | Yes |
| 18 | Wearable Pumpkin-Head Photo Prop | Easy+ | ~30 min | No |
| 19 | Pumpkin-Man Porch Greeter | Medium | ~60 min | No |
| 20 | Cross-Eyed Goofy Pair | Easy | ~30 min | Yes |
| 21 | Pumpkin Eating an Apple | Easy+ | ~25 min | Yes |
| 22 | Grumpy Pumpkin Lurking in Leaves | Easy | ~25 min | Yes |
| 23 | Jagged-Grin Pumpkin | Easy+ | ~30 min | No |
| 24 | Smoky Skull Pumpkin | Medium | ~40 min | No |
| 25 | Rock-Garden Guardian Pumpkin | Easy+ | ~30 min | No |
| 26 | Window-Watcher Grin Pumpkin | Easy | ~20 min | No |
| 27 | Painted Monster with Witch Hat | Easy | ~30 min | Yes |
| 28 | Painted Unicorn Pumpkins | Easy | ~35 min | Yes |
| 29 | Painted Clown Pumpkins | Easy | ~35 min | Yes |
| 30 | First-Cut Starter Pumpkin | Easy | ~15 min | Yes |
| 31 | Grid-Transfer Template Carving | Easy+ | ~35 min | Yes |
| 32 | Carving-Party Pumpkin | Medium | ~45 min | Yes |
Tools + Safety First
Every one of these pumpkin carving ideas uses the same basic kit. Gather these before you start:
- Pumpkin carving kit or a small serrated saw
- Large spoon or scoop for the insides
- Thick marker or pen for drawing the face
- Pin or transfer tool for tracing a template
- LED tea light or battery candle for the glow
- Old newspaper or a trash bag for the table
- Paper towels and a first-aid kit nearby
Safety box: Adults handle every sharp tool. Kids can draw the face, scoop the insides, and decorate. Always cut away from your body, never toward it. Keep hands dry and work in good light. If you seal cut edges with petroleum jelly, use battery lights only, never a real candle. For more detail, WebMD’s guide to carving a pumpkin safely covers tool choice and kid-safe jobs.
How to Pick a Pumpkin That Carves Easily
- Flat bottom: Set the pumpkin down. If it wobbles, it will roll while you carve. A flat base keeps it steady.
- Firm stem: A green, sturdy stem means the pumpkin is fresh. A soft or missing stem means it may rot fast.
- No soft spots: Press the skin all over. Soft or dark patches are early rot. Skip those pumpkins.
- Tall vs. round: Tall pumpkins suit long faces and characters. Round pumpkins suit classic grins and cute faces.
- Mini vs. large: Minis carve fast and are great for kids. Large pumpkins give you room for detailed designs.
Picking well makes every one of these pumpkin carving ideas easier to carve, so do not rush this step.
Cute Faces That Make Everyone Smile
Cute faces are the most-loved pumpkin carving ideas for families, because a smile works on any pumpkin. These eight start with the friendliest faces on the list.
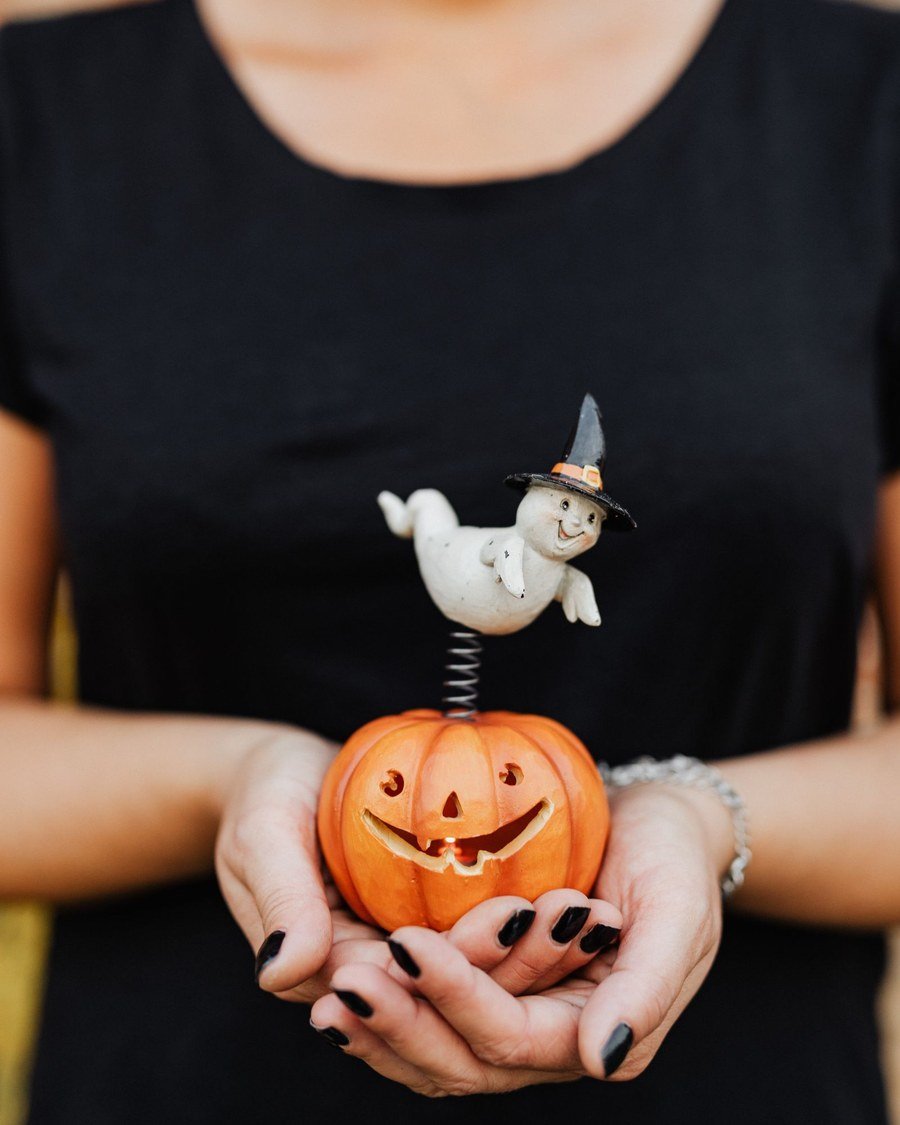
1. Ghost-Topper Pumpkin
Difficulty: Easy | Time: ~25 min | Kid-friendly: Yes | Best pumpkin: Medium round with a flat top
What to carve: A sweet smiling face on the pumpkin, topped with a small white ghost sitting on the lid. The ghost turns a plain jack-o’-lantern into a little scene. This is one of the sweetest pumpkin carving ideas for a first pumpkin.
How to do it:
- Cut the lid and scoop the pumpkin clean.
- Draw two round eyes and a small smile.
- Carve the face with a serrated saw.
- Cut a small ghost shape from white craft foam or paper.
- Glue or pin the ghost to the lid so it peeks over the top.
Make it cuter: Give the ghost tiny blush dots with a pink marker.
2. Kids’ Smiling Pumpkins
Difficulty: Easy | Time: ~20 min | Kid-friendly: Yes | Best pumpkin: Two small round pumpkins
What to carve: Two little pumpkins with big, happy smiles. Kids pick the faces, adults do the cutting, and everyone gets their own pumpkin to show off.
How to do it:
- Let each child draw their face with a marker.
- Adults cut the lids and scoop the insides.
- Adults carve along the drawn lines.
- Drop in LED tea lights.
- Set the pair side by side on the porch.
Make it cuter: Add paper bow ties or tiny hats to give each pumpkin a personality.

3. Floor Greeter Smile
Difficulty: Easy | Time: ~20 min | Kid-friendly: Yes | Best pumpkin: Large round pumpkin
What to carve: One big, warm smile placed right at floor level by the front door. Guests see it first, and it glows softly when they walk up.
How to do it:
- Cut a bottom opening so the pumpkin sits flat and steady.
- Draw a wide smile with round eyes.
- Carve the face, then scoop from the bottom.
- Set the pumpkin over an LED tea light on the floor.
- Angle the face toward the walkway.
Make it cuter: Surround the base with a few small gourds for a tiny pumpkin family.
4. Pouty-Face Pumpkin
Difficulty: Easy | Time: ~15 min | Kid-friendly: Yes | Best pumpkin: Small round pumpkin
What to carve: A tiny pouty face with a small downturned mouth and droopy eyes. It is the cutest grumpy pumpkin on the block, and it takes just minutes.
How to do it:
- Draw two small half-moon eyes that curve downward.
- Add a tiny pout mouth, just a small upside-down U.
- Carve with a small serrated saw.
- Scoop, then add an LED light.
- Set it on a step where people look down at it.
Make it cuter: The pout looks even funnier next to a big smiling pumpkin.
5. Happy Yellow Pumpkin
Difficulty: Easy | Time: ~20 min | Kid-friendly: Yes | Best pumpkin: Medium round pumpkin, any color
What to carve: A beaming happy face on a yellow pumpkin. The unusual color makes it stand out, and the smile does the rest. Among cute pumpkin carving ideas, color swaps are the fastest way to look original.
How to do it:
- Pick a yellow or pale pumpkin at the patch.
- Draw big round eyes and a wide open smile.
- Carve the face carefully around the curves.
- Scoop and add an LED tea light.
- Display it where daylight shows off the yellow skin.
Make it cuter: Pair it with orange pumpkins so the yellow one pops.
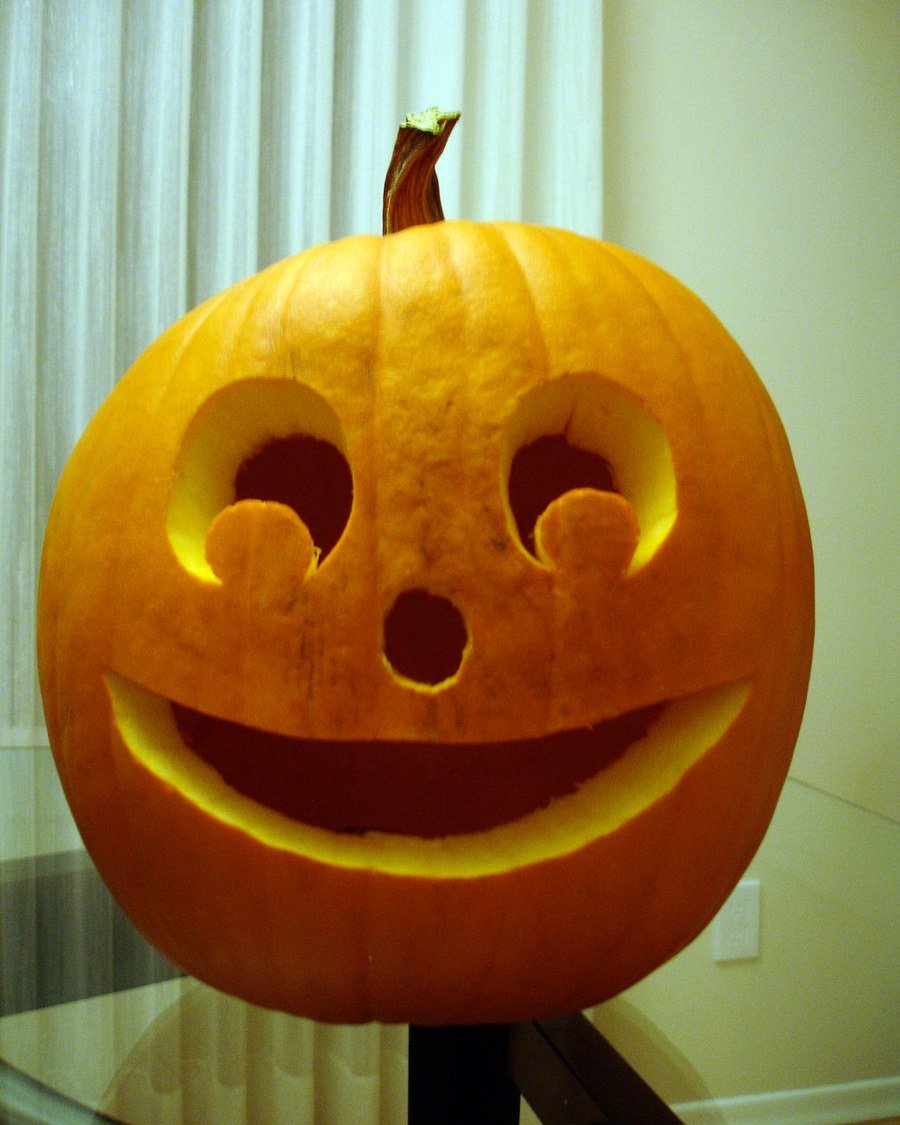
6. Cat Silhouette Pumpkin
Difficulty: Easy+ | Time: ~25 min | Kid-friendly: Yes | Best pumpkin: Medium round pumpkin
What to carve: A sitting cat silhouette with a curved tail and pointy ears, carved so the cat glows against the dark pumpkin. Cat lovers will stop and stare.
How to do it:
- Draw the cat shape on paper first, then tape it to the pumpkin.
- Trace the outline with a pin.
- Carve along the outline with a small saw.
- Scoop the pumpkin and clear the cut edges.
- Add an LED light and check the silhouette from a few feet away.
Make it cuter: Carve two tiny whisker dots beside the cat’s face.
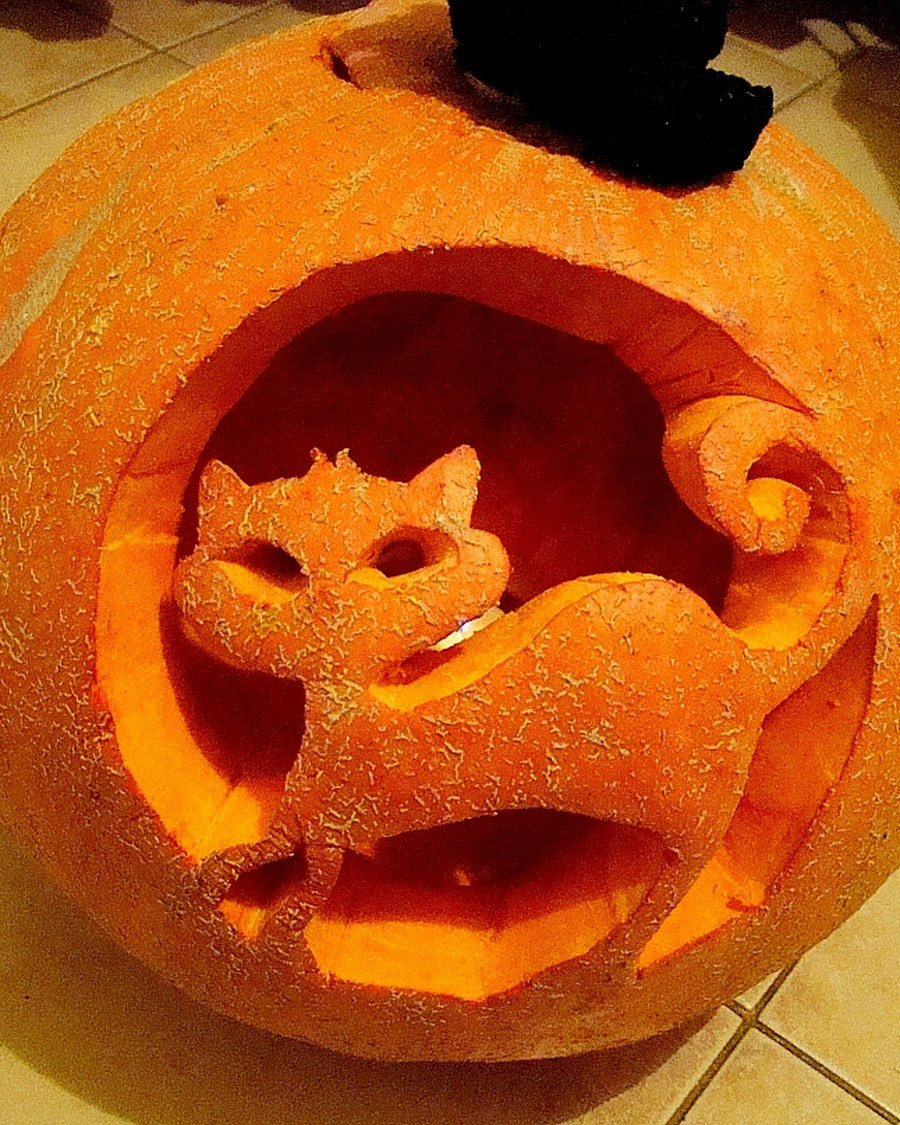
7. Barn Owl Pumpkin
Difficulty: Medium | Time: ~40 min | Kid-friendly: No | Best pumpkin: Large tall pumpkin
What to carve: A barn owl with its famous heart-shaped facial disc, big dark eyes, and feather texture around the edges. This is a showpiece carving, so take your time.
How to do it:
- Draw the heart-shaped face outline in the center.
- Add two large round eyes inside the heart shape.
- Carve the eyes and face outline first.
- Shave (do not cut through) feather lines around the outside.
- Scoop, light it, and step back to check the symmetry.
Make it cuter: Leave the heart shape unlit by using a dim LED so the face glows softly.
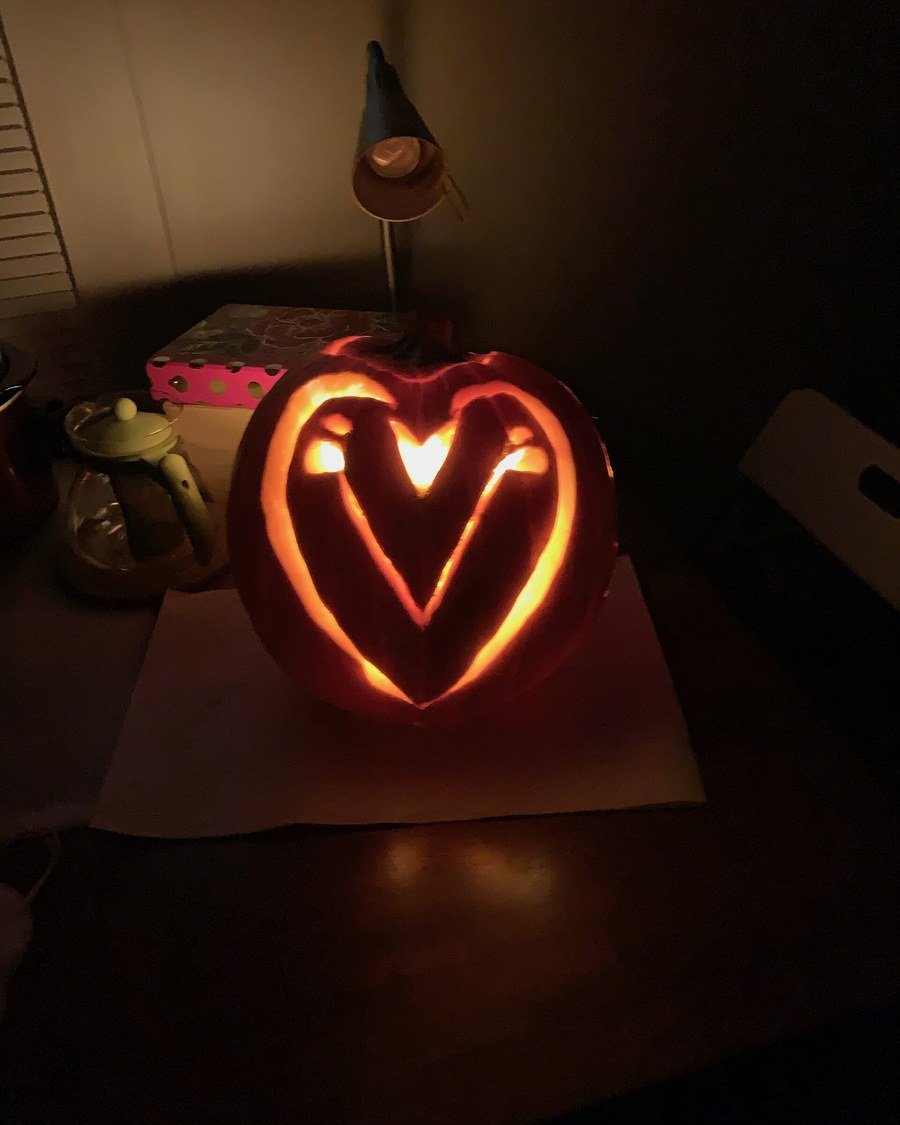
8. Trio of Smiling Pumpkins
Difficulty: Easy | Time: ~45 min | Kid-friendly: Yes | Best pumpkin: Three pumpkins in different sizes
What to carve: Three smiling pumpkins in a row, each with a slightly different grin. Grouped pumpkin carving ideas like this one look like a happy family and fill a whole porch corner.
How to do it:
- Pick a tall, a medium, and a small pumpkin.
- Draw a different smile on each one.
- Carve all three faces before lighting any of them.
- Scoop each pumpkin and add LED lights.
- Arrange tall in the middle, small ones on the sides.
Make it cuter: Give the middle pumpkin the biggest grin and the small ones sleepy half-smiles.
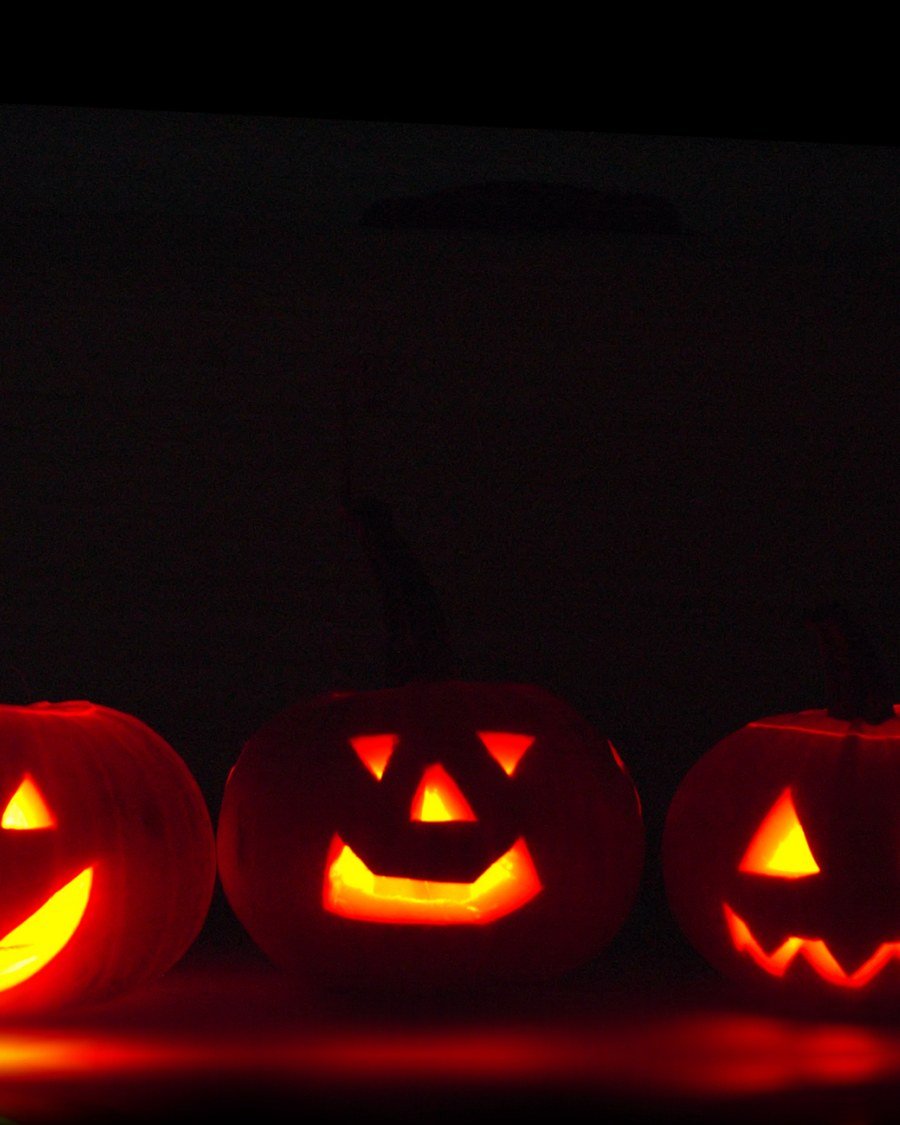
Easy Pumpkin Carving Ideas for Beginners
If this is your first time carving, start here. These easy pumpkin carving ideas use simple shapes and short carving times, so you build confidence fast.
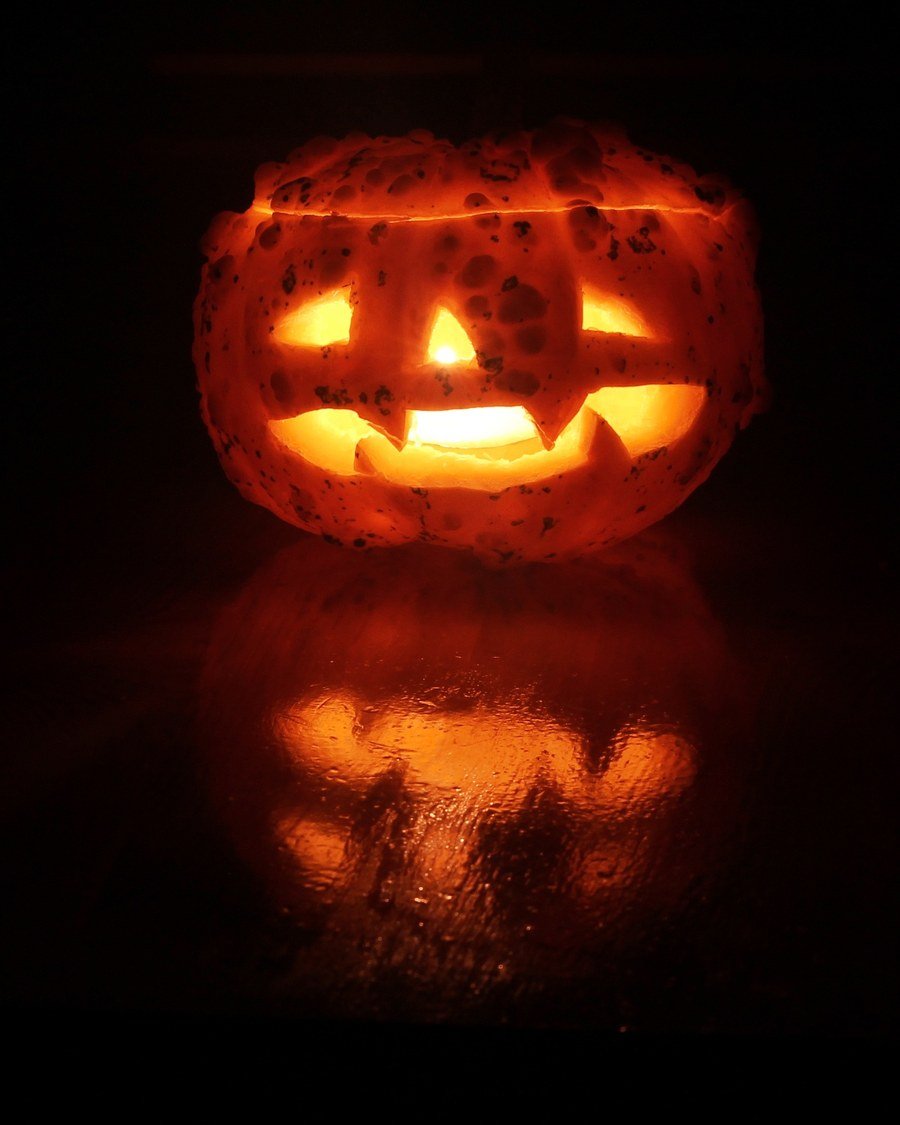
9. Mini Squash Jack-o’-Lantern
Difficulty: Easy | Time: ~15 min | Kid-friendly: Yes | Best pumpkin: A small squash or mini pumpkin
What to carve: A simple glowing face on a mini squash. Squashes carve just like small pumpkins, and their odd shapes make each one unique. This is honest small-scale carving: a squash, a simple face, and a big glow.
How to do it:
- Pick a small, firm squash that sits steady.
- Draw two triangle eyes and a small smile.
- Carve with a small serrated saw, going slowly.
- Scoop out the seeds with a spoon.
- Drop in a mini LED light and enjoy the glow.
Make it cuter: Line up three mini squash lanterns in a row for a tiny glowing village.
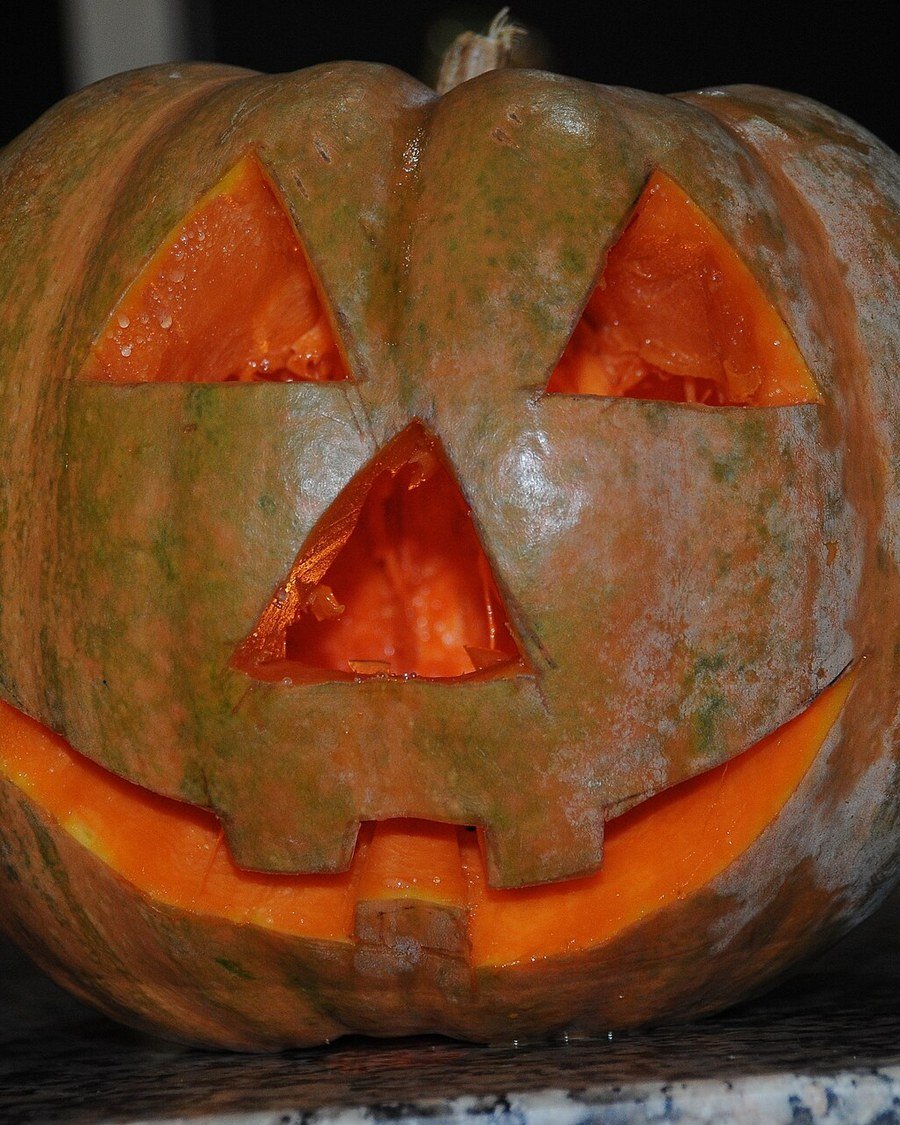
10. Daylight Classic Triangle Face
Difficulty: Easy | Time: ~20 min | Kid-friendly: Yes | Best pumpkin: Medium round pumpkin
What to carve: The classic triangle-eyes-and-grin face, designed to look good in daylight. Clean lines and even shapes matter more than glow here. Among beginner pumpkin carving ideas, this classic is the best practice piece.
How to do it:
- Draw two even triangles for eyes and a small triangle nose.
- Draw a wide grin with three or four teeth.
- Carve the eyes first, then the nose, then the mouth.
- Scoop the pumpkin and smooth the cut edges with a spoon.
- Display it in daylight where the crisp shapes show.
Make it cuter: Keep the teeth chunky and even for a friendly, cartoon look.
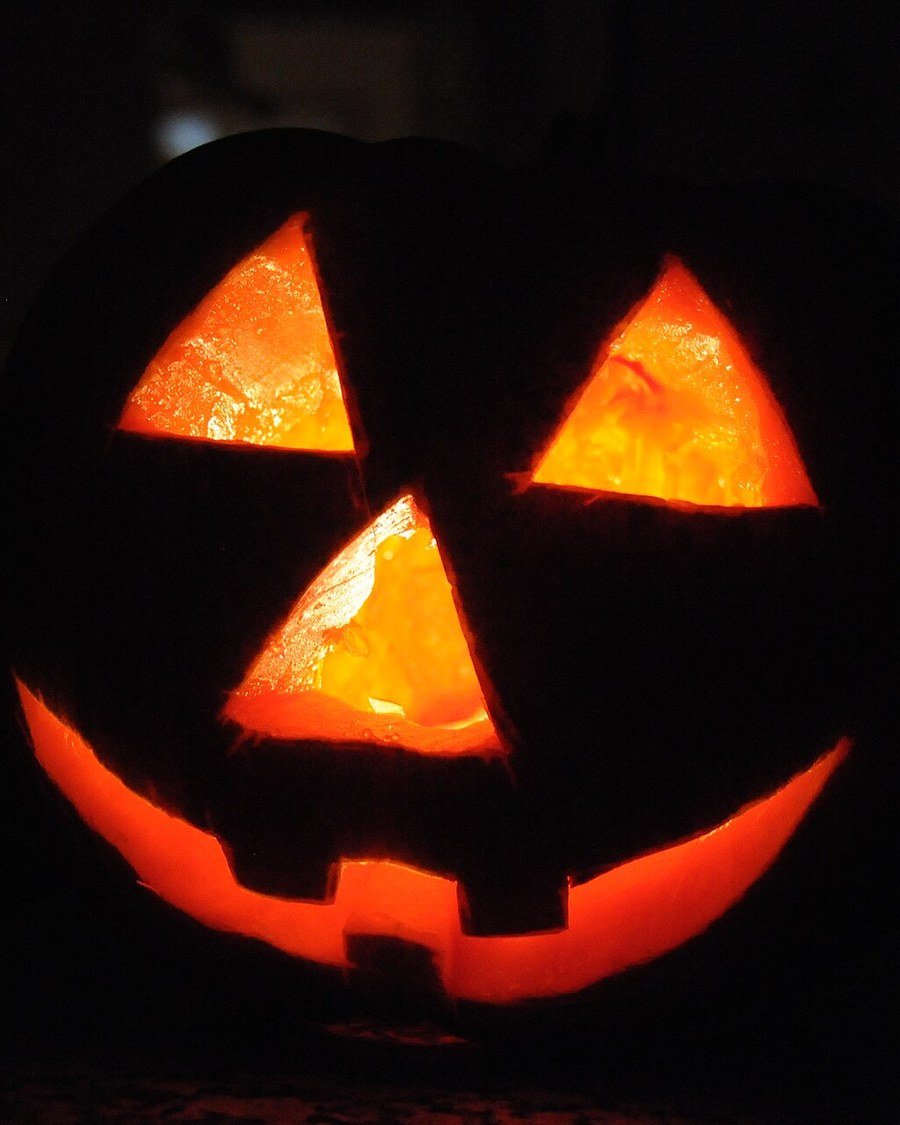
11. Classic Grinning Jack-o’-Lantern
Difficulty: Easy | Time: ~25 min | Kid-friendly: Yes | Best pumpkin: Large round pumpkin
What to carve: The jack-o’-lantern everyone pictures: triangle eyes, triangle nose, and a wide toothy grin, glowing in the dark. This is the pumpkin carving idea every beginner should carve at least once.
How to do it:
- Cut the lid at a slight angle so it rests back on top.
- Scoop the insides until the walls are about one inch thick.
- Draw the face with a marker, checking symmetry.
- Carve eyes, nose, then the grin.
- Set an LED tea light inside and replace the lid slightly ajar.
Make it cuter: Leave one tooth crooked for a playful grin.
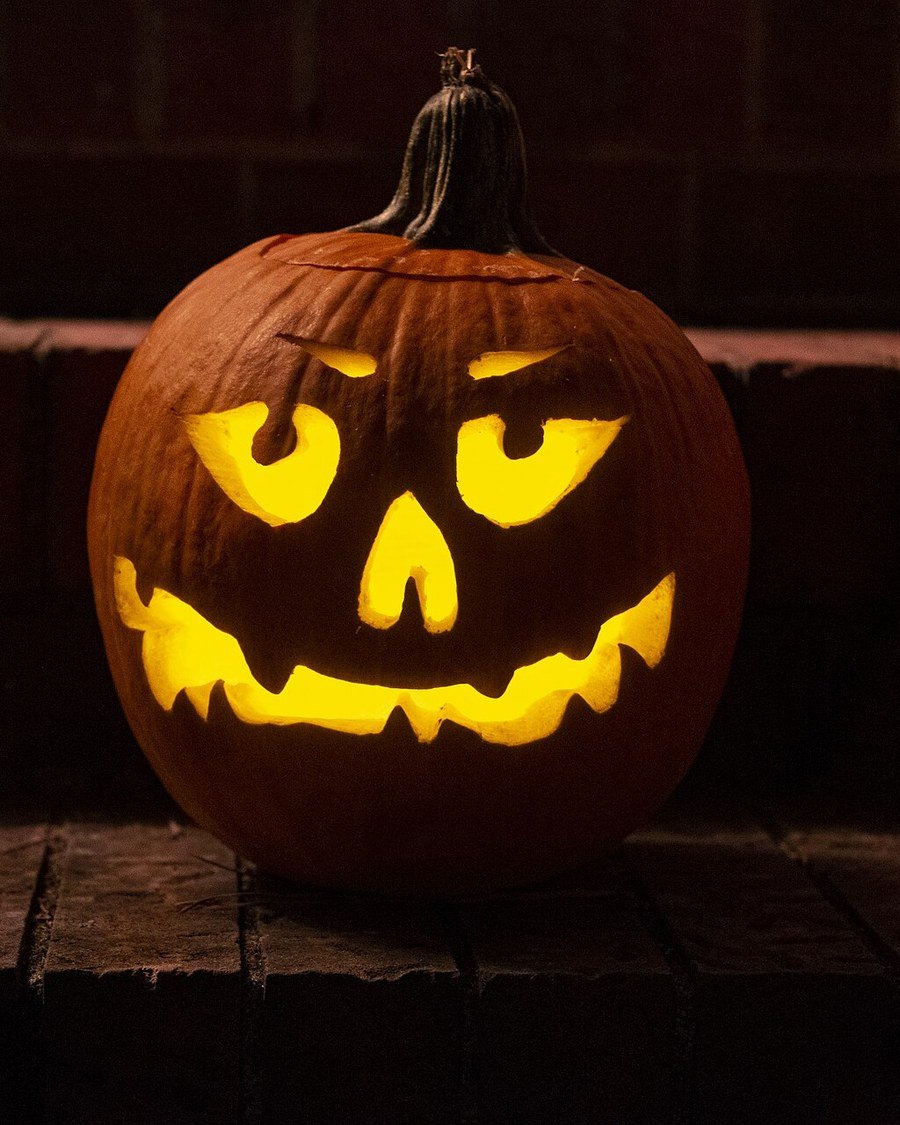
12. Porch-Steps Pumpkin
Difficulty: Easy | Time: ~20 min | Kid-friendly: Yes | Best pumpkin: Medium round pumpkin
What to carve: A classic grin carved for the porch steps, where it frames the front door. Porch-step pumpkin carving ideas work because the steps do the decorating for you; the pumpkin just needs a clean, friendly face.
How to do it:
- Carve a simple grin with round eyes.
- Scoop and add an LED light.
- Set the pumpkin on the middle step, angled toward the street.
- Add a couple of uncarved pumpkins on the steps above and below.
- Check the view from the sidewalk at dusk.
Make it cuter: Flank the steps with two matching grin pumpkins for a welcoming row.
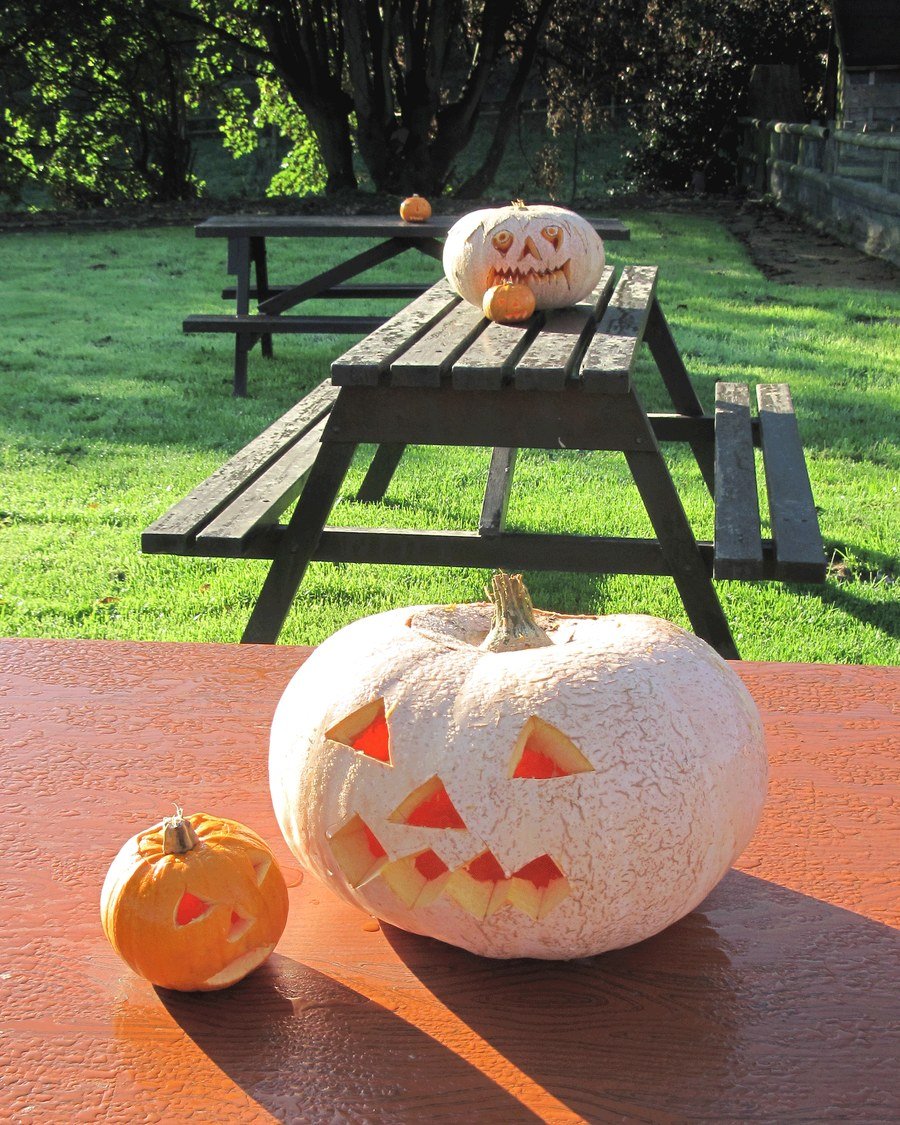
13. White Pumpkin Simple Face
Difficulty: Easy | Time: ~20 min | Kid-friendly: Yes | Best pumpkin: Medium white pumpkin
What to carve: A simple face on a white pumpkin. The pale skin glows beautifully at night and looks modern in daylight. White pumpkins also pair well with warm wall paint — these kitchen wall color ideas show the same light-against-warm contrast trick indoors.
How to do it:
- Pick a smooth white pumpkin with no blemishes.
- Draw a small, simple face with round eyes.
- Carve gently; white pumpkins can have thinner walls.
- Scoop, then add an LED light.
- Display on a dark surface so the white skin stands out.
Make it cuter: Add a sprig of eucalyptus behind the stem for a styled look.
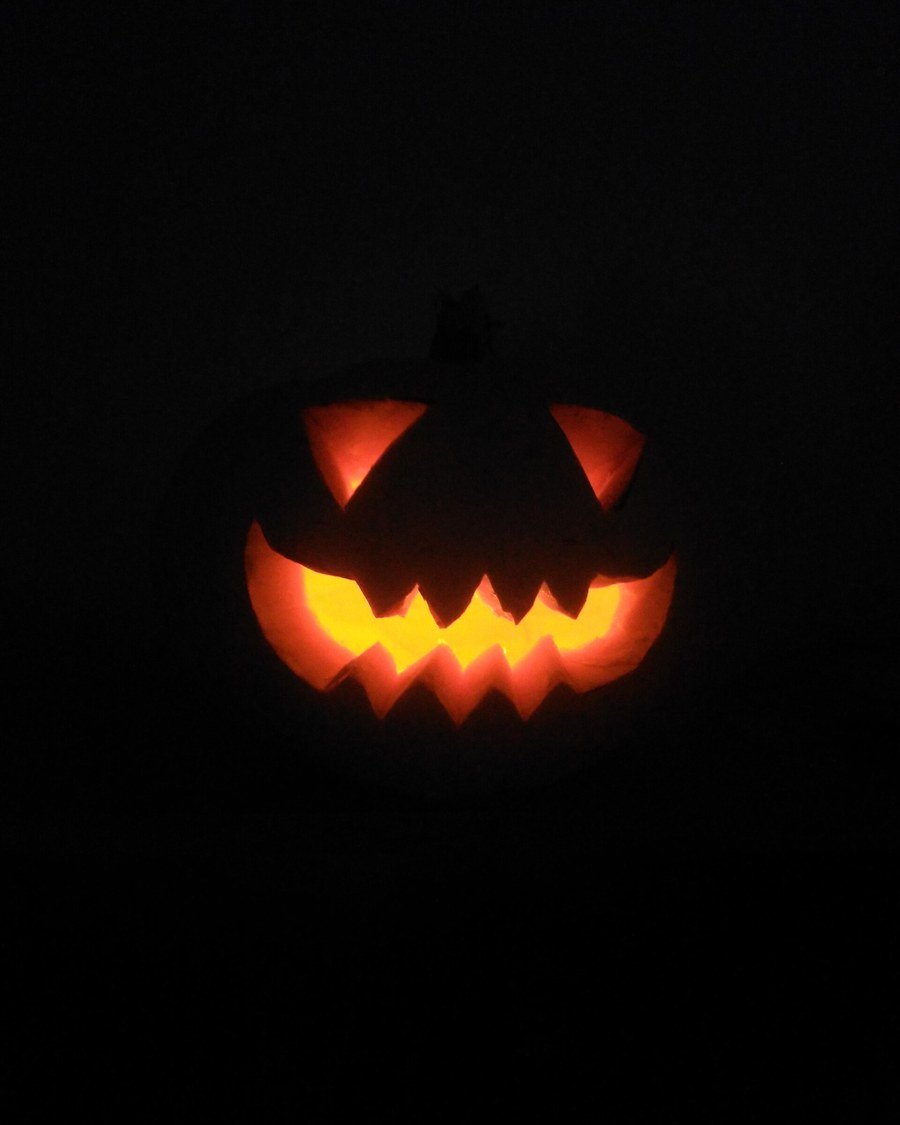
14. Glowing Night Grin
Difficulty: Easy | Time: ~20 min | Kid-friendly: No | Best pumpkin: Medium round pumpkin
What to carve: A simple grin carved to glow at night. The trick is thin walls and a bright LED, so the whole face shines instead of just the cut lines.
How to do it:
- Scoop the pumpkin until the walls are thin and even.
- Carve a simple grin with round eyes.
- Place a bright LED light inside, not a candle.
- Wait for full dark, then check the glow from the street.
- Move the light closer to the face if the glow is uneven.
Make it cuter: Add a second LED behind the grin for an extra-bright smile.
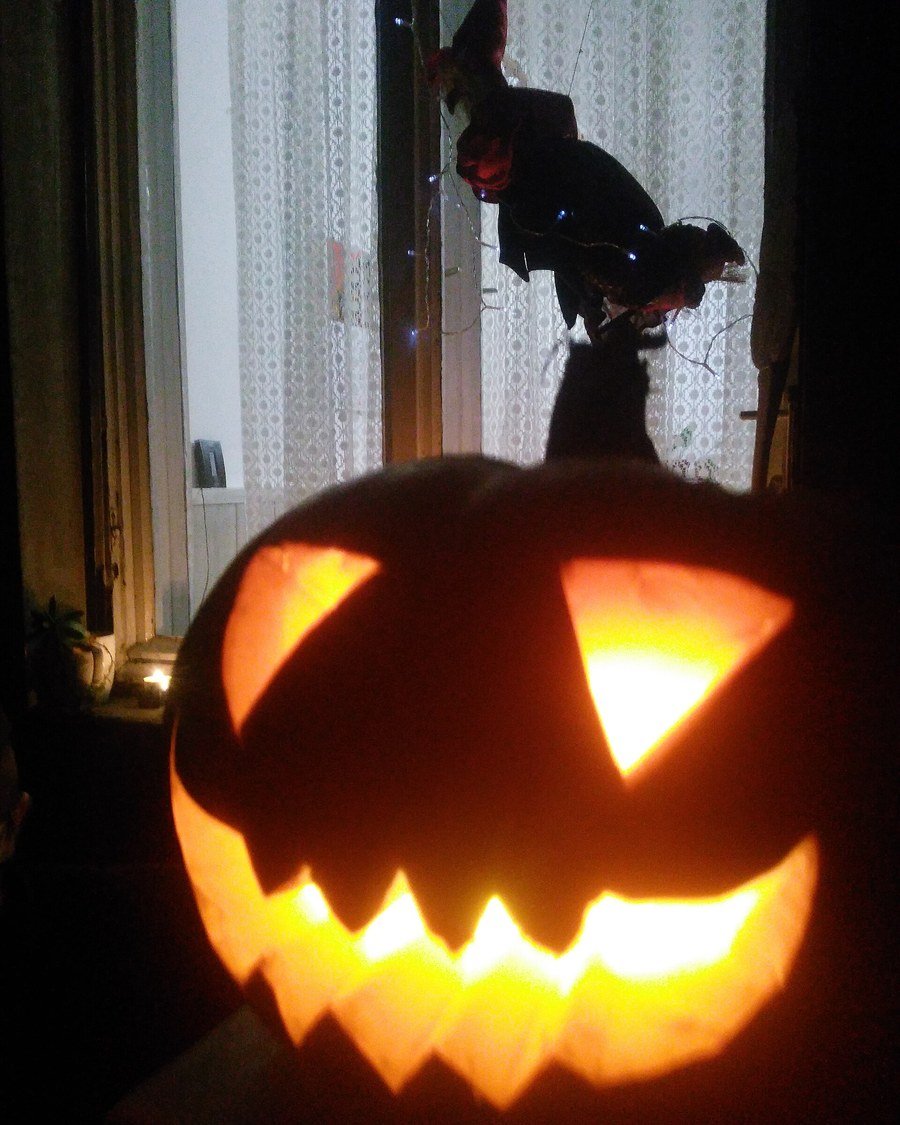
15. Pumpkin with Witch Hat Topper
Difficulty: Easy | Time: ~25 min | Kid-friendly: Yes | Best pumpkin: Medium round pumpkin
What to carve: A classic grin topped with a mini witch hat. The hat does half the decorating, and the grin does the rest.
How to do it:
- Carve a simple grin with triangle eyes.
- Scoop and add an LED light.
- Set a small black witch hat on top, angled to one side.
- Pin or glue the hat so wind cannot tip it.
- Display near the door where the hat reads clearly.
Make it cuter: Add a tiny paper buckle to the hat band.
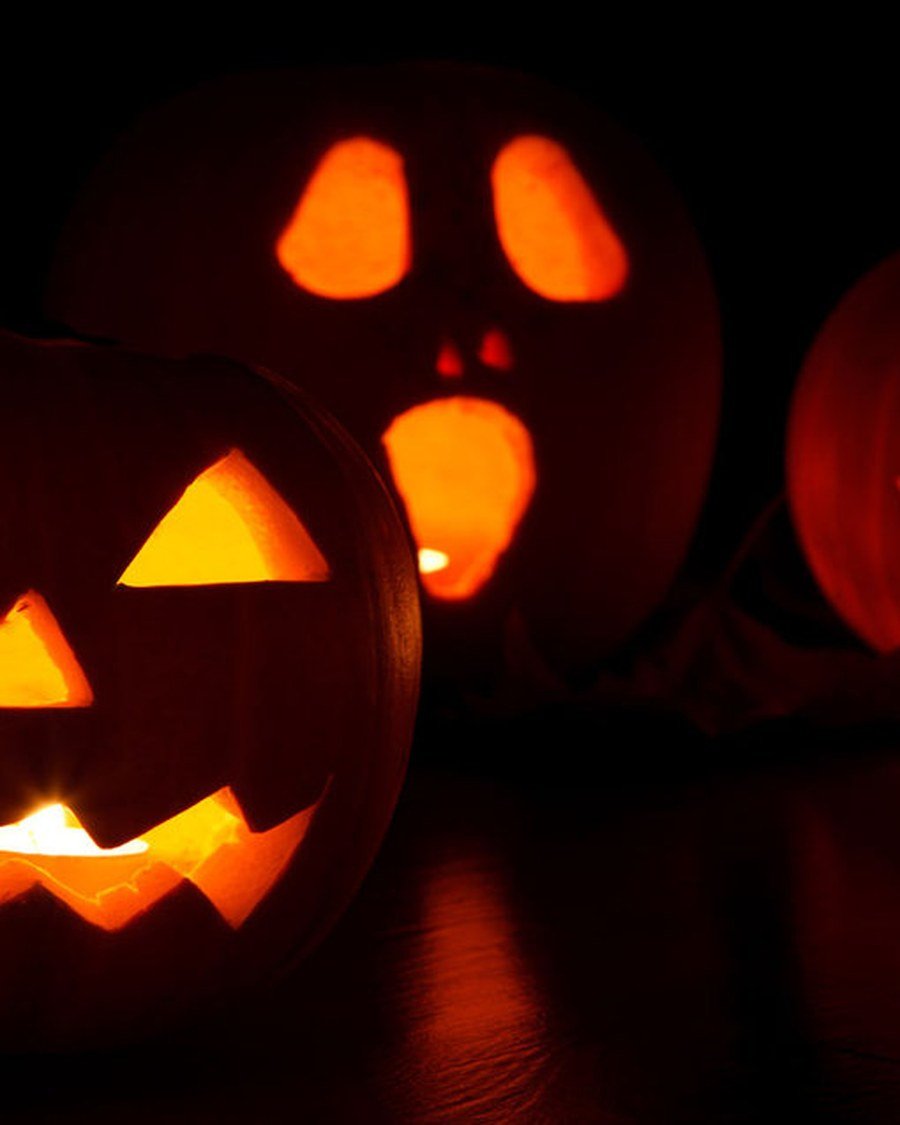
16. Trio of Lanterns Set
Difficulty: Easy+ | Time: ~50 min | Kid-friendly: Yes | Best pumpkin: Three matching round pumpkins
What to carve: Three matching lanterns with the same face in three sizes. Matching-set pumpkin carving ideas look intentional and tidy, and indoors they make a lovely centerpiece — swap candlelight for living room pendant light ideas when the pumpkins come inside for the season.
How to do it:
- Pick three pumpkins in small, medium, and large.
- Draw the same simple face on each, scaled to fit.
- Carve all three, largest first.
- Scoop each and add LED lights.
- Group them tight on a tray or porch table.
Make it cuter: Use the same size grin on all three so they read as a matching set.
Funny Pumpkin Carving Ideas
Funny pumpkin carving ideas are all about one silly twist: a wink, a wobble, or a pumpkin caught mid-snack. These five lean into the laugh.
17. Winking Pumpkin with Hat
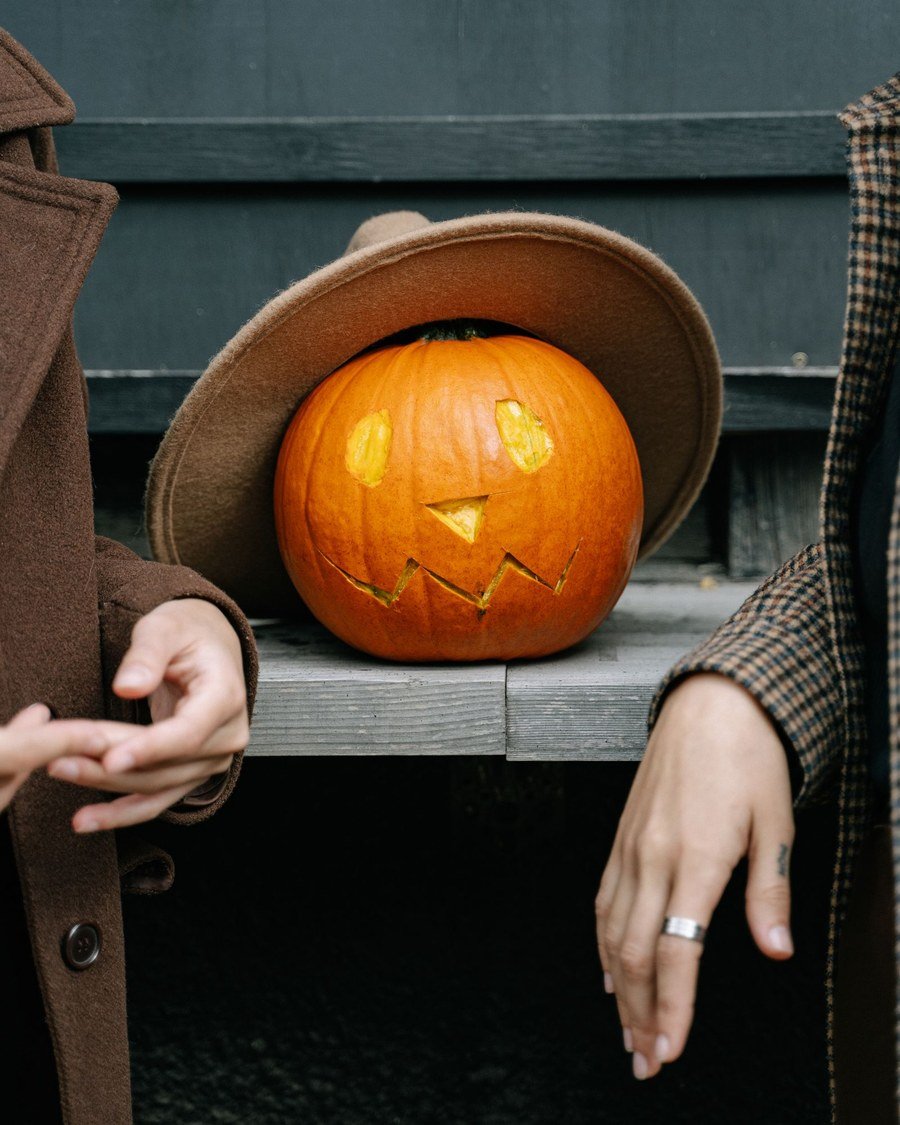
Difficulty: Easy | Time: ~25 min | Kid-friendly: Yes | Best pumpkin: Medium round pumpkin
What to carve: A winking face with one open eye, one curved wink, and a goofy hat perched on top. The wink makes people smile before they even read the grin.
How to do it:
- Draw one round open eye and one curved wink line.
- Add a lopsided grin.
- Carve the face with a small saw.
- Scoop and add an LED light.
- Top with a small hat, tilted for comic effect.
Make it cuter: Add a drawn-on eyebrow over the open eye for extra attitude.
18. Wearable Pumpkin-Head Photo Prop
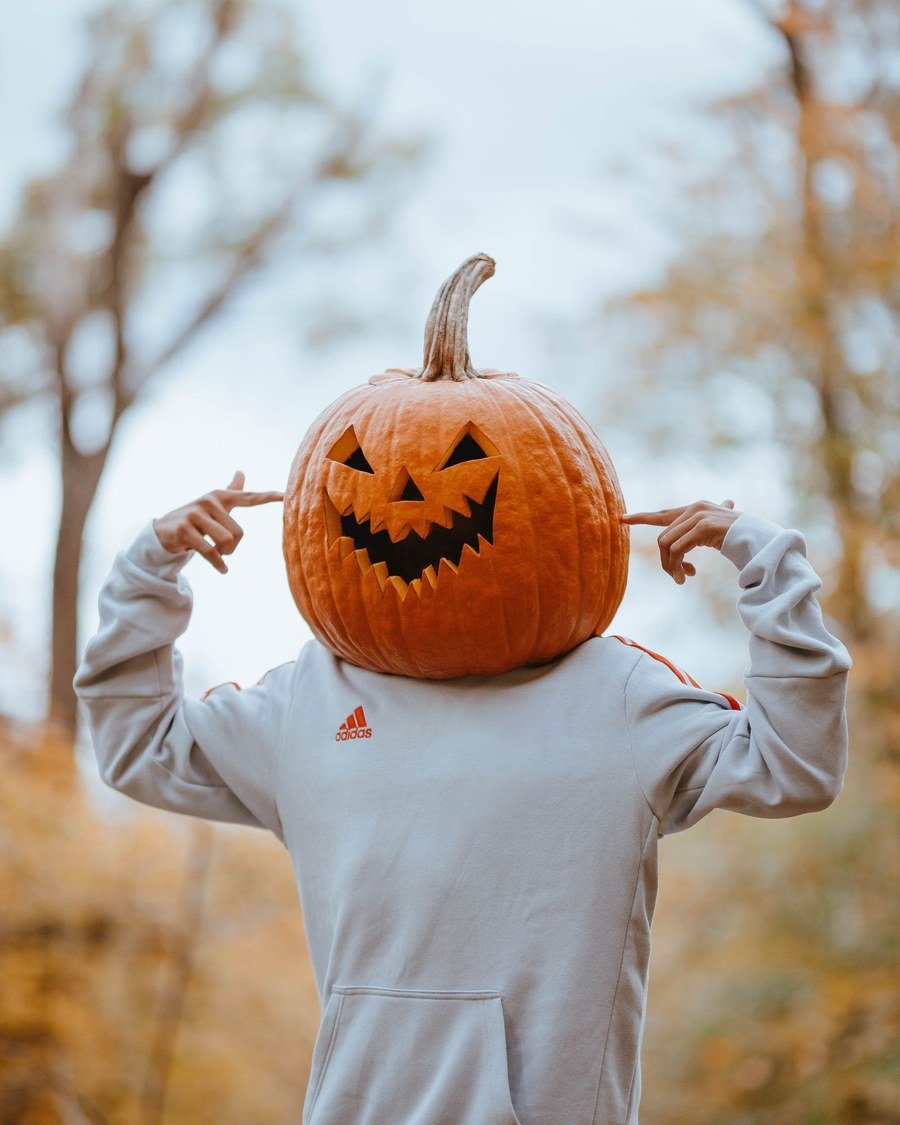
Difficulty: Easy+ | Time: ~30 min | Kid-friendly: No | Best pumpkin: Extra-large pumpkin
What to carve: A big pumpkin with large eye holes and a mouth opening, sized to wear on your head for photos. This is a photo prop, not a mask to walk around in — keep it for quick pictures only.
How to do it:
- Pick the largest pumpkin you can find.
- Cut a wide bottom opening that fits over shoulders.
- Carve two large eye holes you can see through.
- Carve a wide mouth opening for air and smiles.
- Scoop fully, then lift it on for photos with a friend spotting you.
Make it cuter: Pair the pumpkin head with a silly costume for the full photo.
19. Pumpkin-Man Porch Greeter
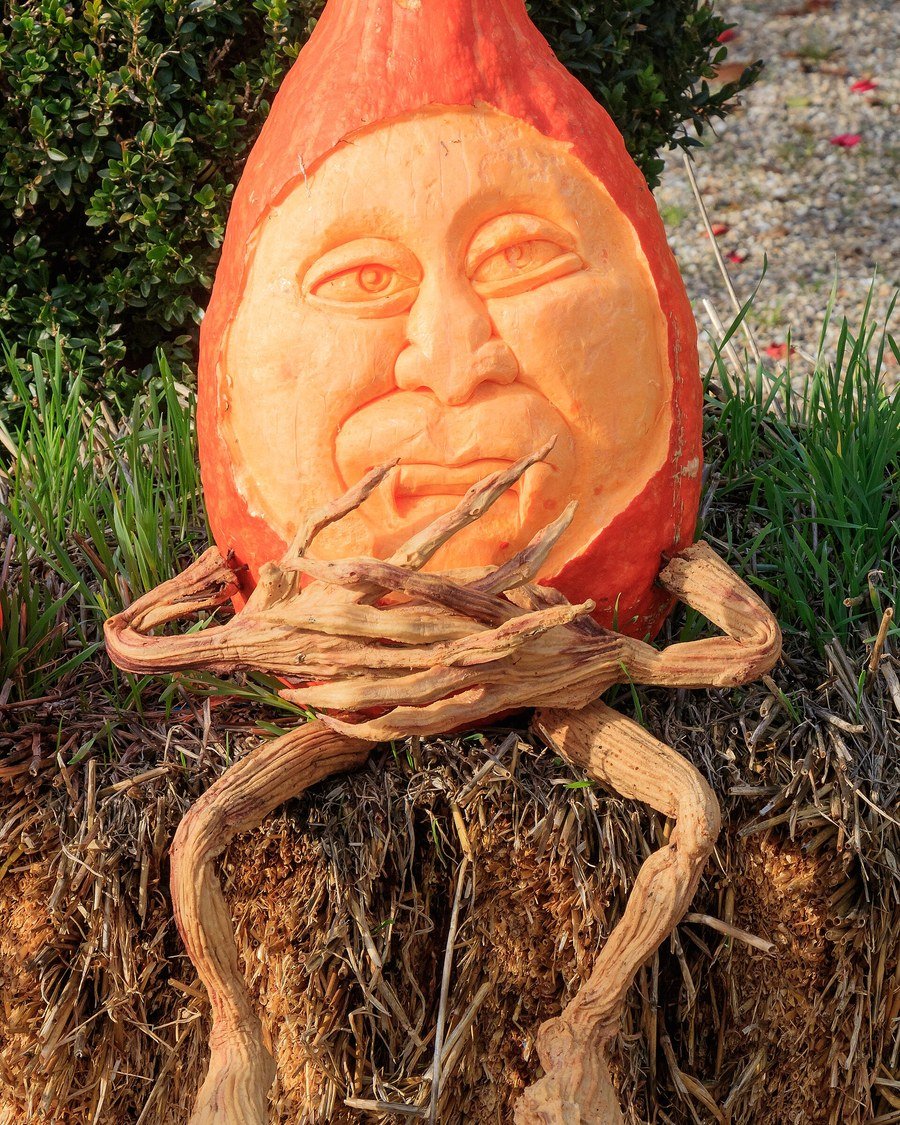
Difficulty: Medium | Time: ~60 min | Kid-friendly: No | Best pumpkin: One large + two medium pumpkins
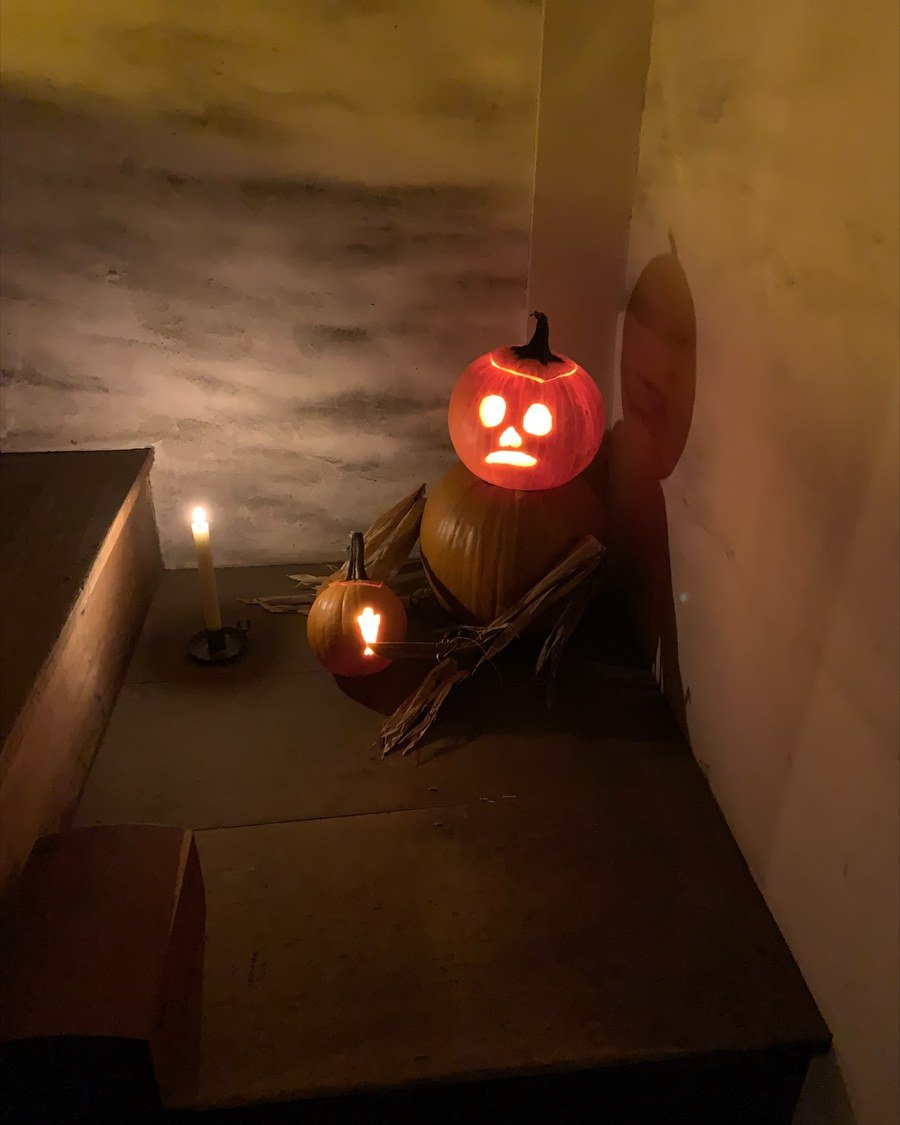
What to carve: A sitting pumpkin-man built from stacked pumpkins, with a carved face on the head pumpkin and arms made from branches. He greets guests from a porch chair all season.
How to do it:
- Stack a large pumpkin on a chair as the body.
- Set a medium pumpkin on top as the head.
- Carve a friendly face on the head pumpkin.
- Push branch arms into the sides of the body pumpkin.
- Add a hat, scarf, or old shirt to finish the character.
Make it cuter: Give him a small carved pumpkin “pet” sitting at his feet.
20. Cross-Eyed Goofy Pair
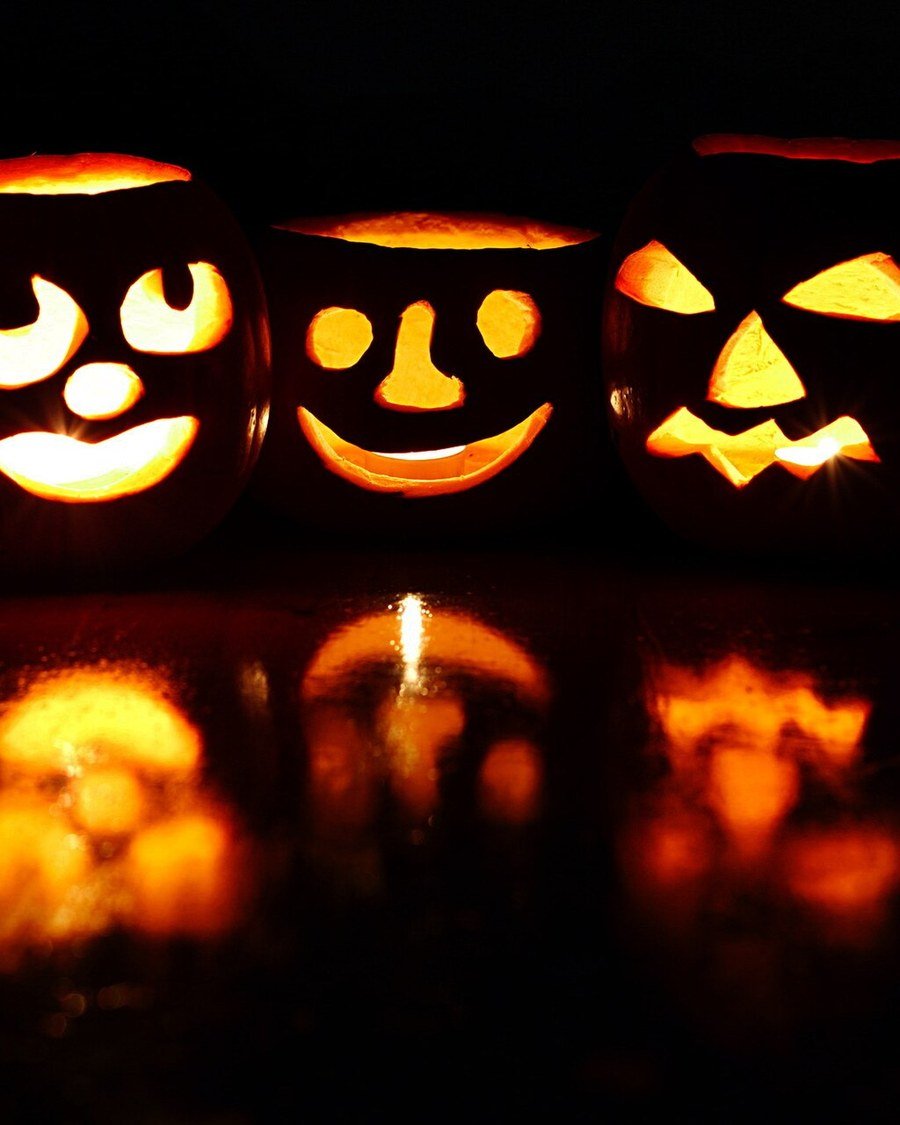
Difficulty: Easy | Time: ~30 min | Kid-friendly: Yes | Best pumpkin: Two medium round pumpkins
What to carve: Two pumpkins with crossed eyes and goofy grins, set close together like they are sharing a joke. Crossed-eye pumpkin carving ideas are easy to draw and always get a laugh.
How to do it:
- Draw two eyes that angle inward toward each other.
- Add a wobbly, uneven grin.
- Carve both faces, keeping the eyes crossed.
- Scoop and add LED lights.
- Set the pair touching, tilted toward each other.
Make it cuter: Give one pumpkin a bigger grin than the other, like a laughing duo.
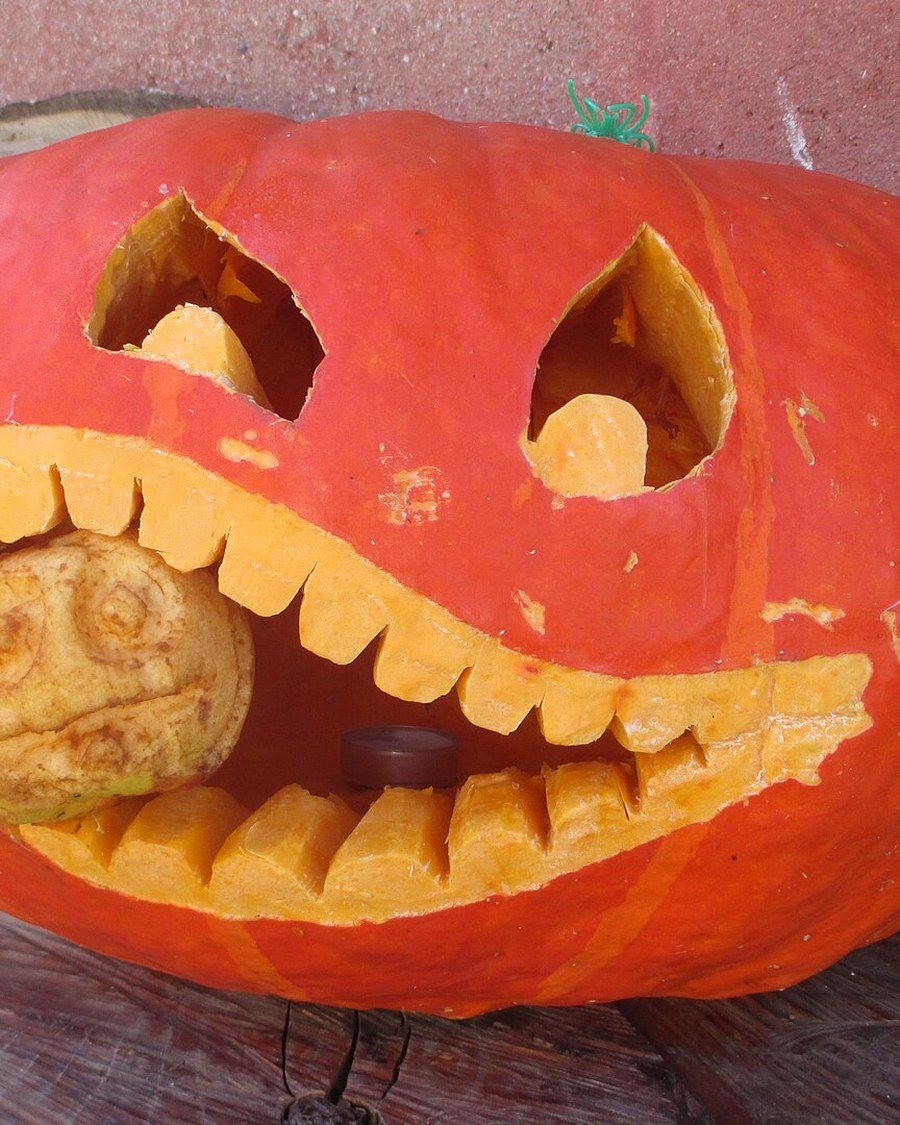
21. Pumpkin Eating an Apple
Difficulty: Easy+ | Time: ~25 min | Kid-friendly: Yes | Best pumpkin: Medium round pumpkin
What to carve: A pumpkin with a wide open mouth, holding a small apple between its teeth. Apple-bite pumpkin carving ideas always get a laugh, because it looks like the pumpkin is mid-snack.
How to do it:
- Carve two eyes and a big open mouth.
- Scoop the pumpkin clean.
- Wedge a small apple into the mouth opening.
- Use a toothpick from inside to hold the apple steady.
- Add an LED light behind the mouth for glow.
Make it cuter: Use a tiny crab apple for a funnier, smaller bite.
Spooky-Cute Pumpkin Carving Ideas
Spooky-cute pumpkin carving ideas walk the line between a giggle and a gasp. These five look spooky at night and friendly by day.
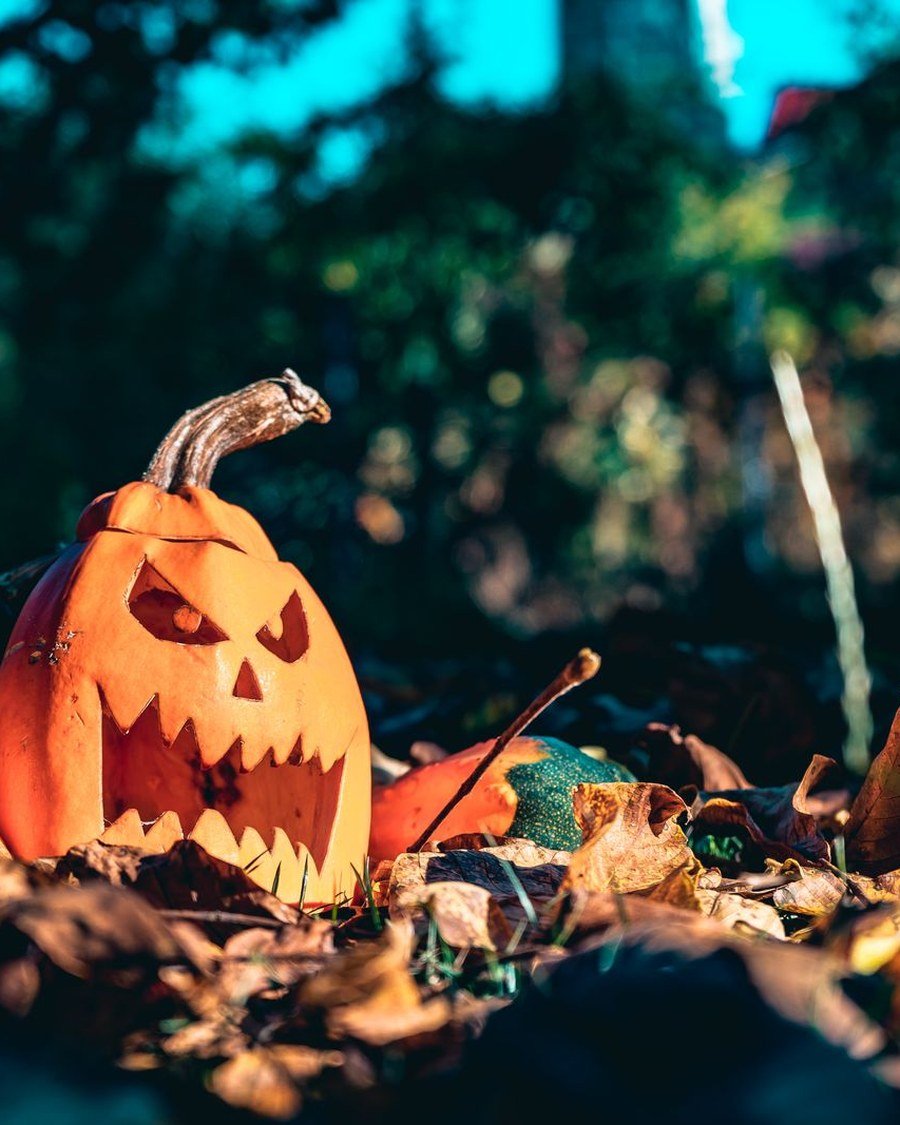
22. Grumpy Pumpkin Lurking in Leaves
Difficulty: Easy | Time: ~25 min | Kid-friendly: Yes | Best pumpkin: Medium round pumpkin
What to carve: A grumpy, spooky-cute face half-buried in fallen leaves on the ground. Leaf-bed pumpkin carving ideas work because the leaves do the scary staging; the face stays more cute than frightening.
How to do it:
- Carve a grumpy face with angled brows and a frown.
- Scoop and add an LED light.
- Set the pumpkin low in a pile of dry leaves.
- Tuck leaves around the base so it looks half-hidden.
- Check the face is still visible from the walkway.
Make it cuter: Add one tiny smiling mini pumpkin beside it, like a friend who is not scared.
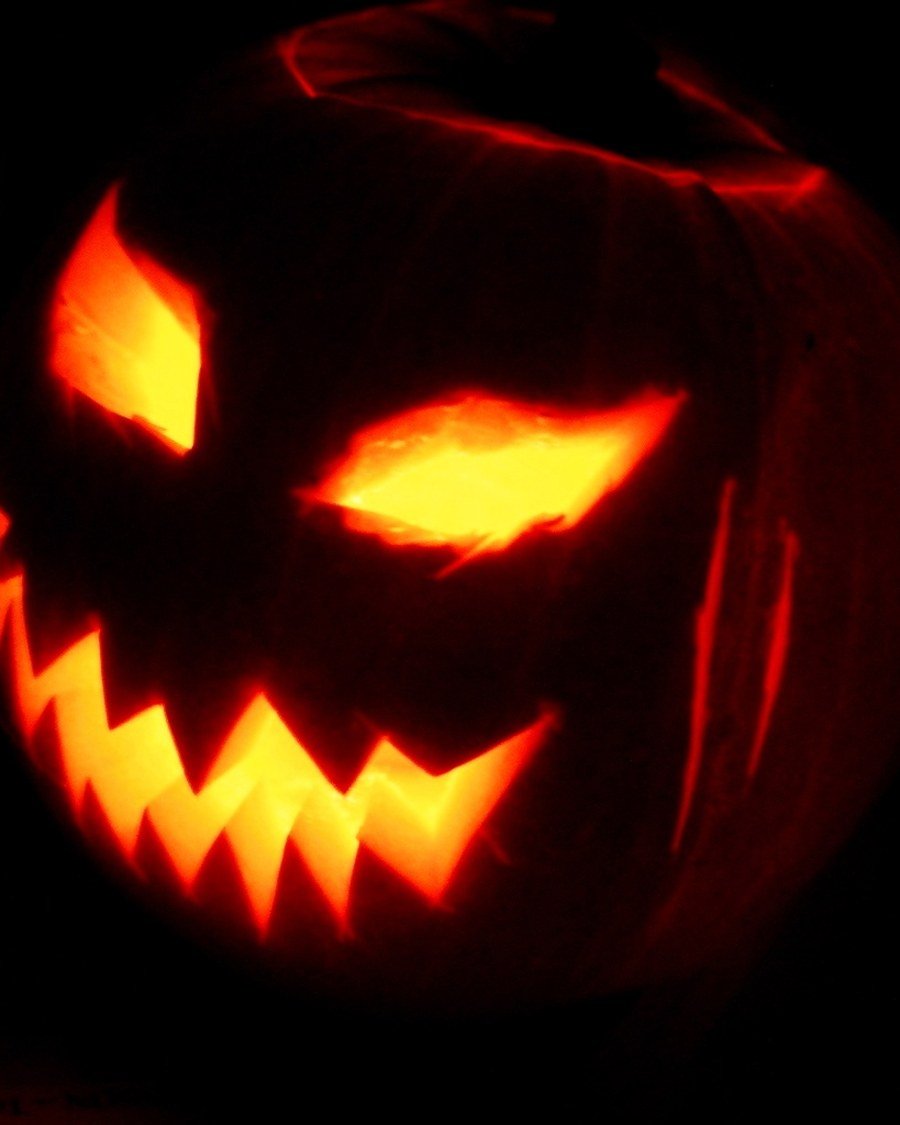
23. Jagged-Grin Pumpkin
Difficulty: Easy+ | Time: ~30 min | Kid-friendly: No | Best pumpkin: Large round pumpkin
What to carve: A jagged, zigzag grin with sharp triangular teeth and narrow eyes. It reads spooky at night and playful by day, which is the sweet spot for spooky-cute pumpkin carving ideas.
How to do it:
- Draw a zigzag mouth with tall, uneven teeth.
- Add narrow, slanted eyes.
- Carve the teeth slowly so none snap off.
- Scoop and add an LED light.
- Display it at the edge of the porch for a little jump scare.
Make it cuter: Round the outer corners of the grin so it stays friendly.
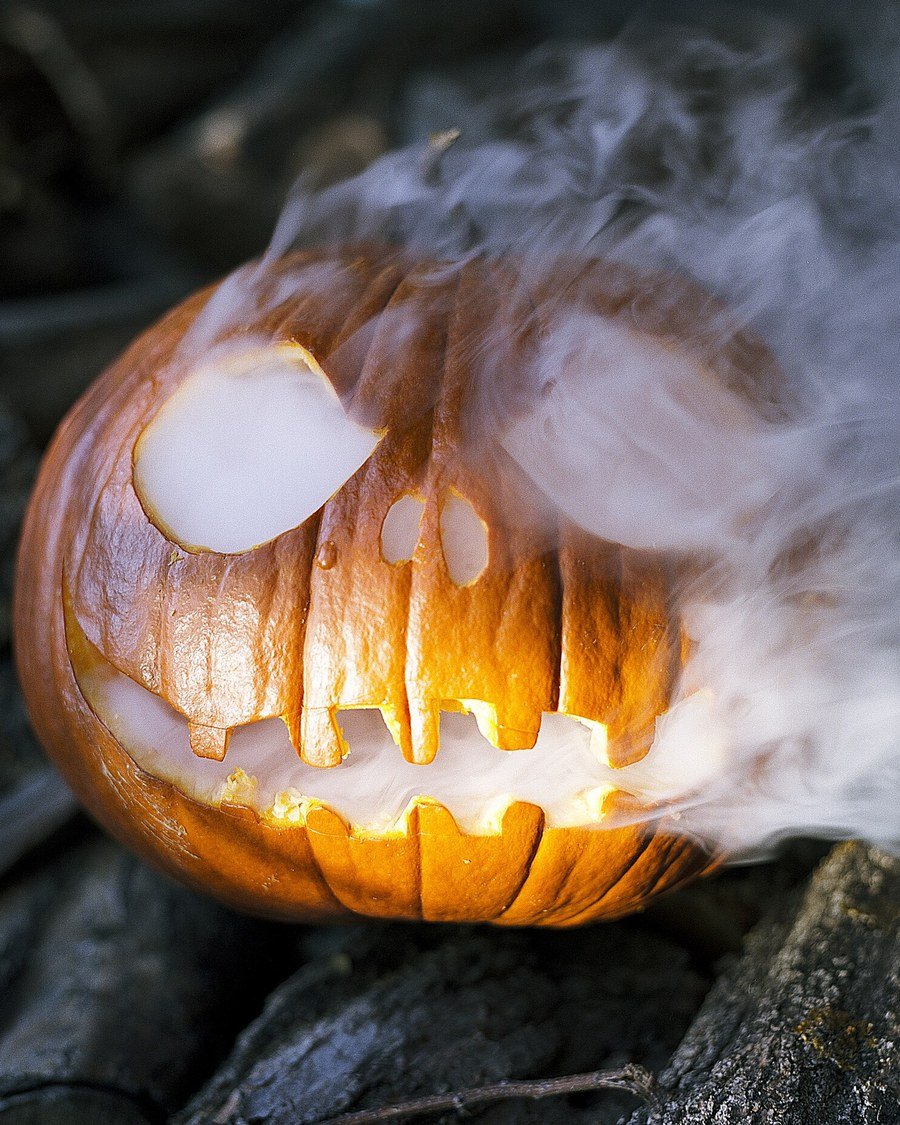
24. Smoky Skull Pumpkin
Difficulty: Medium | Time: ~40 min | Kid-friendly: No | Best pumpkin: Large round pumpkin
What to carve: A skull-style face with hollow eyes and a nose cavity, lit so it glows like it is breathing smoke. Skull pumpkin carving ideas stay spooky but cartoonish rather than gory when you keep the teeth short and even.
How to do it:
- Draw large round eye sockets and a small triangle nose.
- Carve the eyes and nose as wide openings.
- Add vertical teeth lines below the nose.
- Scoop and add a flickering LED for a smoky effect.
- Display it slightly back from the porch edge so the glow builds.
Make it cuter: Keep the teeth short and even so the skull reads as a cartoon.
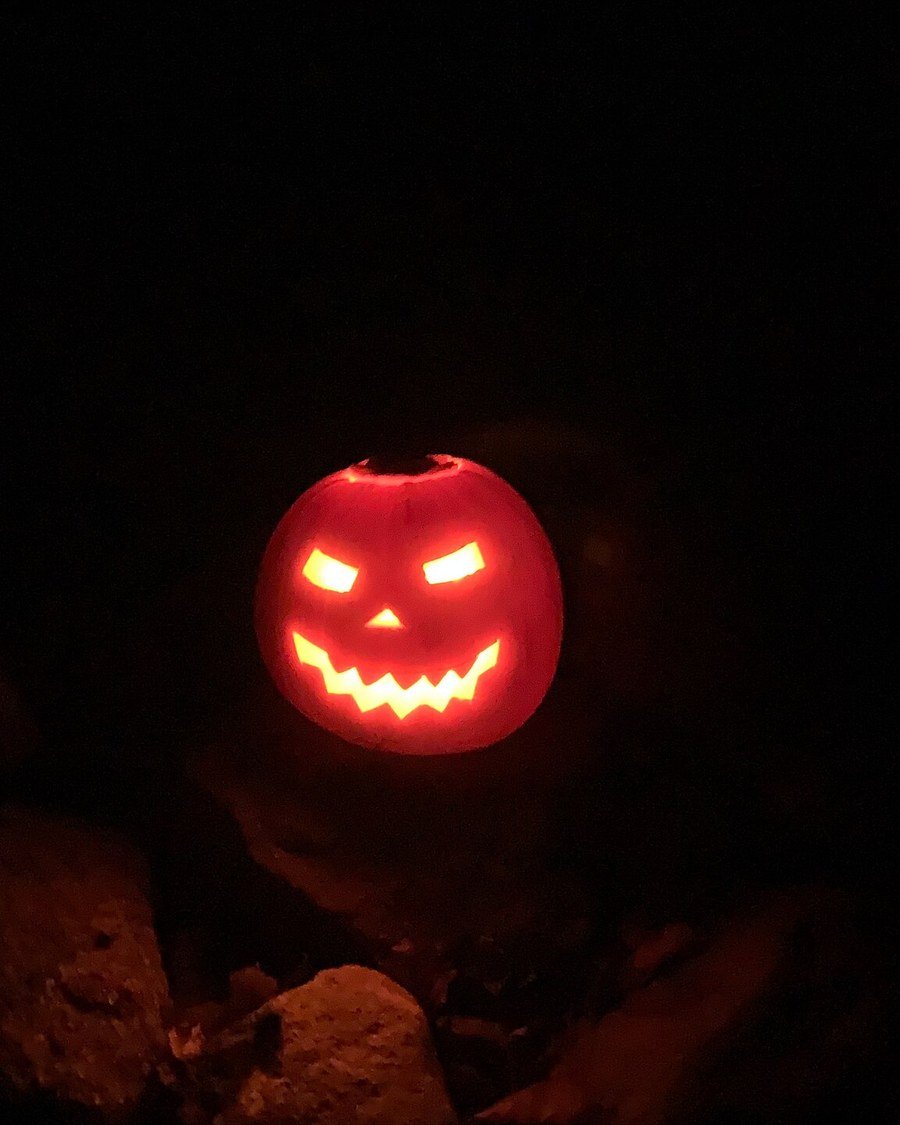
25. Rock-Garden Guardian Pumpkin
Difficulty: Easy+ | Time: ~30 min | Kid-friendly: No | Best pumpkin: Large round pumpkin
What to carve: A stern, scary face set among garden rocks, like a guardian watching the yard. The rocks frame the face and make the display look planned.
How to do it:
- Carve a stern face with heavy brows and a straight mouth.
- Scoop and add an LED light.
- Nestle the pumpkin among rocks in a garden bed.
- Angle the face toward the path.
- Add a few small stones at the base to hold it steady.
Make it cuter: Surround it with tiny gourds so the guardian has little helpers.
26. Window-Watcher Grin Pumpkin
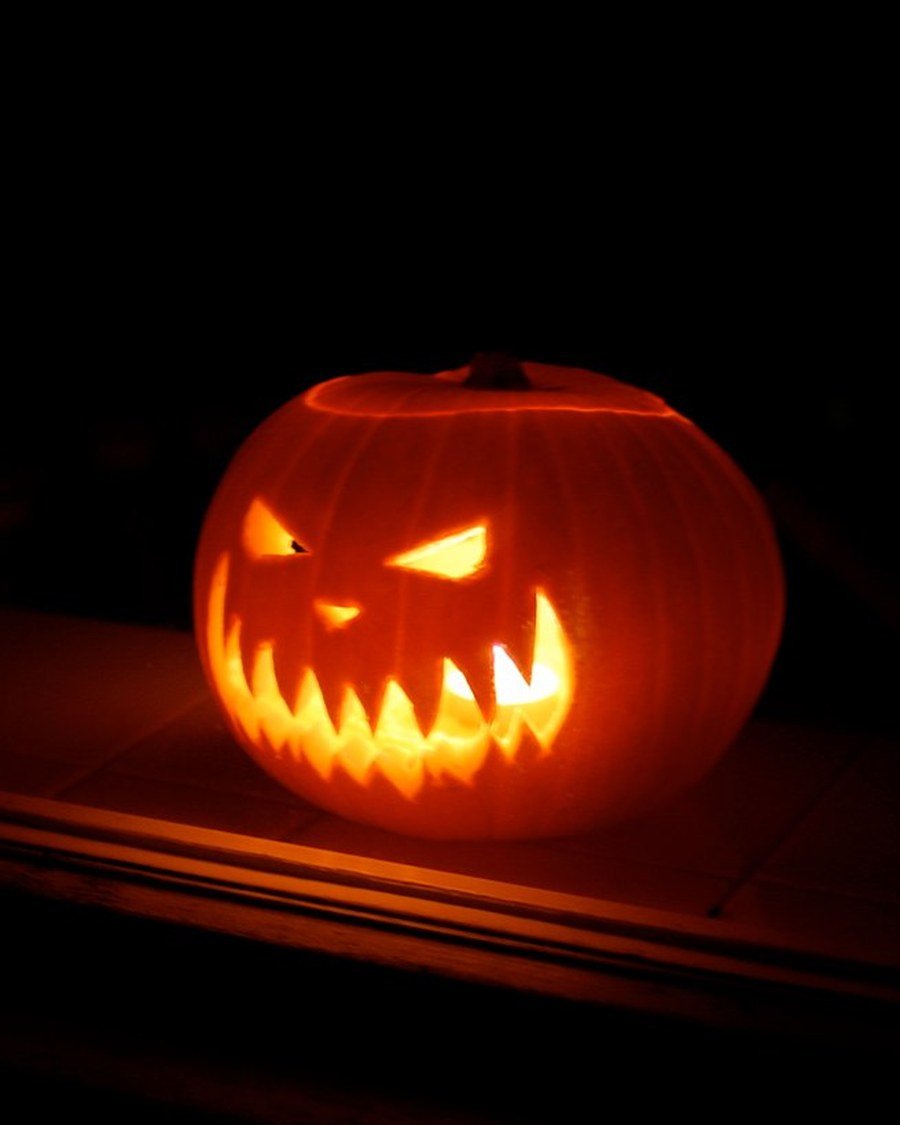
Difficulty: Easy | Time: ~20 min | Kid-friendly: No | Best pumpkin: Medium round pumpkin
What to carve: A menacing grin placed inside a window, glowing out at the street. Window pumpkin carving ideas are spooky from the street, but clearly just a pumpkin up close.
How to do it:
- Carve a wide grin with slanted eyes.
- Scoop and add a bright LED light.
- Set the pumpkin on the windowsill, face out.
- Close the curtains behind it so the glow frames the face.
- Check the effect from the street after dark.
Make it cuter: Add a small paper curtain or cobweb beside it for a haunted-house touch.
No-Carve Cute: Painted Pumpkins
No-carve pumpkin carving ideas skip the knife entirely. Paint, googly eyes, and hats do all the work, which makes these perfect for toddlers and for pumpkins you want to keep for weeks.
27. Painted Monster with Witch Hat
Difficulty: Easy | Time: ~30 min | Kid-friendly: Yes | Best pumpkin: Medium round pumpkin, any color
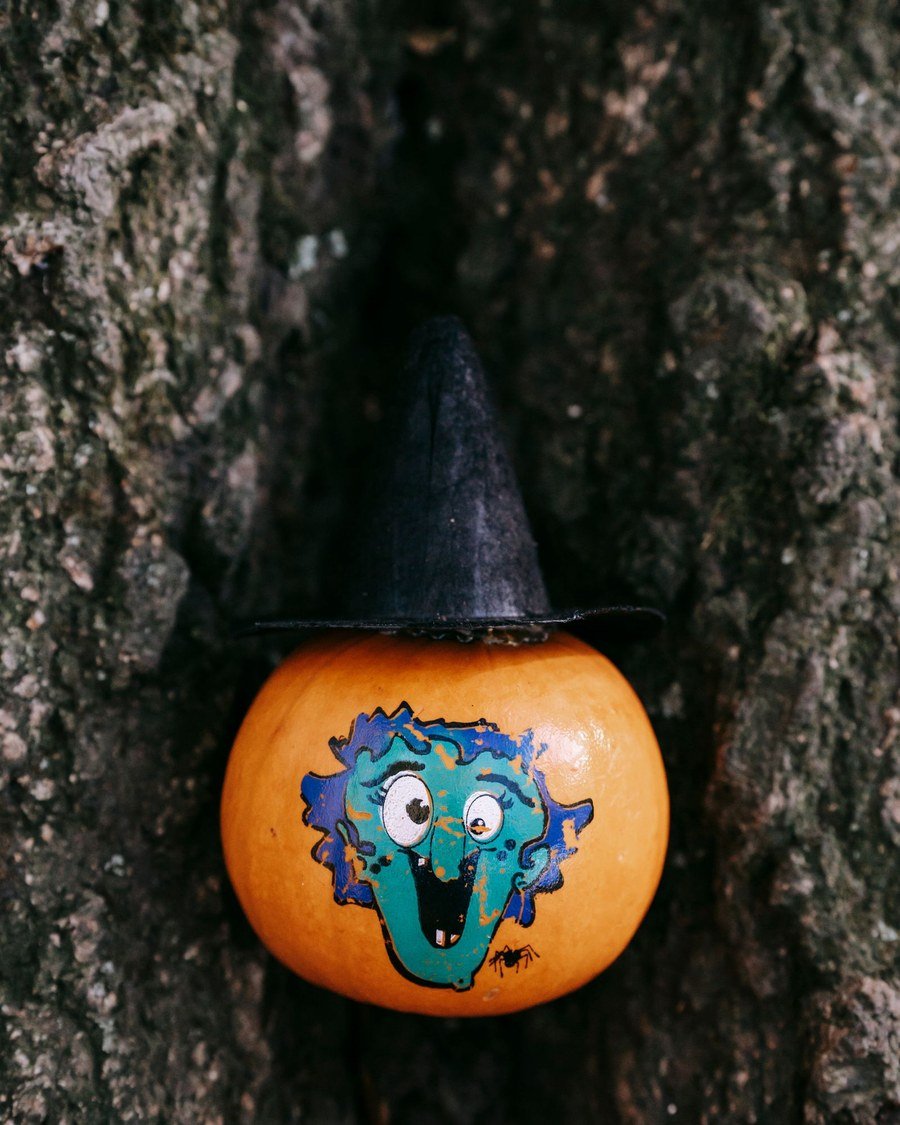
What to carve: Nothing — this one is painted. A goofy monster face in acrylic paint, topped with a mini witch hat. No-carve pumpkin carving ideas are perfect for toddlers and for pumpkins you want to keep for weeks.
How to do it:
- Wipe the pumpkin clean and let it dry.
- Paint a big monster face with acrylic paint: one big eye, one small eye, a wobbly mouth.
- Let the paint dry fully between coats.
- Set a mini witch hat on top.
- Seal with a clear spray if the pumpkin will sit outside.
Make it cuter: Add googly eyes over the painted eyes for a 3D pop.
28. Painted Unicorn Pumpkins
Difficulty: Easy | Time: ~35 min | Kid-friendly: Yes | Best pumpkin: Two white or pale pumpkins
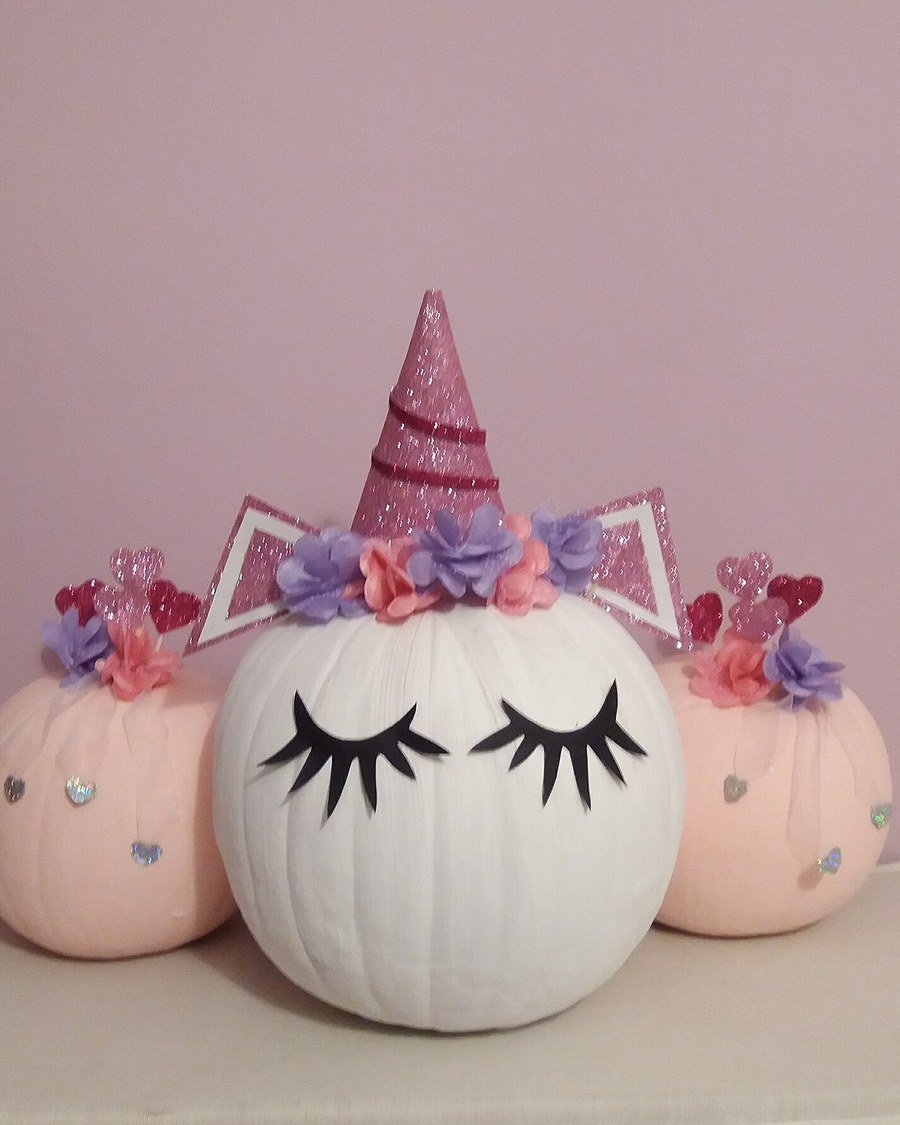
What to carve: Nothing — paint unicorn faces with pastel manes, gold horns, and sleepy eyes. Painted pumpkin carving ideas are also a great excuse to go bold with color; for the same joyful, color-first mood indoors, see these dopamine decor ideas.
How to do it:
- Pick pale pumpkins so pastel paint shows up well.
- Paint a gold cone horn on top, slightly tilted.
- Paint closed, sleepy eyes with long lashes.
- Add a pastel mane down the side in pink, blue, and lilac.
- Let dry, then display as a pair.
Make it cuter: Add tiny paper flowers around the horn base.
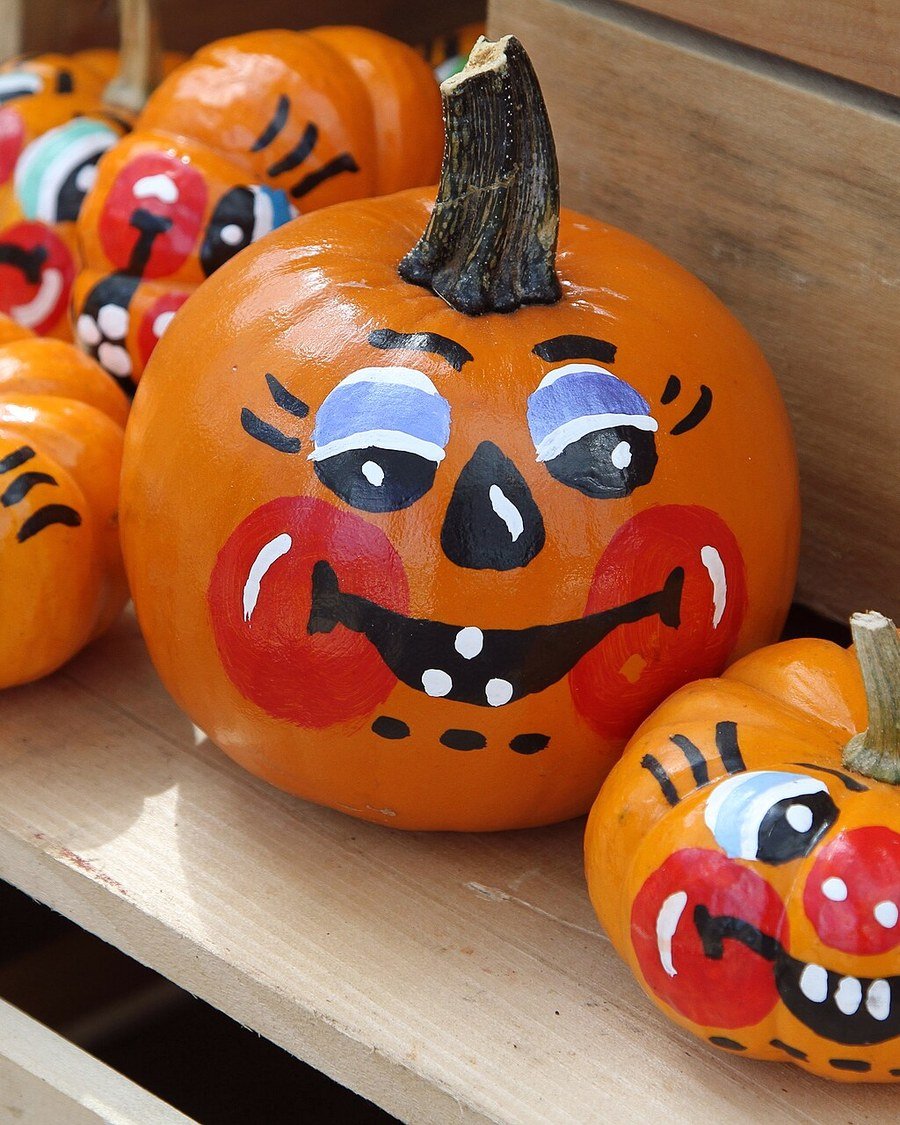
29. Painted Clown Pumpkins
Difficulty: Easy | Time: ~35 min | Kid-friendly: Yes | Best pumpkin: Two medium round pumpkins
What to carve: Nothing — paint cheerful clown faces with red noses, big smiles, and colorful tufts of hair. Painted pumpkin carving ideas are a fun first step into painted decor. If you like that look, these bathroom wall art ideas show how painted pieces work as year-round decoration too.
How to do it:
- Wipe each pumpkin clean.
- Paint a white base circle for the face.
- Add a red nose, big smile, and colorful hair tufts.
- Let each layer dry before adding the next.
- Display the pair together for a circus feel.
Make it cuter: Give one clown a happy grin and the other a surprised O mouth.
Carving Techniques & Display
These last three pumpkin carving ideas teach technique: your first cut, a grid transfer, and a group carve. Learn them once and every future pumpkin gets easier.
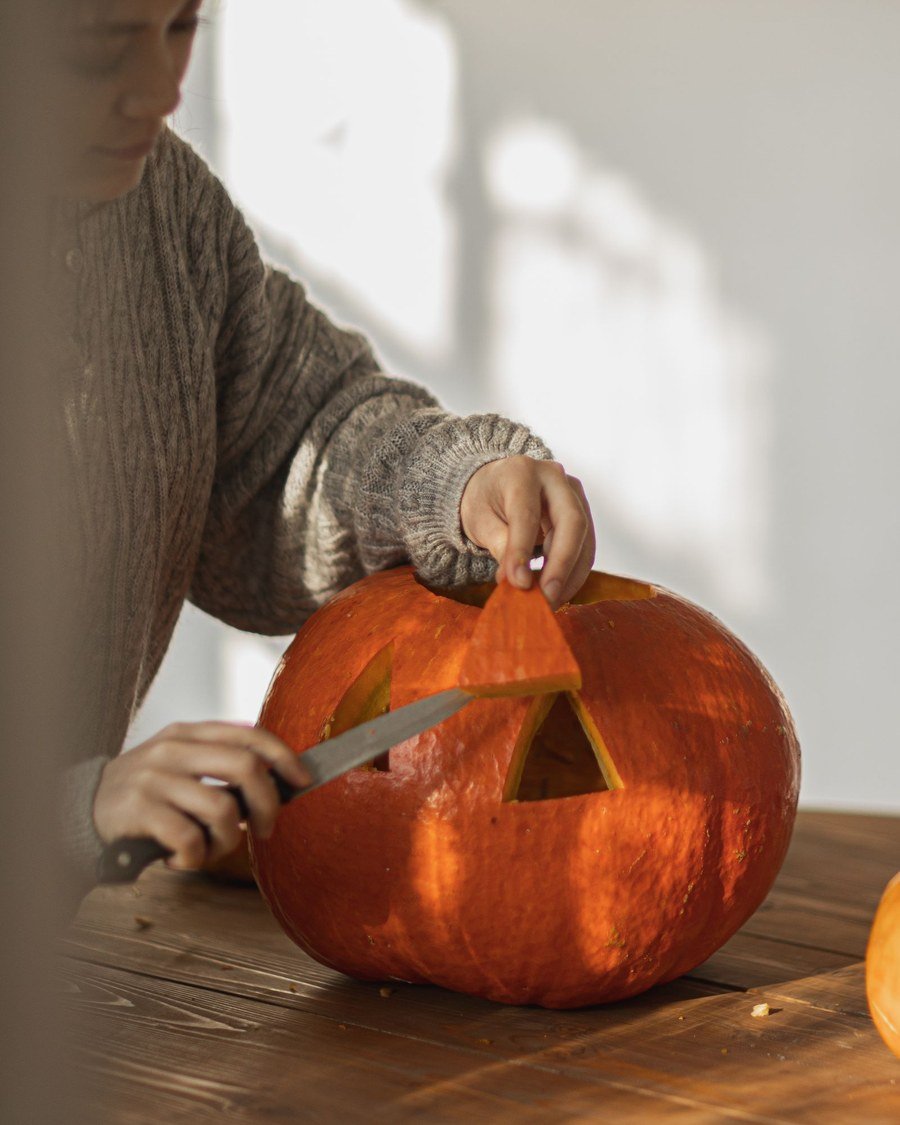
30. First-Cut Starter Pumpkin
Difficulty: Easy | Time: ~15 min | Kid-friendly: Yes | Best pumpkin: Medium round pumpkin
What to carve: The simplest real carve: a lid, a scoop, and one big smile. This is the pumpkin to carve first if you have never carved before. Fifteen minutes, one face, done. Starter pumpkin carving ideas like this one prove you do not need skill to get a great result.
How to do it:
- Cut the lid and scoop the pumpkin.
- Draw one big smile and two dot eyes.
- Carve the smile first, then the eyes.
- Add an LED light.
- Admire it. You are now a pumpkin carver.
Make it cuter: Add two tiny triangle eyebrows for instant personality.
31. Grid-Transfer Template Carving
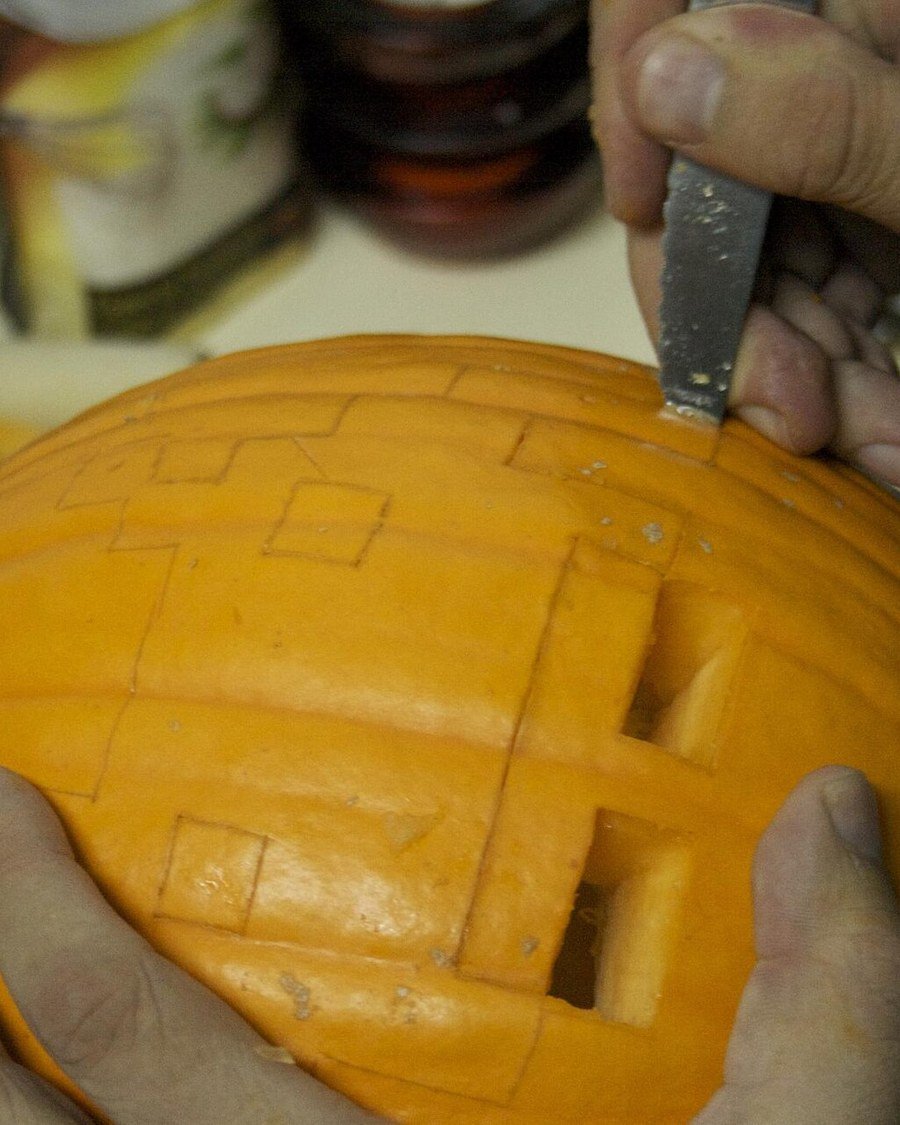
Difficulty: Easy+ | Time: ~35 min | Kid-friendly: Yes | Best pumpkin: Large smooth pumpkin
What to carve: A detailed design transferred with a grid pattern. Grid-transfer pumpkin carving ideas are how beginners carve designs that look advanced — the grid does the hard part.
How to do it:
- Pick a template and print it to fit your pumpkin.
- Tape the template to the pumpkin and poke along the lines with a pin.
- Remove the paper and connect the dots with a marker.
- Carve along the marked lines with a small saw.
- Scoop, light, and check the design from a few feet back.
Make it cuter: Start with a template that has big, simple shapes before trying fine detail.
32. Carving-Party Pumpkin
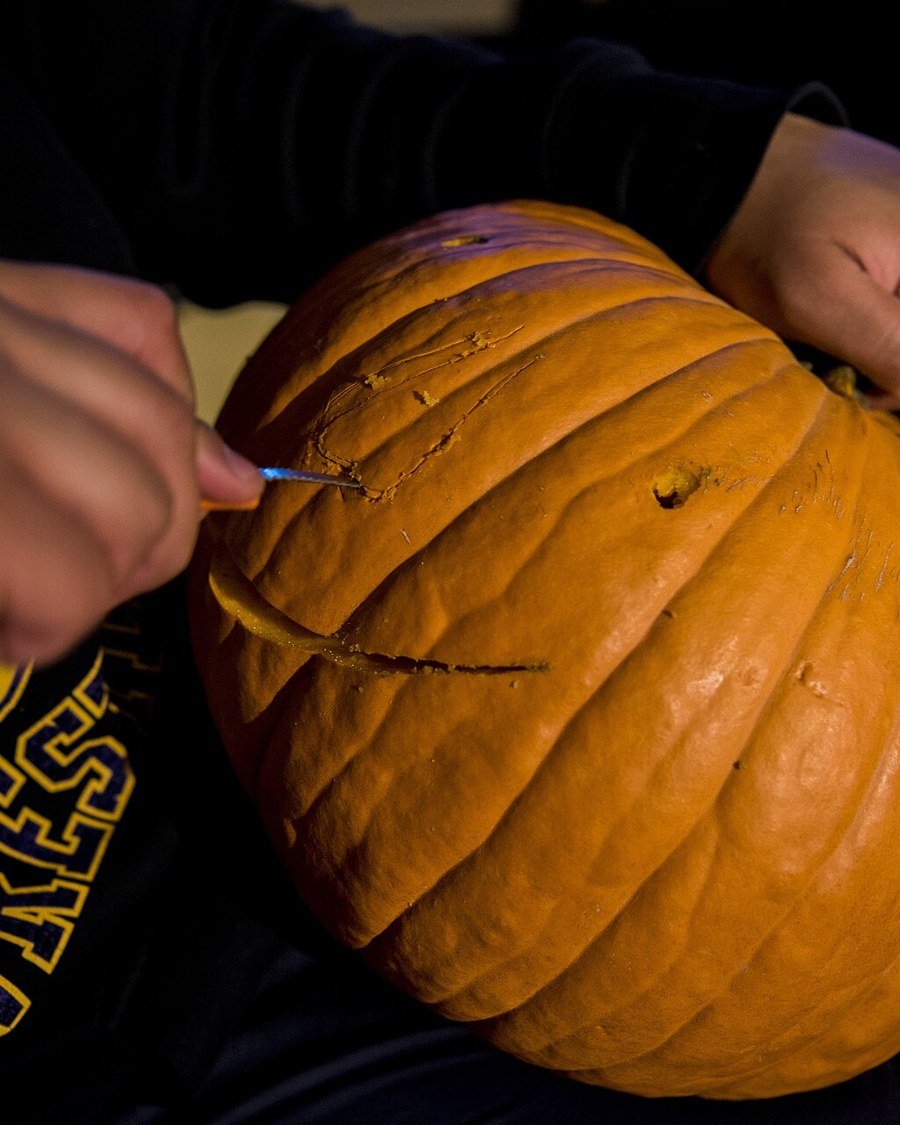
Difficulty: Medium | Time: ~45 min | Kid-friendly: Yes | Best pumpkin: One large pumpkin per guest
What to carve: A group carve where everyone designs their own face on a shared theme, like “silliest face” or “cutest monster.” Party pumpkin carving ideas turn carving into an event, and every pumpkin comes out different.
How to do it:
- Set up one station per guest with a pumpkin, tools, and newspaper.
- Agree on a theme so the pumpkins look like a set.
- Everyone draws their face first, then adults carve.
- Line up all the finished pumpkins together.
- Vote on categories: silliest, cutest, spookiest. Mini carved pumpkins also look great tucked on shelves once the party ends — see these book shelf ideas for styling them.
Make it cuter: Hand out paper awards for each category.
How to Make Your Pumpkin Last Longer
A carved pumpkin is fresh produce, so it starts to soften within days. These preservation steps work for all 32 pumpkin carving ideas above, and they slow that down:
- Seal the cuts: Rub a thin layer of petroleum jelly on every cut edge. It locks in moisture and slows shriveling. If you use petroleum jelly, use battery lights only — never a real candle.
- Keep it cool: Display in shade, bring it inside on warm days, and store it in a cool spot overnight. Heat speeds up rot fast.
- Dry the inside: Scoop thoroughly and pat the inside dry. Leftover pulp and seeds grow mold first.
- Use LED, not candle: Candle heat cooks the pumpkin from inside and speeds decay. LED tea lights glow just as well and last longer.
- Carve late: Carve two to three days before Halloween if you want peak freshness on the big night. High Plains Journal’s guide to pumpkin carving preservation explains why cleaning, sealing, and cool storage matter most.
Free Template Tips
Templates are the shortcut behind the fanciest pumpkin carving ideas. Use these three methods to transfer any design cleanly.
- Print and tape: Print your design to fit the pumpkin, tape it on, and poke along the lines with a pin or nail.
- Poke-transfer method: After poking, remove the paper. The dots stay on the skin. Connect them with a marker, then carve.
- Cookie-cutter shortcut: Press a metal cookie cutter into the pumpkin skin, trace around it, then carve the shape. Stars, hearts, and bats work beautifully.
- Start simple: Pick templates with big shapes and few details for your first try. Fine lines tear easily.
Display & Lighting Ideas
Good pumpkin carving ideas deserve a good display. These lighting and grouping tricks make even simple faces look like a styled porch.
- LED tea lights: The safest glow. They run for days, will not melt the pumpkin, and work with petroleum jelly.
- String lights: Coil a short strand of warm fairy lights inside a big pumpkin for a soft, even glow.
- Group by height: Put tall pumpkins at the back, medium in the middle, and minis in front. The layered look fills a porch fast. For a bigger entryway moment, these maximalist entryway ideas show how layered styling works at full scale.
- Small spaces: Short on porch room? Grouping by height works indoors too — these small living room layout ideas use the same trick.
- Long surfaces: Lining pumpkins along a mantel or console works like arranging a rectangular living room layout — anchor the ends, fill the middle.
- Open rooms: In an open-plan room, use a pumpkin trio as a coffee-table centerpiece. These open-concept living room layout ideas show how one group can anchor a big space.
- Fresh greens after Halloween: Once the pumpkins come down, bring the green back indoors with these greenery bedroom ideas.
FAQ
How long do carved pumpkins last?
Most carved pumpkins last 3 to 7 days, depending on weather. Cool, dry conditions stretch that out; heat and rain shorten it. Most pumpkin carving ideas on this list will hold up for the full week if you carve late and keep the pumpkin cool. Carve close to Halloween and follow the preservation steps above.
Can kids carve pumpkins?
Kids can draw faces, scoop insides, paint, and decorate. Adults should handle all sharp tools. For very young kids, no-carve painted pumpkins are the safest and most fun option.
What if a piece breaks while carving?
Push it back in with a toothpick from the inside. For a tooth or detail that snapped off, a toothpick splint holds it in place. Small cracks are barely visible once the pumpkin glows.
Real or faux pumpkin?
Real pumpkins smell like fall and carve easily, but they rot. Faux pumpkins cost more upfront, last for years, and carve with a hot knife or craft saw. For a one-night display, go real. For a keepsake, go faux.
Can I eat the seeds?
Yes. Rinse the seeds, toss with a little oil and salt, and roast at 300°F for about 10 minutes, stirring once. They are a great carving-night snack.
Candle or LED?
LED. It is safer, it will not cook the pumpkin, and it works with petroleum jelly. Candles look classic but shorten the pumpkin’s life and are a fire risk near paper and foil decorations.
Start Carving Tonight
Pick one idea from the table, grab a pumpkin, and give yourself 30 minutes. The pumpkin carving ideas above cover every skill level, so there is no reason to wait. The best pumpkin carving ideas are the ones you actually finish — and a smiling pumpkin on the porch beats a perfect design still sitting in your head. Happy Halloween!
