
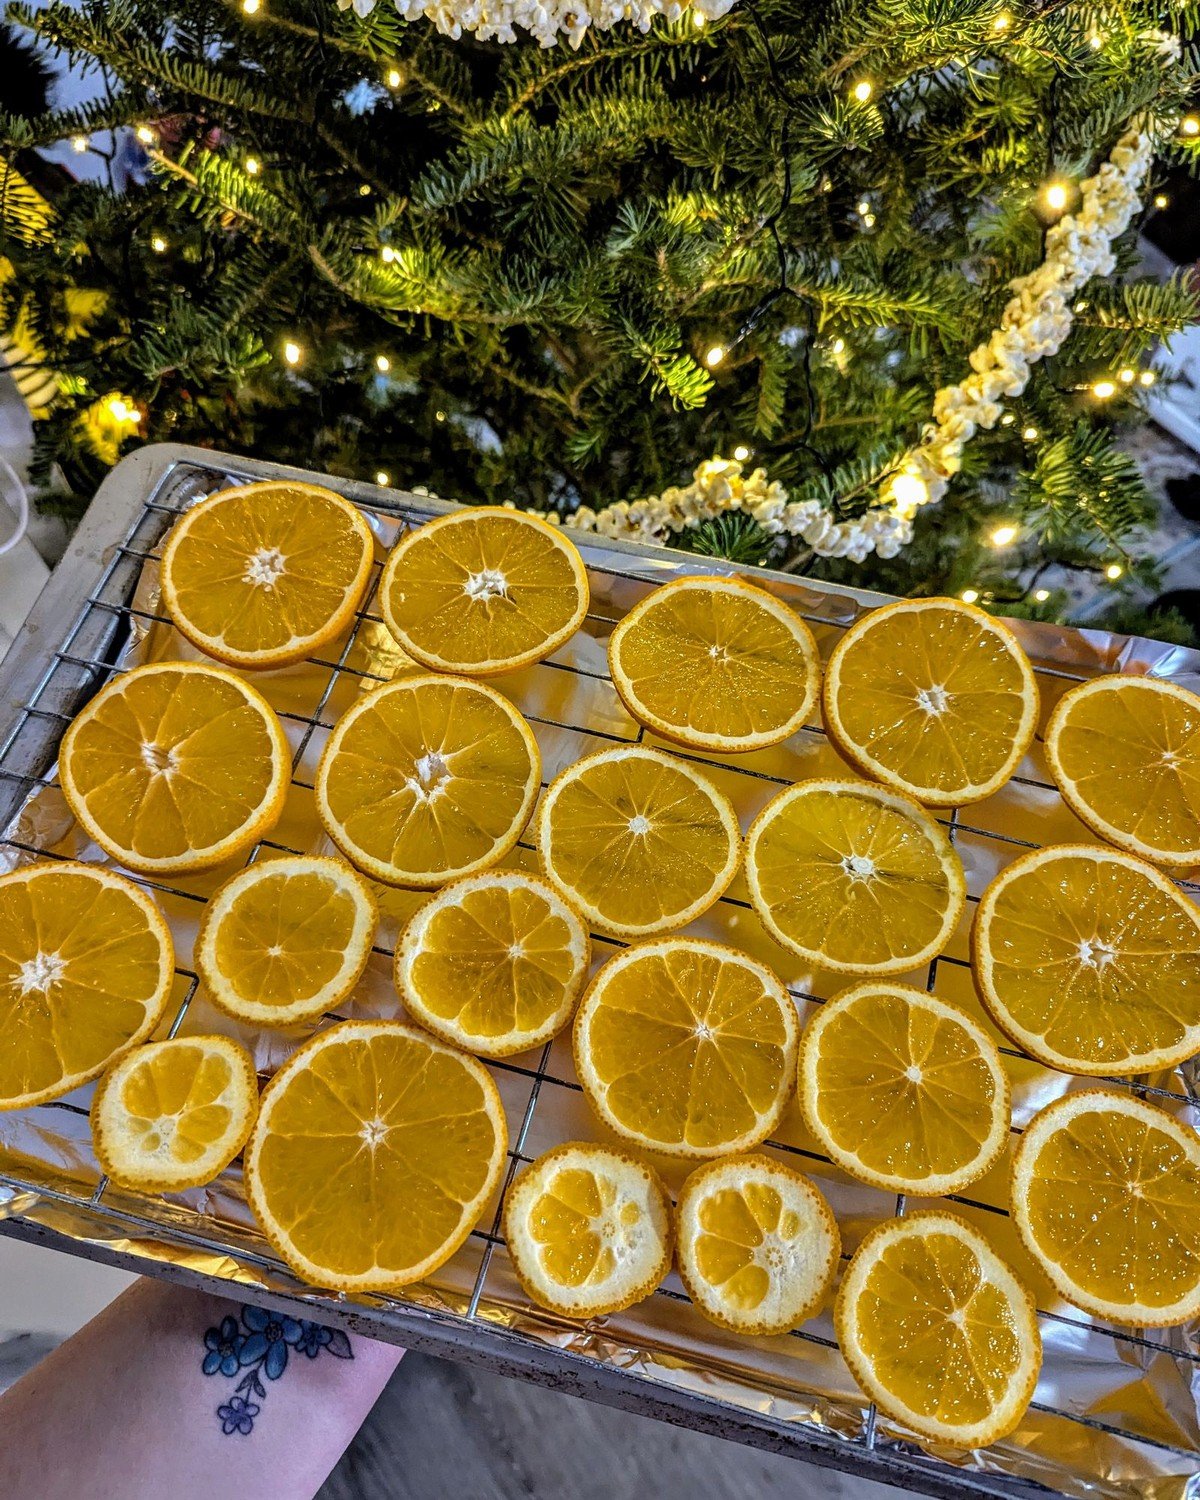
If you want Christmas decor that smells as good as it looks, a dried orange garland is the project to start with. The slices glow like little stained-glass windows when the light hits them, they cost almost nothing to make, and one batch of dried slices can dress a mantel, a tree, a table, and a front door all at once. This guide has 33 warm dried orange garland ideas for every room and budget, and every idea lists its difficulty, time, and cost so you can choose in seconds.
New to drying citrus? Start with the simple how-to right after the quick-pick table — three drying methods, no special equipment needed — then string your slices and work through the ideas. Every look here uses real, fully dried slices, so your garland stays fragrant and mold-free all season.
Quick-Pick Table
| Idea # | Name | Difficulty | Time | Cost |
|---|---|---|---|---|
| 1 | Classic Mantel Swag | Easy | ~30 min | Under $15 |
| 2 | Layered Cedar and Pine Garland | Easy+ | ~45 min | Under $25 |
| 3 | Tree Garland with Slice Ornaments | Easy | ~40 min | Under $15 |
| 4 | Staircase Banister Drops | Easy+ | ~50 min | Under $20 |
| 5 | Fireplace Beam Garland | Easy | ~35 min | Under $20 |
| 6 | Mantel Wreath Ring | Easy+ | ~40 min | Under $20 |
| 7 | Table Runner Centerpiece | Easy | ~25 min | Under $15 |
| 8 | Place-Setting Slice Accents | Easy | ~20 min | Under $10 |
| 9 | Kitchen Window Garland | Easy | ~25 min | Under $10 |
| 10 | Bookshelf and Book Stack Styling | Easy | ~20 min | Under $10 |
| 11 | Glass Jar and Apothecary Display | Easy | ~15 min | Under $15 |
| 12 | Coffee Table Tray Vignette | Easy | ~20 min | Under $20 |
| 13 | Front Door Wreath | Easy+ | ~45 min | Under $25 |
| 14 | Hanging Window Strands | Easy | ~30 min | Under $10 |
| 15 | Twine Wall Swag | Easy | ~25 min | Under $10 |
| 16 | Mirror and Picture Frame Topper | Easy | ~20 min | Under $10 |
| 17 | Cozy Nook and Headboard Garland | Easy | ~25 min | Under $15 |
| 18 | Grapevine Hoop Wreath | Easy+ | ~40 min | Under $20 |
| 19 | Cinnamon and Rosemary Garland | Easy | ~35 min | Under $20 |
| 20 | Eucalyptus Layered Garland | Easy+ | ~40 min | Under $25 |
| 21 | Mixed Citrus Garland | Easy | ~35 min | Under $15 |
| 22 | Modern Minimal Slice Row | Easy | ~20 min | Under $10 |
| 23 | Rustic Wood and Burlap Garland | Easy | ~30 min | Under $15 |
| 24 | Moody Candlelit Garland | Easy | ~25 min | Under $20 |
| 25 | Sunlit Citrus Garland | Easy | ~25 min | Under $10 |
| 26 | Stained-Glass Slice Ornaments | Easy | ~20 min | Under $10 |
| 27 | Stacked Slice Centerpiece | Easy | ~15 min | Under $10 |
| 28 | Jewel-Tone Paired Garland | Easy+ | ~35 min | Under $25 |
| 29 | Farmhouse Drying Tray Display | Easy | ~15 min | Under $10 |
| 30 | Budget One-Strand Garland | Easy | ~30 min | Under $10 |
| 31 | Small Apartment Mini Swag | Easy | ~20 min | Under $10 |
| 32 | Gift-Topper Mini Garlands | Easy | ~25 min | Under $10 |
| 33 | Store-Pretty Jar Garland Kit | Easy | ~15 min | Under $15 |
How to Dry Orange Slices (3 Easy Methods)
Every dried orange garland in this guide starts the same way: with slices that are fully dry. A finished slice should feel light, firm, and slightly translucent, with no soft or sticky spots. Slices that still hold moisture can mold on the string, so this step matters more than any styling trick.
Slice first. Cut fresh oranges into even rounds about 1/4 inch (6 mm) thick. Even thickness matters more than the exact size, because thin and thick slices dry at different speeds. Pat each slice dry on both sides with a clean towel or paper towels to remove surface juice — this alone can shave an hour off the drying time.
Method 1 — Oven (fastest, same day). Heat the oven to its lowest setting, around 200°F (95°C). Lay the slices in a single layer on a wire rack set over a baking sheet, or directly on parchment. Dry for 2.5 to 3.5 hours, flipping every 30 to 45 minutes, until the peel feels hard and the flesh looks glassy. The National Center for Home Food Preservation drying guide is a reliable reference for safe home drying temperatures and storage.
Method 2 — Dehydrator (most even results). Arrange slices in a single layer on the trays, set the dehydrator to 135°F (57°C), and dry for 8 to 12 hours, rotating trays once or twice. This method keeps the brightest color, so it is the best choice for the stained-glass looks later in this list.
Method 3 — Air-dry (no energy, slowest). Thread slices onto a skewer or lay them on a rack in a warm, dry room with good airflow. Turn them daily. Expect 1 to 2 weeks. Air-dried slices keep a deeper, moodier color that suits the rustic ideas below.
Stringing basics. Use a large needle and jute twine, cotton string, or clear fishing line. Push the needle through the flesh just under the peel at the top of each slice — never through the center, where the slice is weakest. Leave 1 to 2 inches between slices for a light, airy strand, or slide them close together for a full, lush one. Tie a small loop at each end for hanging, and your dried orange garland is ready for any of the 33 spots below.
Classic Mantel, Tree & Fireplace Dried Orange Garland Ideas
1. Classic Mantel Swag
Difficulty: Easy · Time: ~30 min · Cost: Under $15
What to place: One long strand of dried orange slices on jute twine, draped in a gentle swoop across the front of the mantel.
Steps: Measure your mantel and cut twine about 1.5 times that length, so the strand can dip gracefully in the middle. String 25 to 35 slices, spacing them 1 to 2 inches apart. Hang the strand from two small hooks or stocking holders at the mantel corners, then adjust the swoop until both sides hang evenly. If your mantel is the main stage of the room, layer this swag with the looks in our christmas mantel decor ideas guide for a fuller scene.
Pro tip: Odd numbers read better — cluster three slices together at the lowest point of the swoop as a natural focal point.
Avoid this: Hanging the strand taut and straight. A flat line looks like a clothesline; the gentle dip is what makes it feel styled.
2. Layered Cedar and Pine Garland
Difficulty: Easy+ · Time: ~45 min · Cost: Under $25
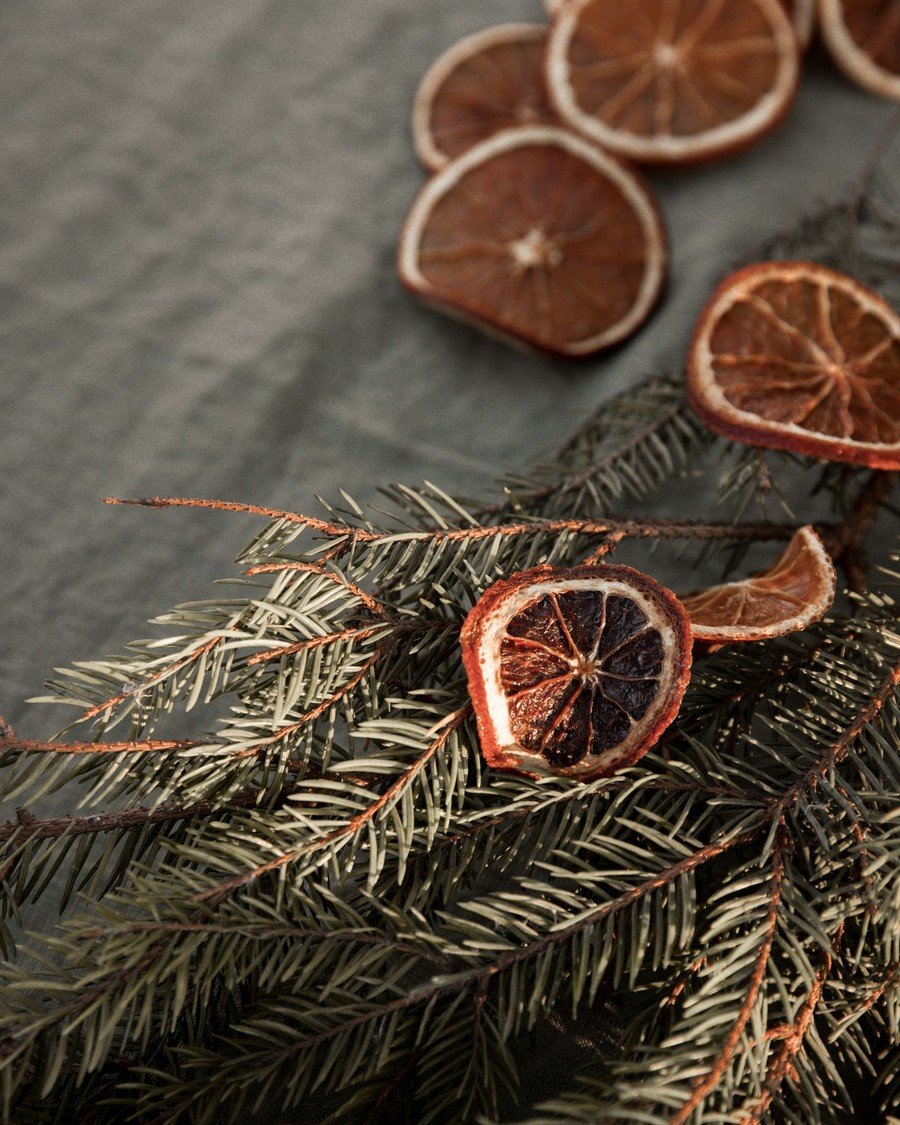
What to place: A fresh or faux cedar garland as the base layer, with a dried orange garland woven through the top so the slices sit on a bed of deep green.
Steps: Drape the greenery garland first and fluff it until it looks full on its own. Lay the orange strand along the top third of the greenery, letting slices rest between the branches instead of hanging below them. Tuck a few extra loose slices into any thin spots. Finish with two or three pinecones wired in at the ends.
Pro tip: Real cedar dries out near a fireplace — mist it every few days, or choose a good faux base you can reuse each year.
Avoid this: Weaving the orange strand under the greenery. The slices disappear; they should always sit on top where the light catches them.
3. Tree Garland with Slice Ornaments
Difficulty: Easy · Time: ~40 min · Cost: Under $15
What to place: One or two dried orange garland strands spiraled around the tree, plus individual slices hung as ornaments on short twine loops.
Steps: Start the strand at the back of the tree near the top and spiral downward, pushing it slightly into the branches so it nestles rather than floats. Between the spiral rows, hang single slices on 3-inch twine loops at the branch tips. Step back every few rows and fill any dark gaps with an extra slice ornament. Warm white lights behind the slices make them glow like stained glass.
Pro tip: Keep slices at least a few inches from hot bulbs; LED lights run cool and are the safer pairing.
Avoid this: Wrapping the strand tightly like tinsel. Loose spirals with breathing room look richer and keep slices from cracking.
4. Staircase Banister Drops
Difficulty: Easy+ · Time: ~50 min · Cost: Under $20
What to place: Several short vertical strands of dried orange slices hanging from the banister rail, finished with one longer strand swagged along the newel post.
Steps: Cut five to seven strands of different lengths, from 12 to 24 inches. String 5 to 9 slices on each, knot the ends, and tie the strands to the rail at even intervals. Add the longer swag at the bottom newel post where guests see it first. Check the drops from below and from the landing, and trim any strand that hangs into head height on the steps.
Pro tip: A thin ribbon tied at each rail knot hides the twine and adds a tailored finish.
Avoid this: Letting strands hang over the walking side of the stairs at face level — beautiful is not worth a bumped forehead.
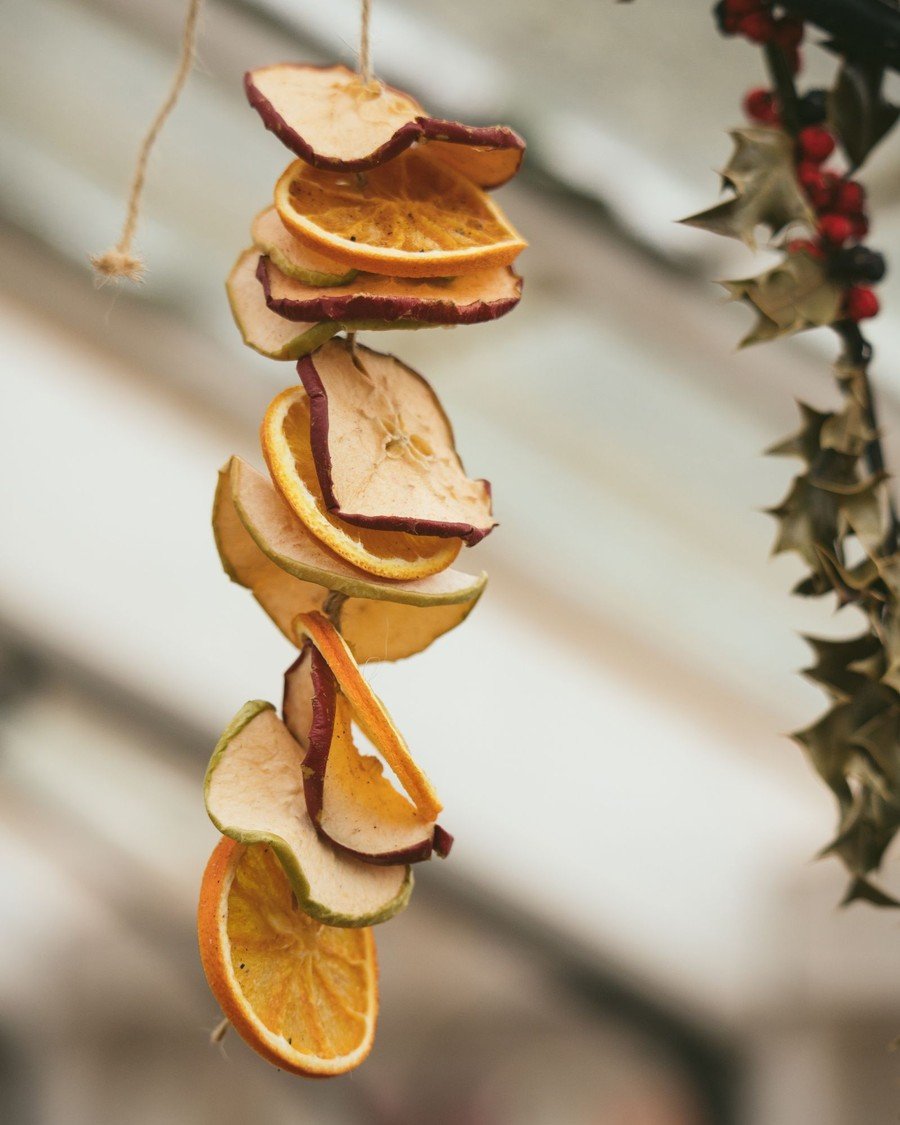
5. Fireplace Beam Garland
Difficulty: Easy · Time: ~35 min · Cost: Under $20
What to place: A generous dried orange garland across a wooden fireplace beam, mixed with fir sprigs and two flameless candles at the ends.
Steps: Lay short fir sprigs along the beam first, pointing outward. Drape the orange strand over them in two shallow swoops. Set a flameless candle or lantern at each end to anchor the arrangement. This look pairs naturally with the styling in our fireplace and wood stove accessories guide, where the same natural textures carry through the whole hearth.
Pro tip: On a working fireplace, keep every part of the garland well above and away from the firebox opening — dried citrus is flammable, so treat it like dried flowers.
Avoid this: Real candles anywhere on the beam. The glow is lovely, but open flame near dried fruit and fir is a genuine fire risk.
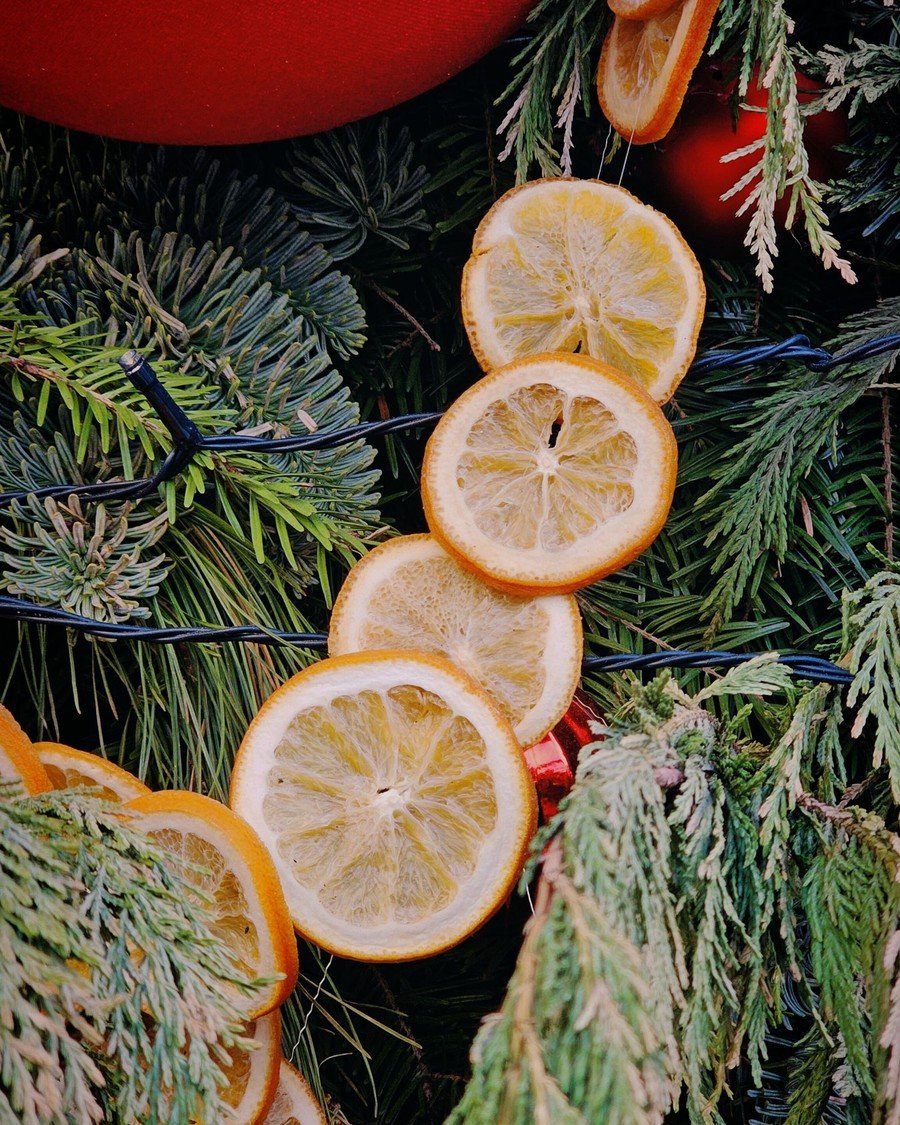
6. Mantel Wreath Ring
Difficulty: Easy+ · Time: ~40 min · Cost: Under $20
What to place: A round wreath built from dried orange slices wired onto a grapevine or foam ring, propped or hung at the center of the mantel.
Steps: Lay the ring flat and plan your pattern first — slices overlapping like shingles all the way around reads best. Hot-glue or wire each slice at two points so nothing spins. Add three small pinecones and a bow at the bottom. Hang it on a wreath hanger or lean it against the wall on the mantel shelf for a relaxed look.
Pro tip: Work in a single direction around the ring; a consistent overlap direction looks professional from across the room.
Avoid this: Gluing slices by the center flesh. The peel edge is stronger and holds the bond without tearing.
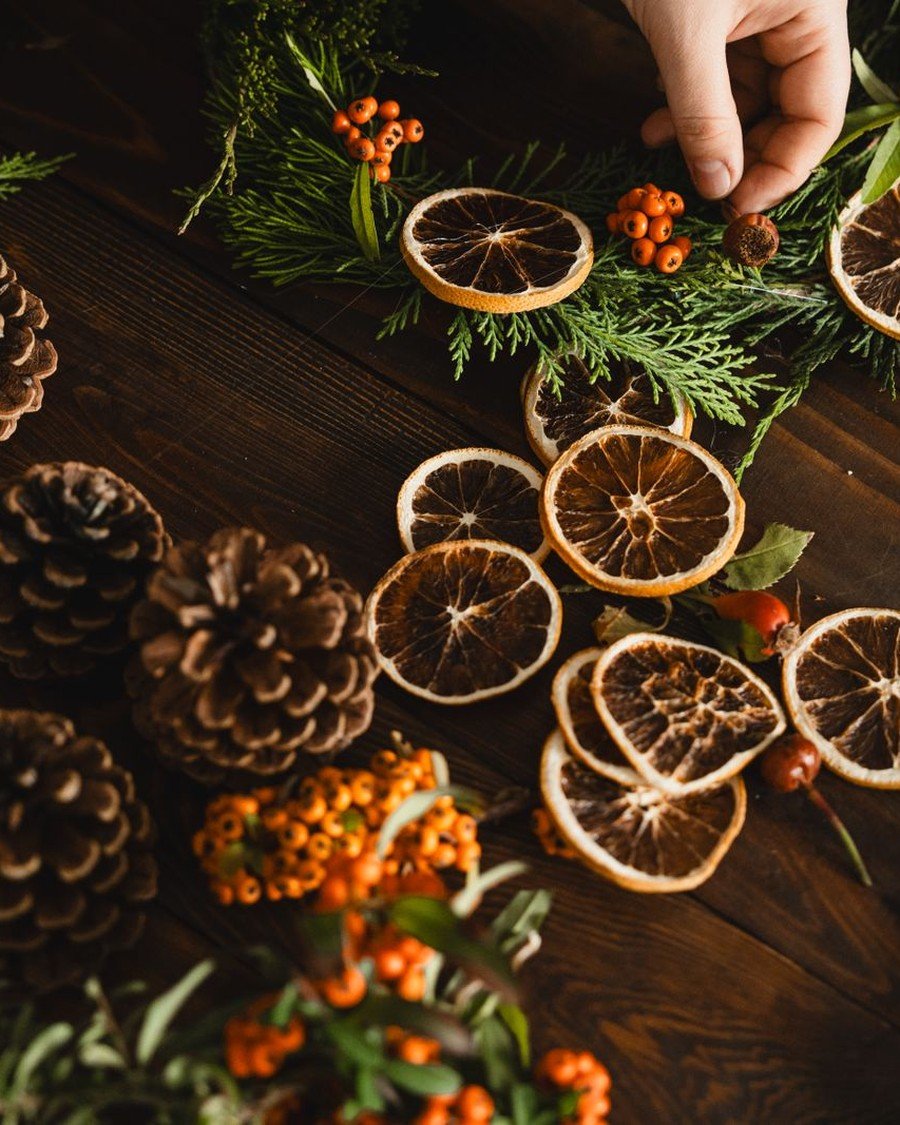
Table, Kitchen & Shelf Dried Orange Garland Ideas
7. Table Runner Centerpiece
Difficulty: Easy · Time: ~25 min · Cost: Under $15
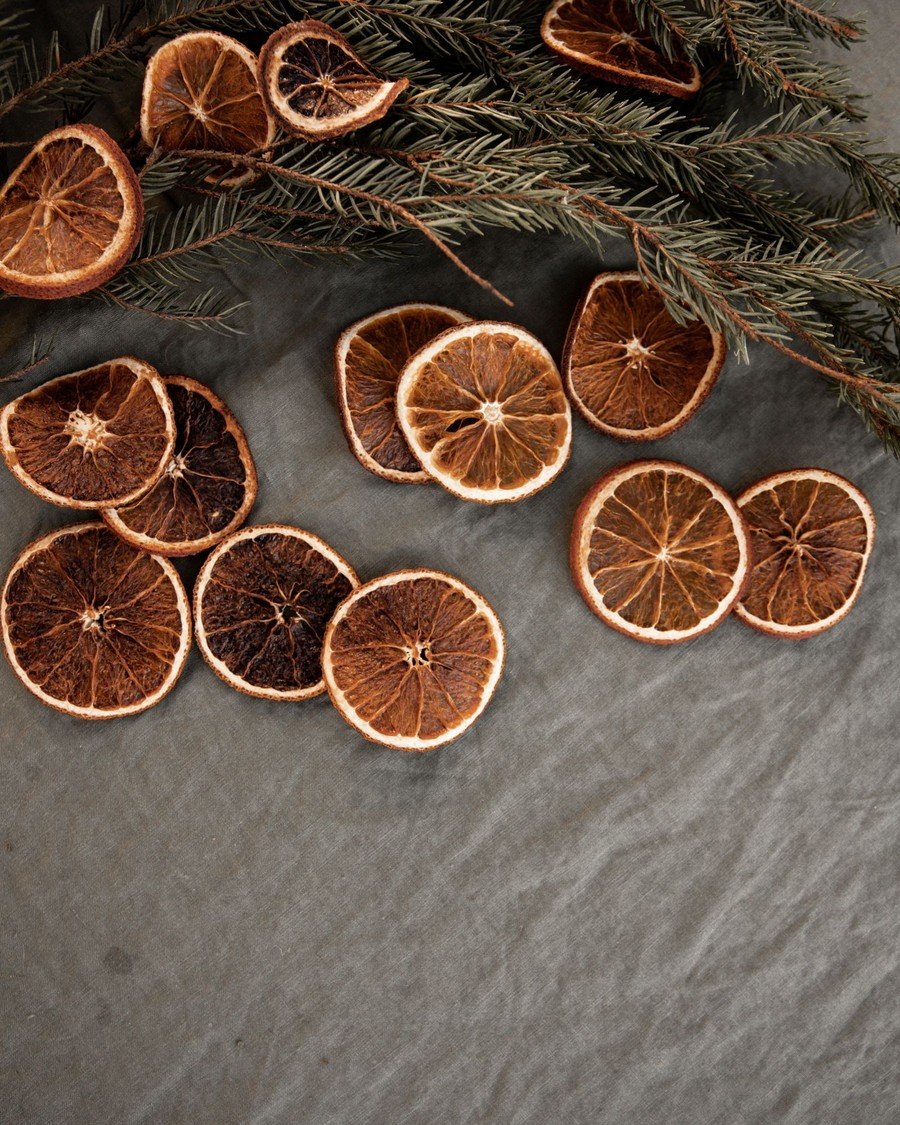
What to place: A dried orange garland laid straight down the center of the dining table over a linen runner, like the flat-lay styling in this photo.
Steps: Lay your runner first, then snake the garland down the middle in soft S-curves instead of a straight line. Tuck short pine sprigs under the strand every few slices. Add low candle holders or small bowls between the curves, keeping everything below eye level so guests can talk across the table. Finish each end with a small cluster of loose slices.
Pro tip: A strand slightly longer than the table, with the ends curling at the edges, looks abundant instead of measured.
Avoid this: Tall centerpiece pieces around the garland — the low, flat profile is exactly what makes this one work for dinner.
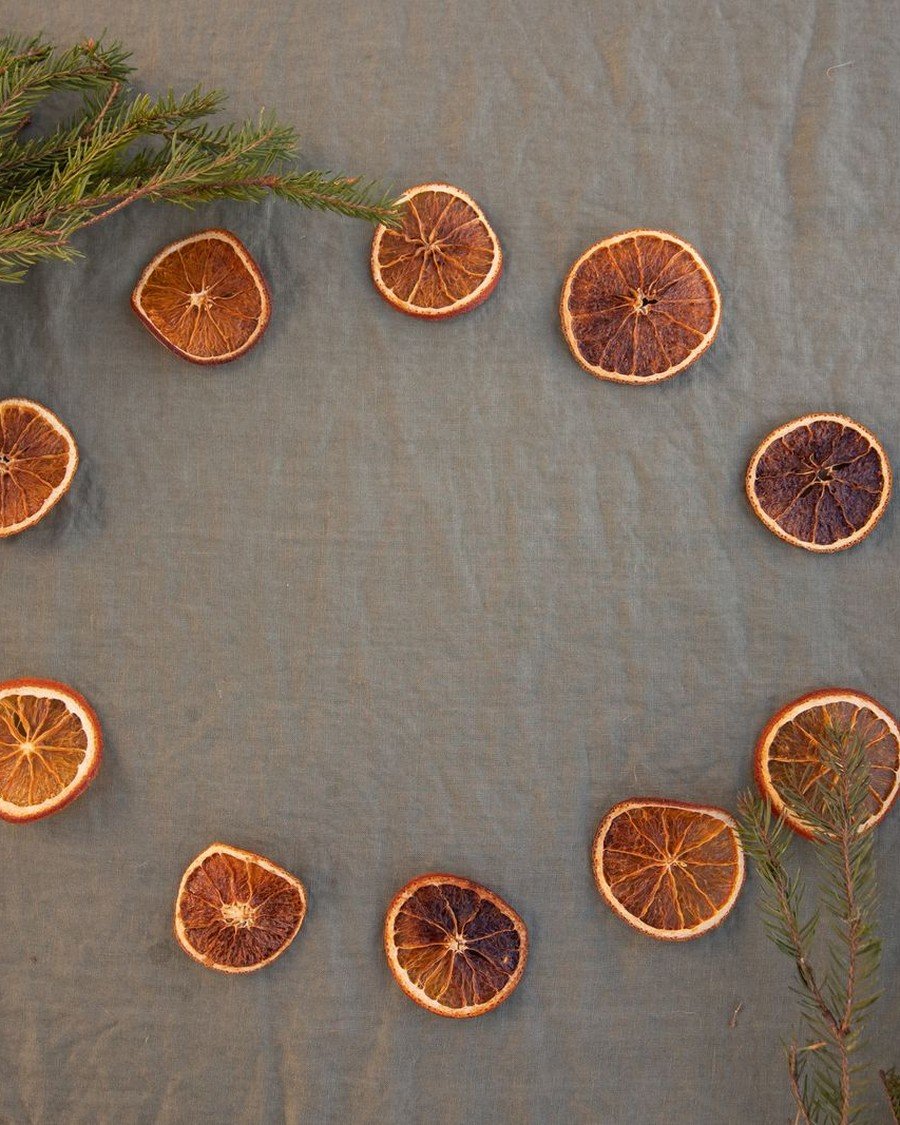
8. Place-Setting Slice Accents
Difficulty: Easy · Time: ~20 min · Cost: Under $10
What to place: Single dried orange slices as place-setting accents — one on each napkin, plate, or wine glass stem.
Steps: Tie a short offcut of your garland twine through each slice and knot it into a tiny loop. Rest one slice on each folded napkin, slightly off-center. For a name-card upgrade, slip a small kraft tag under the twine loop and write each guest’s name on it. Make two extras per setting in case a slice cracks while you work.
Pro tip: Choose your most perfect, evenly colored slices for this idea — at plate level, every detail is on display.
Avoid this: Putting slices directly on plates that will hold food once the garland has been handled and hung; keep them on napkins or chargers instead.
9. Kitchen Window Garland
Difficulty: Easy · Time: ~25 min · Cost: Under $10
What to place: A short dried orange garland strung across the kitchen window, where daylight shines through the slices all day.
Steps: Measure the window width and add 6 inches for a shallow swoop. String 15 to 20 slices a little closer together than usual — backlit slices read smaller than they are. Hang from two small suction hooks or pins in the frame corners. This is the single happiest spot in the house for a dried orange garland, because morning light turns every slice amber.
Pro tip: South- and east-facing windows give the strongest glow; rotate the strand weekly so all slices fade evenly.
Avoid this: Hanging the strand where steam from the sink or stove hits it daily — moisture is the enemy of dried fruit.
10. Bookshelf and Book Stack Styling
Difficulty: Easy · Time: ~20 min · Cost: Under $10
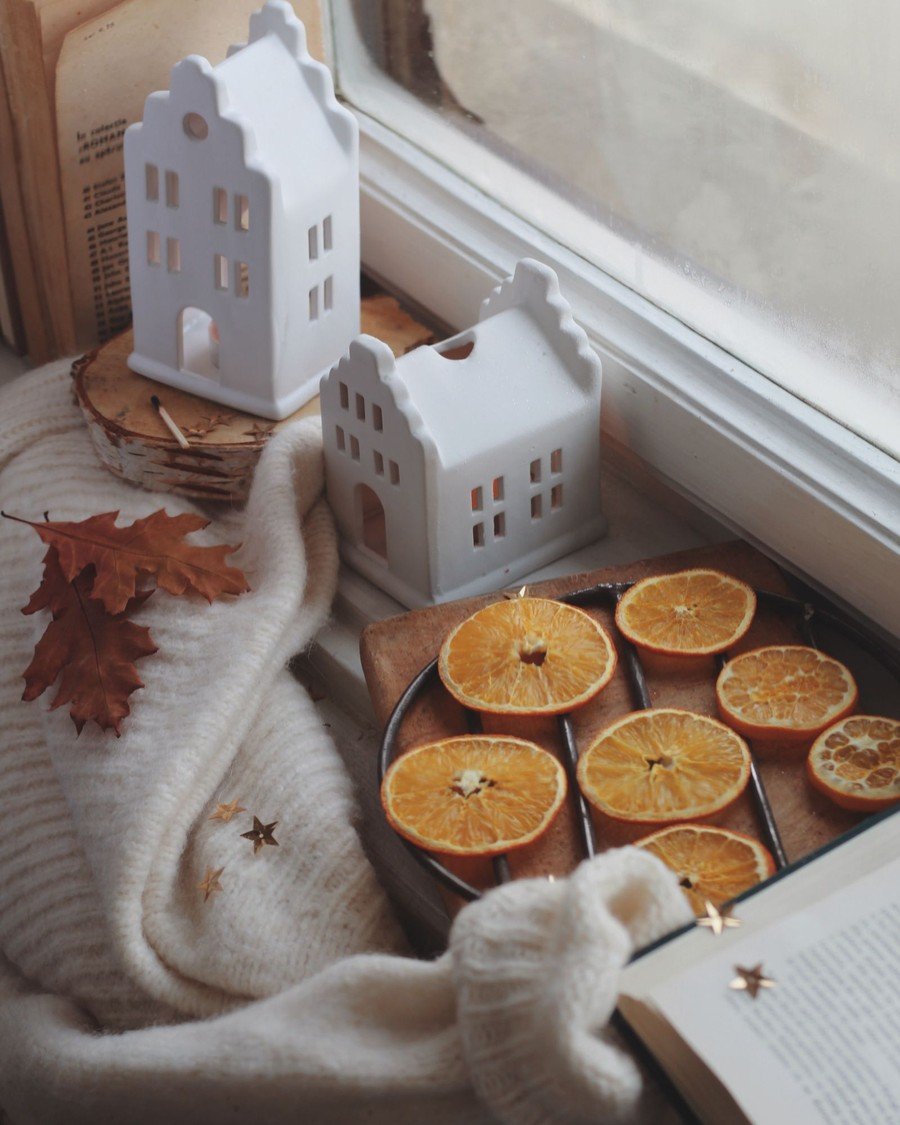
What to place: A short garland draped across a bookshelf edge and over a stack of books, next to cozy reading-nook styling like the scene in this photo.
Steps: Pick one shelf, not the whole bookcase — a single dressed shelf reads as intentional. Drape a 2-foot dried orange garland strand along the shelf front, letting one end trail over a horizontal stack of books. Stand two or three loose slices against book spines like tiny picture frames. Echo the orange with one warm-toned book cover or a small amber vase on the same shelf.
Pro tip: This is the best use for leftover slices that are too small or uneven for the main garland.
Avoid this: Dressing every shelf. Orange on every level turns a styling moment into visual noise.
11. Glass Jar and Apothecary Display
Difficulty: Easy · Time: ~15 min · Cost: Under $15
What to place: Dried orange slices arranged in clear glass jars and apothecary containers, grouped on a counter, shelf, or coffee table.
Steps: Choose jars with wide mouths so slices slide in without bending. Stand slices upright around the inside wall of the jar first — that outer ring is what people see — then fill the center loosely. Group three jars of different heights together, and drape a short garland strand around the tallest jar’s neck to tie the display back to your other decor.
Pro tip: A few whole cinnamon sticks or star anise pods dropped into the jar add scent every time someone walks past.
Avoid this: Sealing the lid tight on slices that are not 100% dry. Leave new jars open for the first days so any last moisture escapes.

12. Coffee Table Tray Vignette
Difficulty: Easy · Time: ~20 min · Cost: Under $20
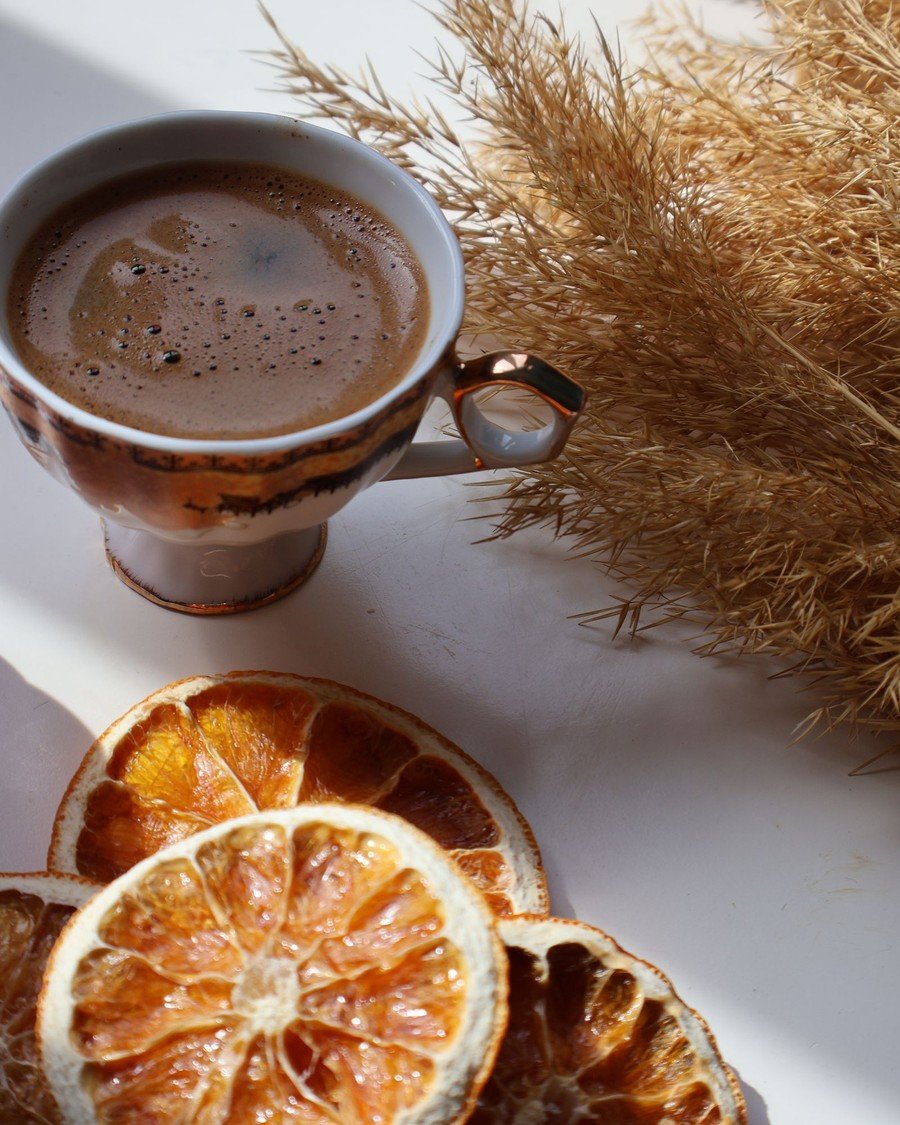
What to place: A shallow tray holding a coiled dried orange garland, a candle, and a warm drink — the cozy coffee-table moment in this photo.
Steps: Coil a short dried orange garland loosely in the tray so it forms a nest. Set a flameless candle or a small plant in the middle of the coil. Add one personal item — a favorite mug, a small stack of coasters, a book — to keep it lived-in rather than staged. Keep the tray small enough to lift away when the table is needed.
Pro tip: This is the fastest seasonal refresh in the whole list: tray out in December, tray away in January, nothing to store but the garland.
Avoid this: A real candle burning inside the coil of dried slices. Flameless only, every time.
Doors, Windows & Walls: Dried Orange Garland Ideas
A dried orange garland is not just for the mantel — doors, windows, and walls give the slices the daylight and breathing room they deserve.
13. Front Door Wreath
Difficulty: Easy+ · Time: ~45 min · Cost: Under $25
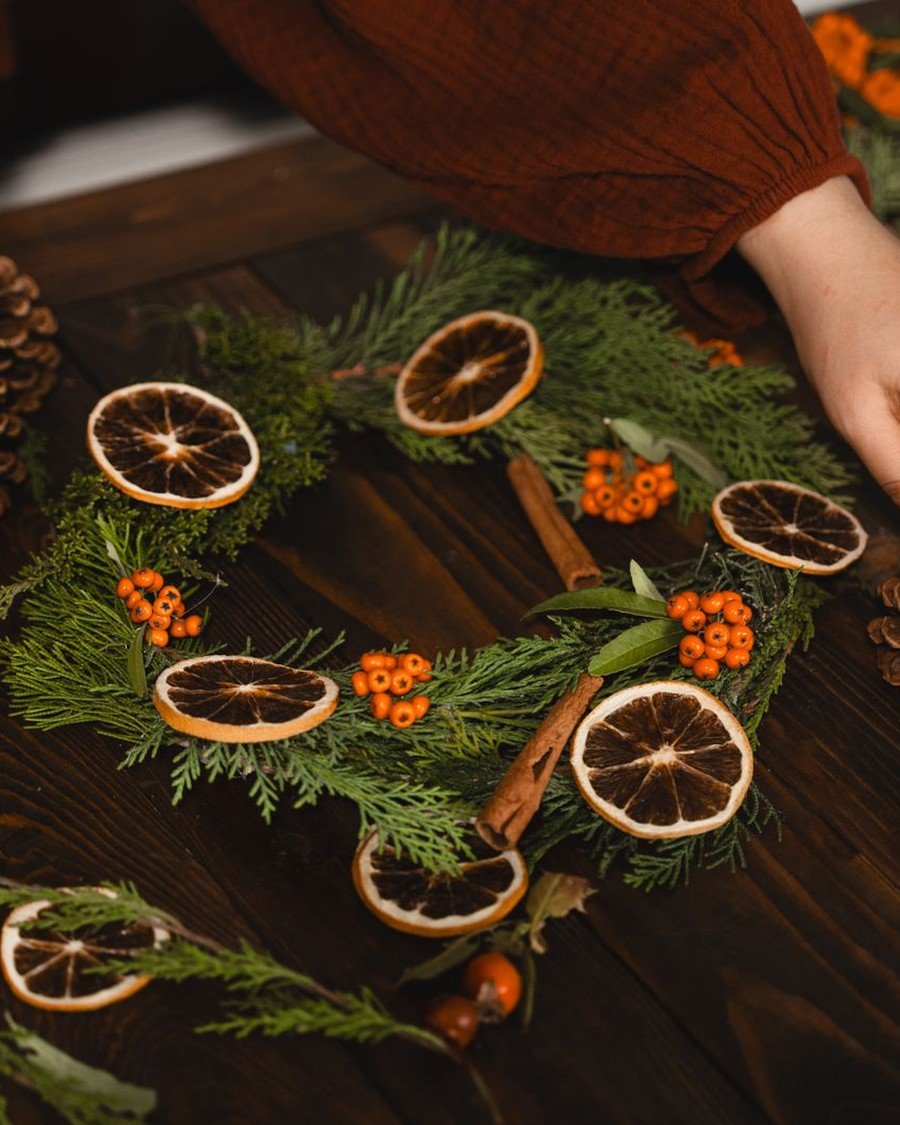
What to place: A full front-door wreath of greenery, pinecones, and dried orange slices, like the one being arranged in this photo.
Steps: Start with a plain greenery wreath base from the store or last year. Wire dried orange slices in groups of three around the ring, spacing the groups evenly. Fill between the groups with pinecones and small berries. Hang it, step back to the street, and adjust any group that disappears into the greenery from a distance. A wreath like this tells guests the house is decorated before they even knock.
Pro tip: Slices wired in odd-numbered clusters look designed; evenly spaced single slices look like a clock.
Avoid this: A wreath so heavy with fruit that it sags — keep slices to the front face and let greenery carry the bulk.
14. Hanging Window Strands
Difficulty: Easy · Time: ~30 min · Cost: Under $10
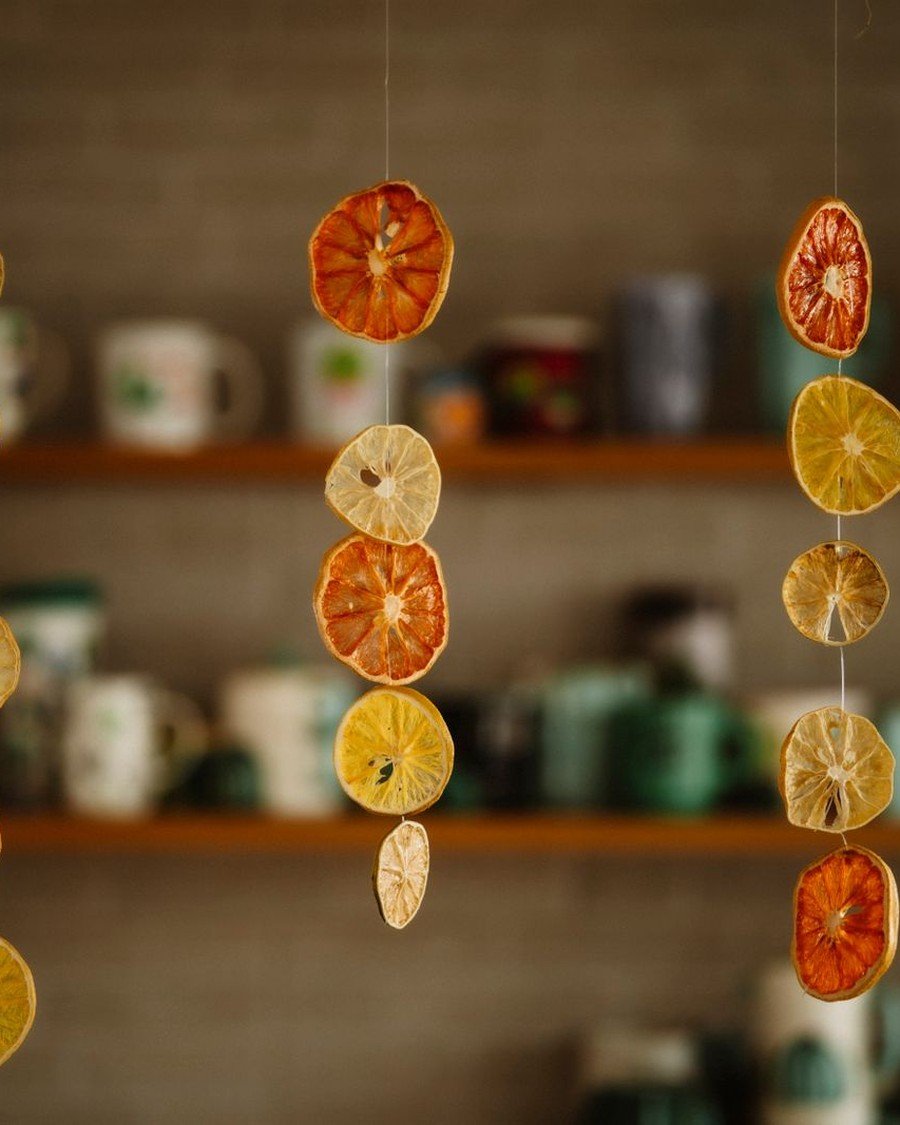
What to place: Several vertical strands of dried citrus hanging at different heights in a sunny window, café-style like the strands in this photo.
Steps: Cut strands in three lengths and string 6 to 10 slices on each. Hang them from a slim tension rod or small hooks across the top of the window frame. Stagger the heights so the slices form a loose wave, not a straight curtain. In a kitchen or breakfast nook, this turns plain daylight into the decoration — a dried orange garland doing double duty as a light catcher.
Pro tip: Mix one strand of lemon slices into the orange — the paler yellow adds depth when the sun comes through.
Avoid this: Strands long enough to pool on the sill; they collect dust and lose the floating effect.
15. Twine Wall Swag
Difficulty: Easy · Time: ~25 min · Cost: Under $10
What to place: A single dried orange garland swagged across a blank wall section, strung on natural jute twine as shown in this photo.
Steps: Choose a wall gap that needs warmth — above a console, between two frames, or over a doorway inside the room. Pin or hook the strand at two points and let it dip in a smooth curve. If your wall already carries art, coordinate with the arrangements in our living room gallery wall ideas so the swag crowns the gallery instead of competing with it. Add one small bow or tassel at each hook.
Pro tip: A swag hung slightly higher than you first think usually looks right from across the room.
Avoid this: Hanging it over a heat register — warm dry air is fine for a day, but a whole season of it fades the color fast.
16. Mirror and Picture Frame Topper
Difficulty: Easy · Time: ~20 min · Cost: Under $10
What to place: A short garland draped over the top corner of a mirror or large picture frame, with a few slices cascading down one side.
Steps: Cut a strand about one and a half times the frame’s width. Rest it along the top edge and let one end drop 8 to 10 inches down the side. Secure with two tiny clear adhesive hooks on the frame’s back edge — never on the wall paint. Slices with floral or greenery accents, like the arrangement in this photo, suit this dressed-up spot.
Pro tip: Mirrors double the effect: the reflection shows the back of the room’s lights through the slices.
Avoid this: Adhesive hooks on antique or gilded frames — use the lean-and-drape method there instead.
17. Cozy Nook and Headboard Garland
Difficulty: Easy · Time: ~25 min · Cost: Under $15
What to place: A soft-draped garland over a headboard or around a reading nook, echoing the warm, layered scene in this photo.
Steps: Drape the strand along the top of the headboard in two gentle waves, or across the top of a bookcase that frames your reading chair. Pair it with warm textiles — a knit throw, a plaid cushion — so the orange reads as part of the cozy palette. Keep the strand where you can see it from the bed or chair; this one is for you, not for guests.
Pro tip: Bedrooms suit shorter, quieter strands. One 3-foot garland is plenty.
Avoid this: Hanging slices directly above pillows where they can drop crumbs of dried peel onto bedding.
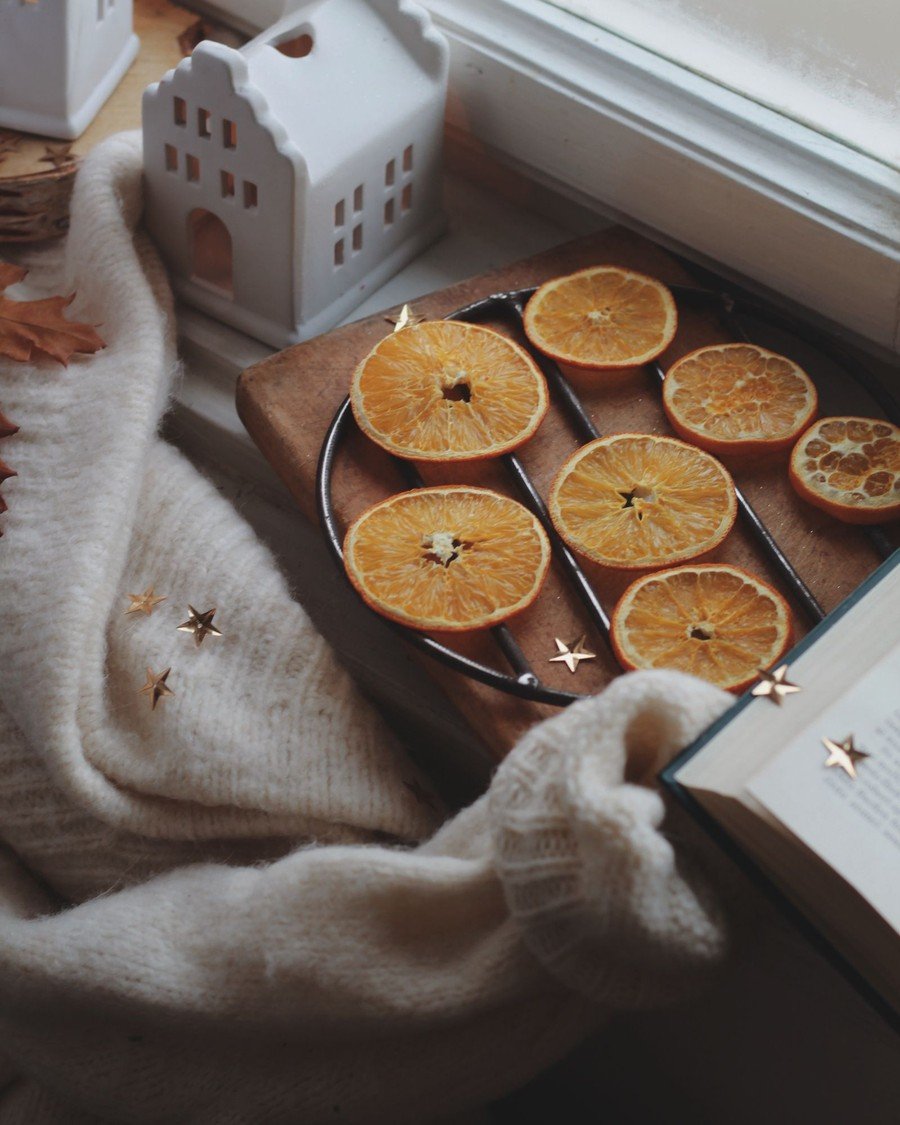
18. Grapevine Hoop Wreath
Difficulty: Easy+ · Time: ~40 min · Cost: Under $20
What to place: A modern hoop wreath — dried oranges and greenery wired onto the bottom half of a grapevine or metal hoop, like the natural-element wreath being built in this photo.
Steps: Choose a hoop 14 to 18 inches wide. Wire a small bundle of greenery to the lower third, then layer slices over it, overlapping like scales. Leave the top half of the hoop bare — the empty space is the modern part. Finish with a simple twine hanger and hang the finished dried orange garland on a door, wall, or window.
Pro tip: Build the whole arrangement on a table first and photograph it before wiring; small changes are easier unattached.
Avoid this: Covering the full hoop. A fully loaded hoop just becomes a regular wreath with extra steps.
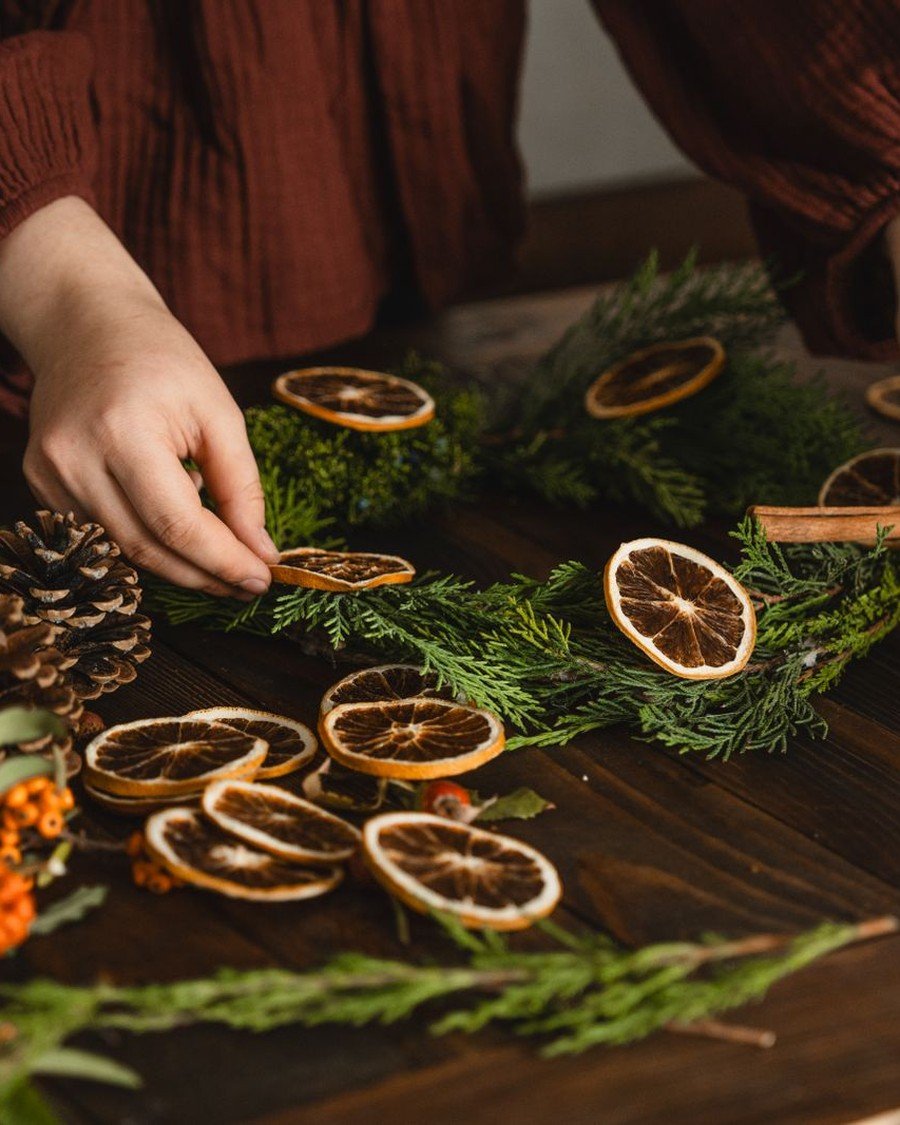
Scented, Spiced & Mixed Citrus Garland Ideas
19. Cinnamon and Rosemary Garland
Difficulty: Easy · Time: ~35 min · Cost: Under $20
What to place: A dried orange garland with cinnamon sticks and rosemary sprigs tied in along the strand — the spiced combination shown in this photo.
Steps: String your slices as usual, leaving a little extra space between them. Bundle two cinnamon sticks with a short piece of twine and tie one bundle every four or five slices. Tuck fresh rosemary sprigs behind the bundles; they dry in place and keep their shape. Hang this one near the entryway or kitchen, where the scent greets people first.
Pro tip: A drop of cinnamon or orange essential oil on the twine — not on the slices — refreshes the scent mid-season.
Avoid this: Crushing the rosemary while tying; bruised needles brown quickly and shed onto the floor.
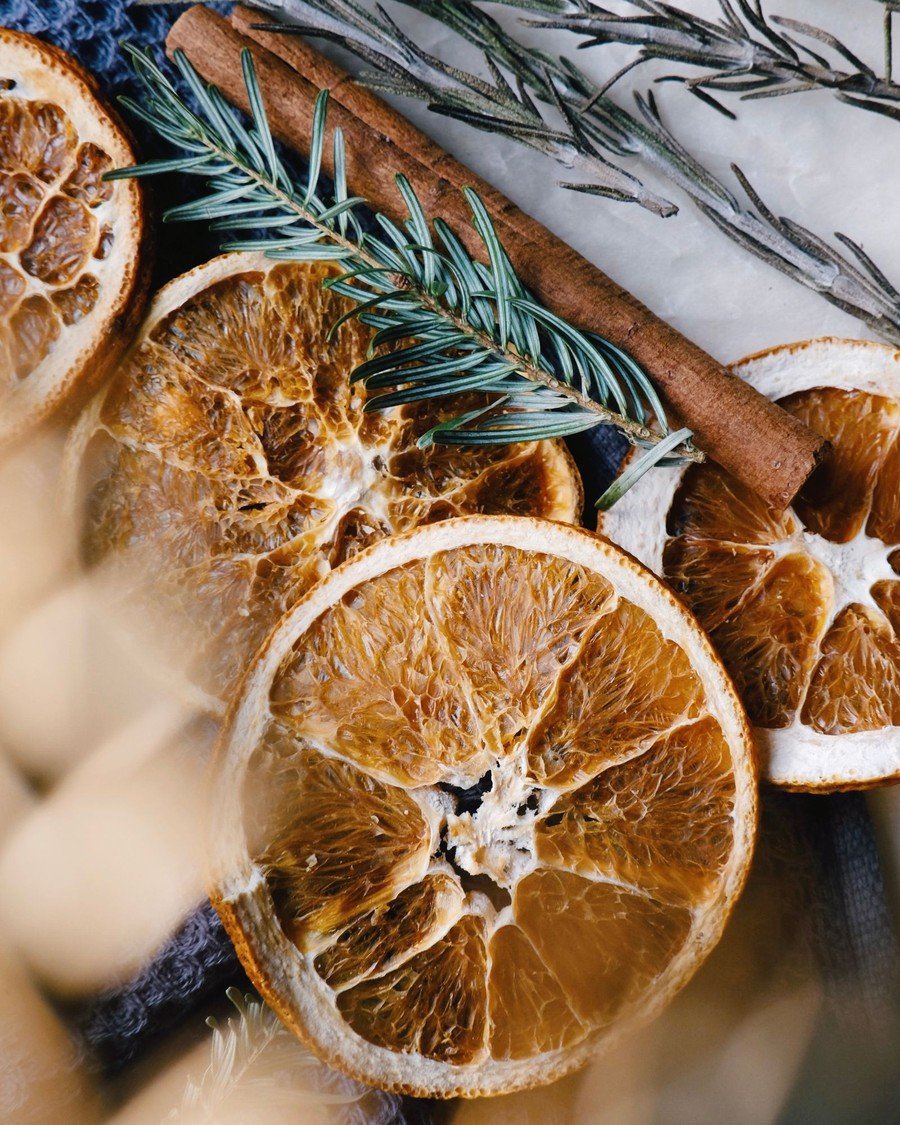
20. Eucalyptus Layered Garland
Difficulty: Easy+ · Time: ~40 min · Cost: Under $25
What to place: A garland of dried orange slices laid over silvery eucalyptus, like the top-down arrangement in this photo.
Steps: Lay a eucalyptus garland or loose stems as your base wherever the garland will live. Drape the orange strand over the top, letting slices rest in the eucalyptus rather than hang. The cool silver-green against the warm orange is one of the most photographed combinations of the season — and it carries a room that leans modern, where rustic twine might feel out of place.
Pro tip: Faux eucalyptus works perfectly here and keeps this garland fully reusable next year.
Avoid this: Fresh eucalyptus near a heat source for weeks on end; it dries brittle and drops leaves.
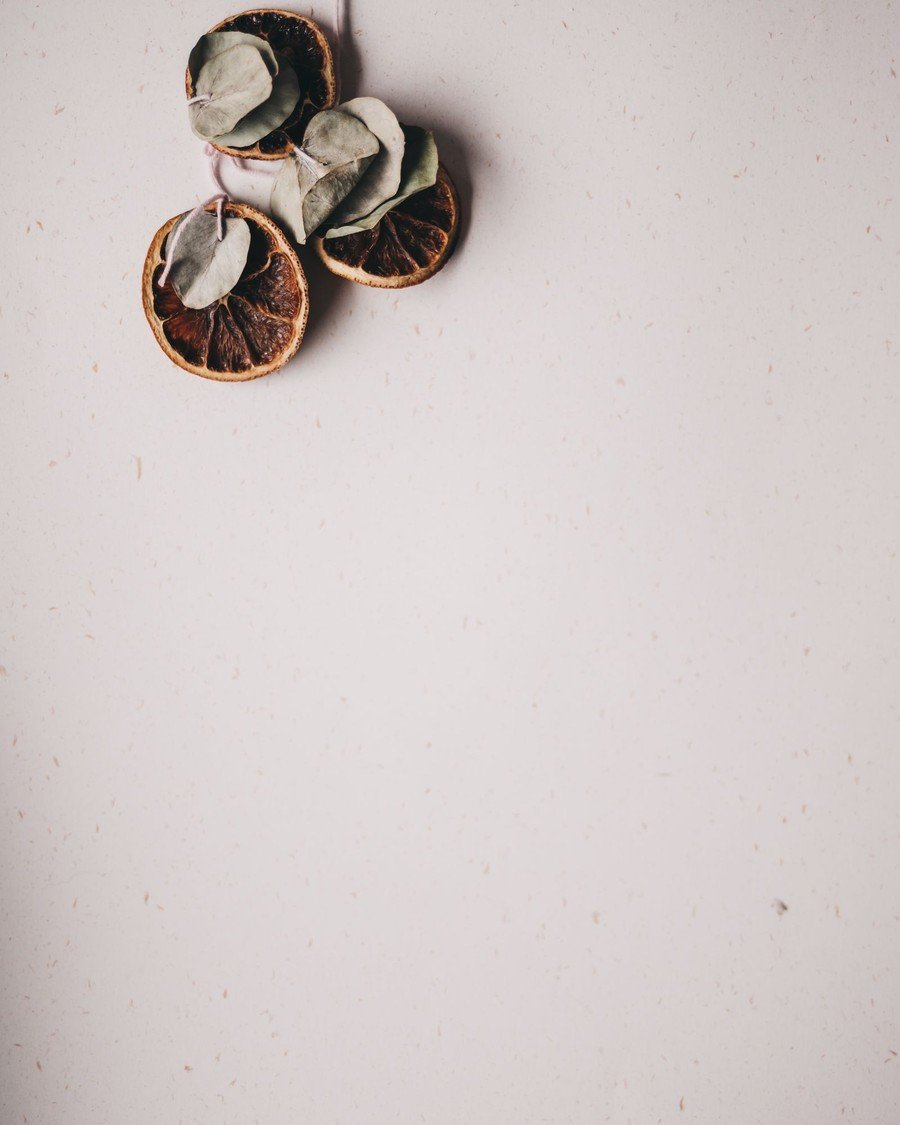
21. Mixed Citrus Garland
Difficulty: Easy · Time: ~35 min · Cost: Under $15
What to place: A garland mixing dried orange, lemon, lime, and grapefruit slices for a full citrus spectrum, like the vibrant mix in this photo.
Steps: Dry all four fruits in the same batch so the slices share the same finish. String them in a loose pattern — two orange, one lemon, one grapefruit, one lime — and repeat. Grapefruit slices are larger, so space them a little wider and use them at focal points like the center of a mantel swoop. The color gradient does the decorating for you.
Pro tip: Lime slices darken as they dry; string them where a deeper tone is welcome, like the ends of the strand.
Avoid this: Mixing in fresh slices for color. Fresh fruit on a dried garland will mold and ruin the whole strand.

22. Modern Minimal Slice Row
Difficulty: Easy · Time: ~20 min · Cost: Under $10
What to place: A precise, evenly spaced row of slices on clear fishing line — the neat single-file arrangement suggested by this photo.
Steps: Choose your most uniform slices; this look forgives nothing. String them at exact 2-inch intervals on clear line so the twine disappears. Hang it straight across a white wall, a window, or the front of a plain shelf. In a minimal home, one perfect row says more than three lush swags.
Pro tip: Lay the strand on the floor and adjust spacing there — even spacing is ten times easier to judge from above.
Avoid this: Mixing slice sizes. Save the odd ones for the rustic ideas; minimalism runs on sameness.
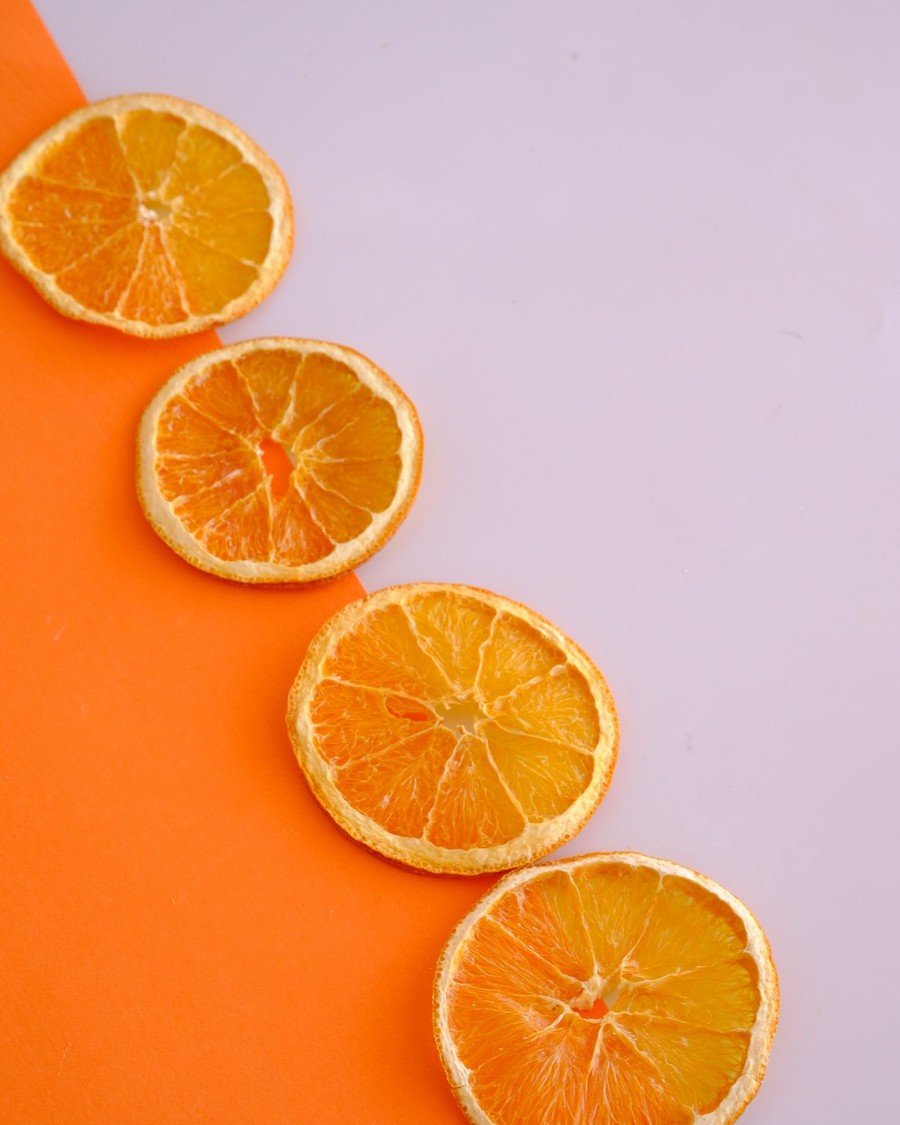
23. Rustic Wood and Burlap Garland
Difficulty: Easy · Time: ~30 min · Cost: Under $15
What to place: A chunky garland of orange slices, burlap ribbon, and wooden beads or small wood slices, styled on raw wood like this photo.
Steps: String slices and large wooden beads alternately on thick jute. Tie short burlap strips between every few slices, letting the frayed edges show. This is the natural partner to the pinecone-and-bare-wood palette in our woodland christmas decor ideas — hang it where those textures already live, like a timber mantel or a farmhouse hutch.
Pro tip: Slightly darker, longer-dried slices suit this look best; save the bright ones for the window.
Avoid this: Perfect symmetry. Rustic styling should look gathered, not manufactured.
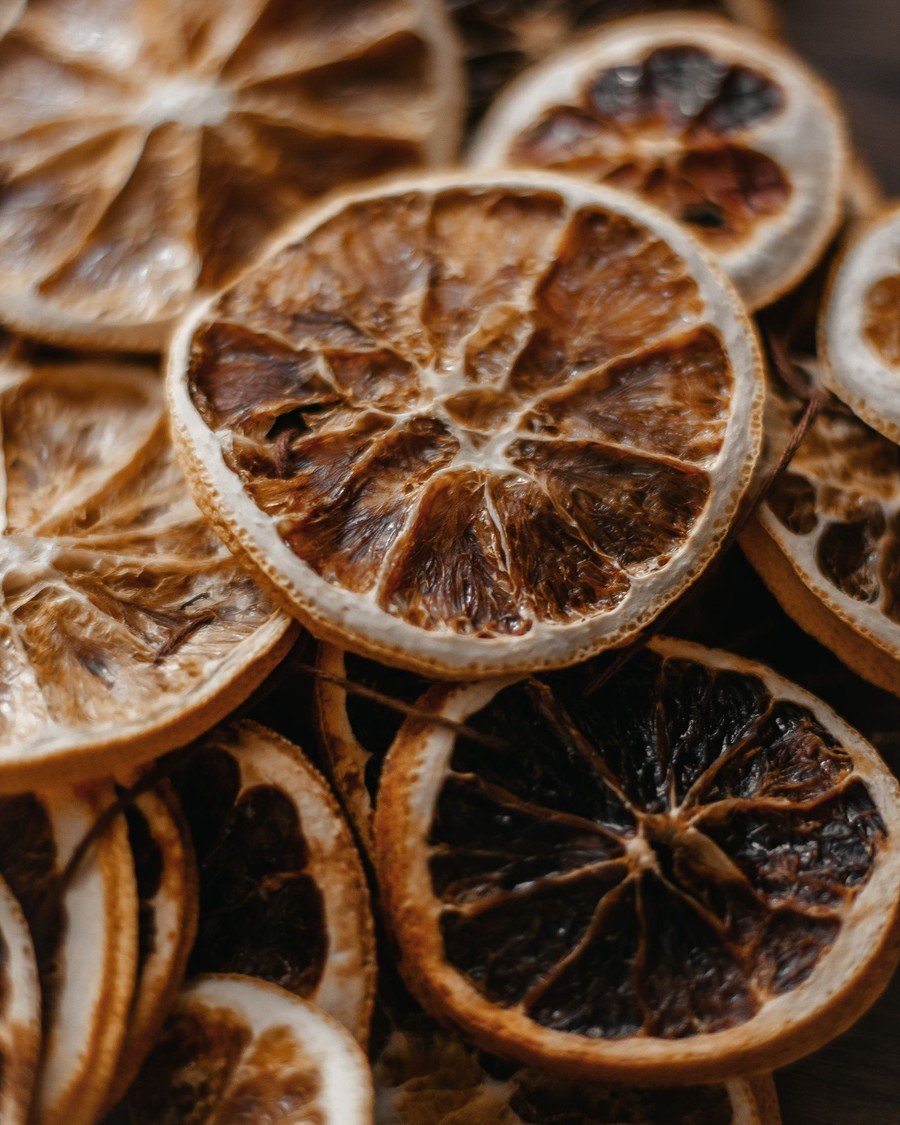
24. Moody Candlelit Garland
Difficulty: Easy · Time: ~25 min · Cost: Under $20
What to place: A garland styled against a dark backdrop with flameless candles, so the slices glow dramatically like they do in this photo.
Steps: Hang or lay the garland against your darkest surface — a deep green wall, a black fireplace surround, a dark wood hutch. Place two or three flameless candles behind and beside the strand so light passes through the slices toward the viewer. Dim the room lights and adjust until the slices read as little lanterns.
Pro tip: This is the best evening look in the list — set it up where the family gathers after dark.
Avoid this: Real candle flames near the strand, no matter how careful you plan to be. Dried peel and open flame do not mix.
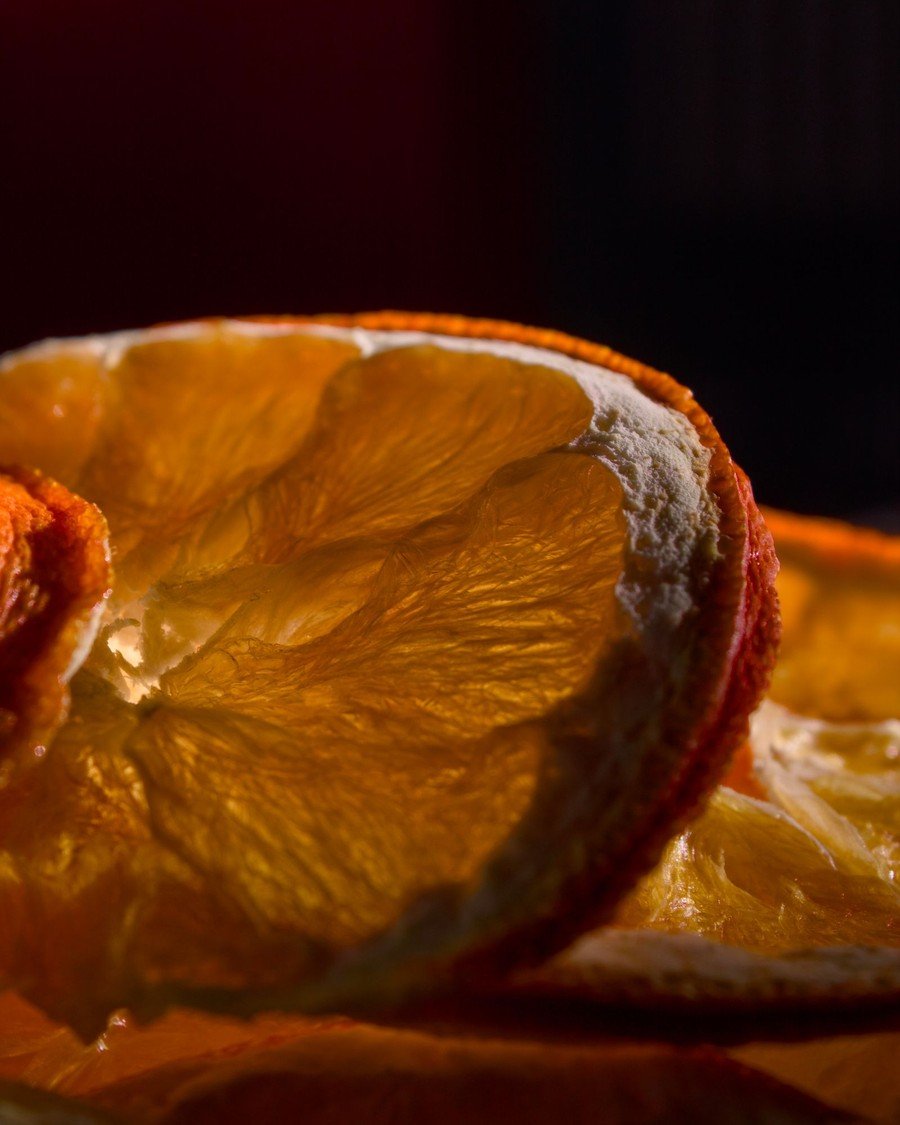
25. Sunlit Citrus Garland
Difficulty: Easy · Time: ~25 min · Cost: Under $10
What to place: A bright, cheerful garland hung where full daylight pours through it, like the sunlit arrangement in this photo.
Steps: Pick your brightest window or glass door. String slices a touch farther apart than usual so each one catches its own patch of light. Keep the rest of the styling quiet — white curtains, pale walls — and let the amber slices carry the color. This is the daytime twin of the moody candlelit look, and many homes can run both: sunlit in the kitchen, moody in the den.
Pro tip: Blood orange slices add a ruby note that looks spectacular backlit.
Avoid this: Direct all-day sun on a strand you want to keep for next year; strong UV slowly bleaches the color.
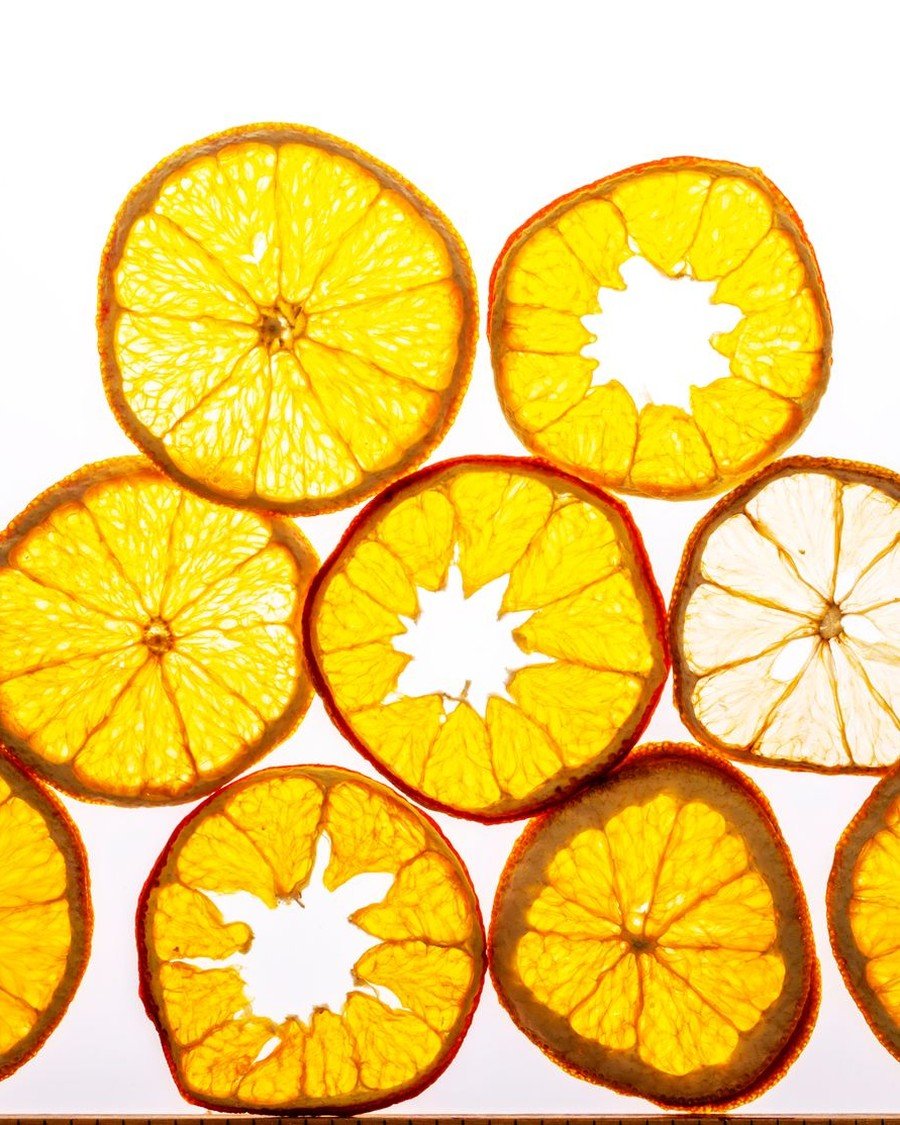
Light, Color & Texture: More Dried Orange Garland Ideas
26. Stained-Glass Slice Ornaments
Difficulty: Easy · Time: ~20 min · Cost: Under $10
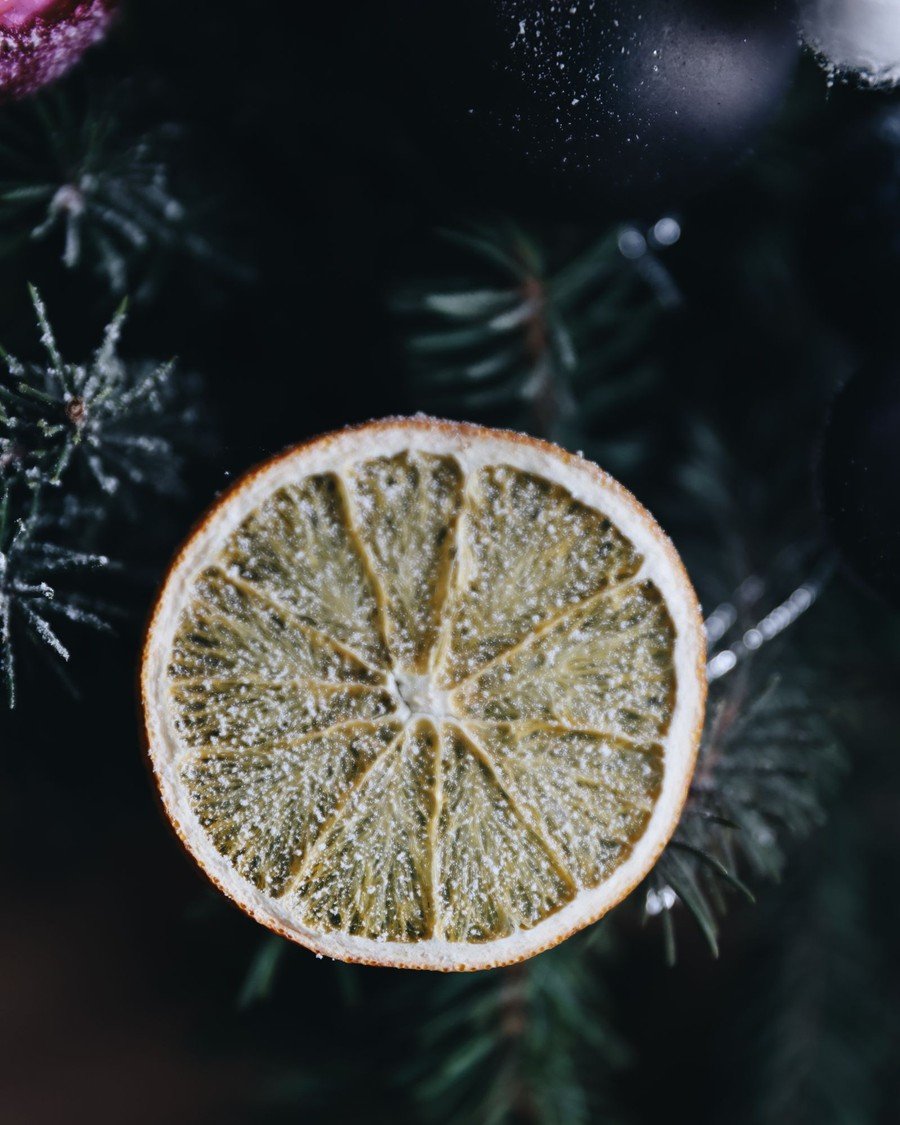
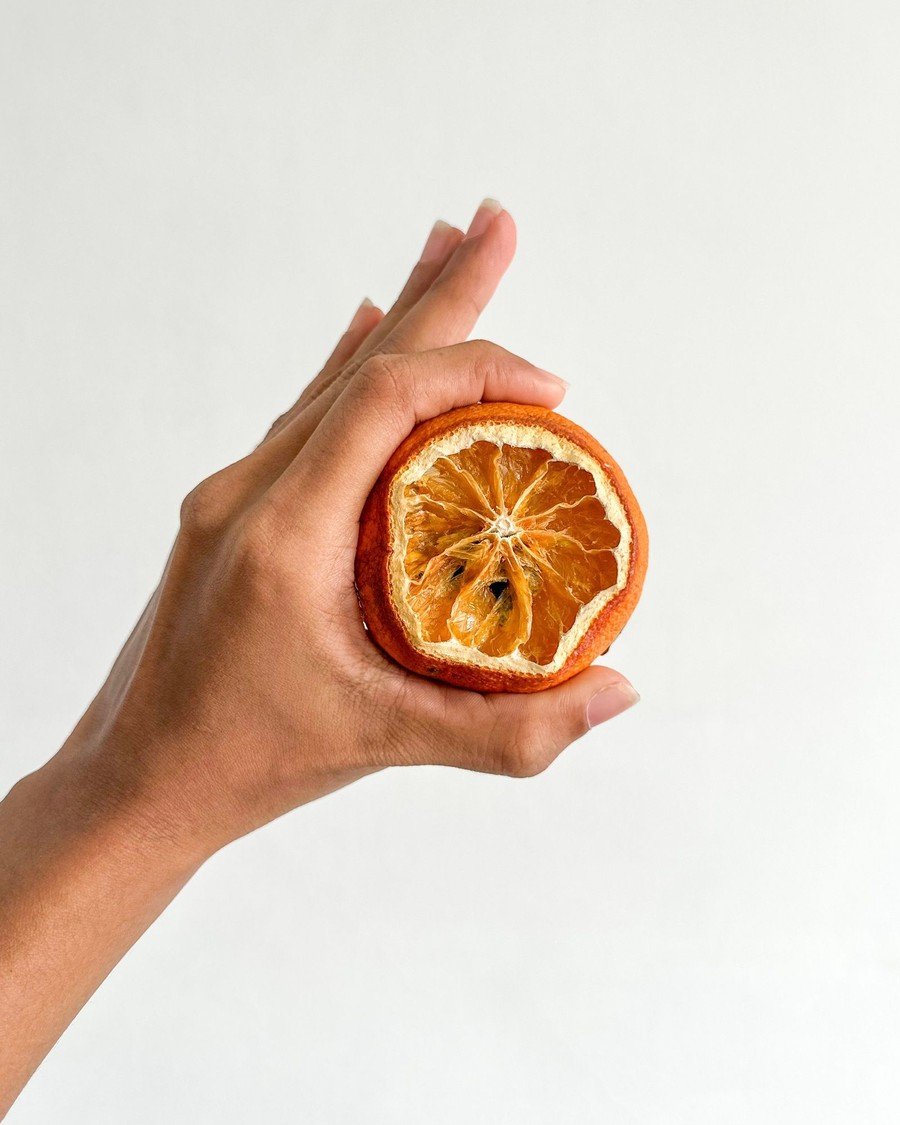
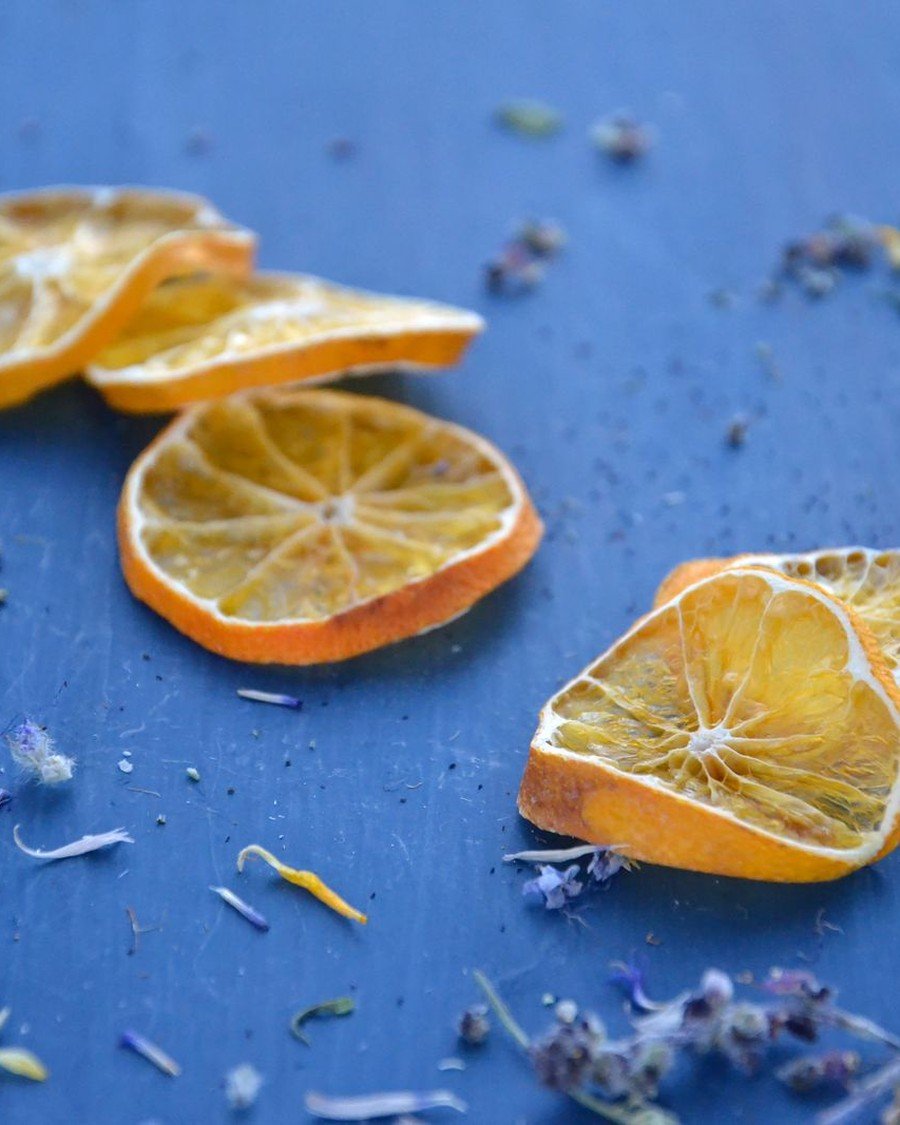
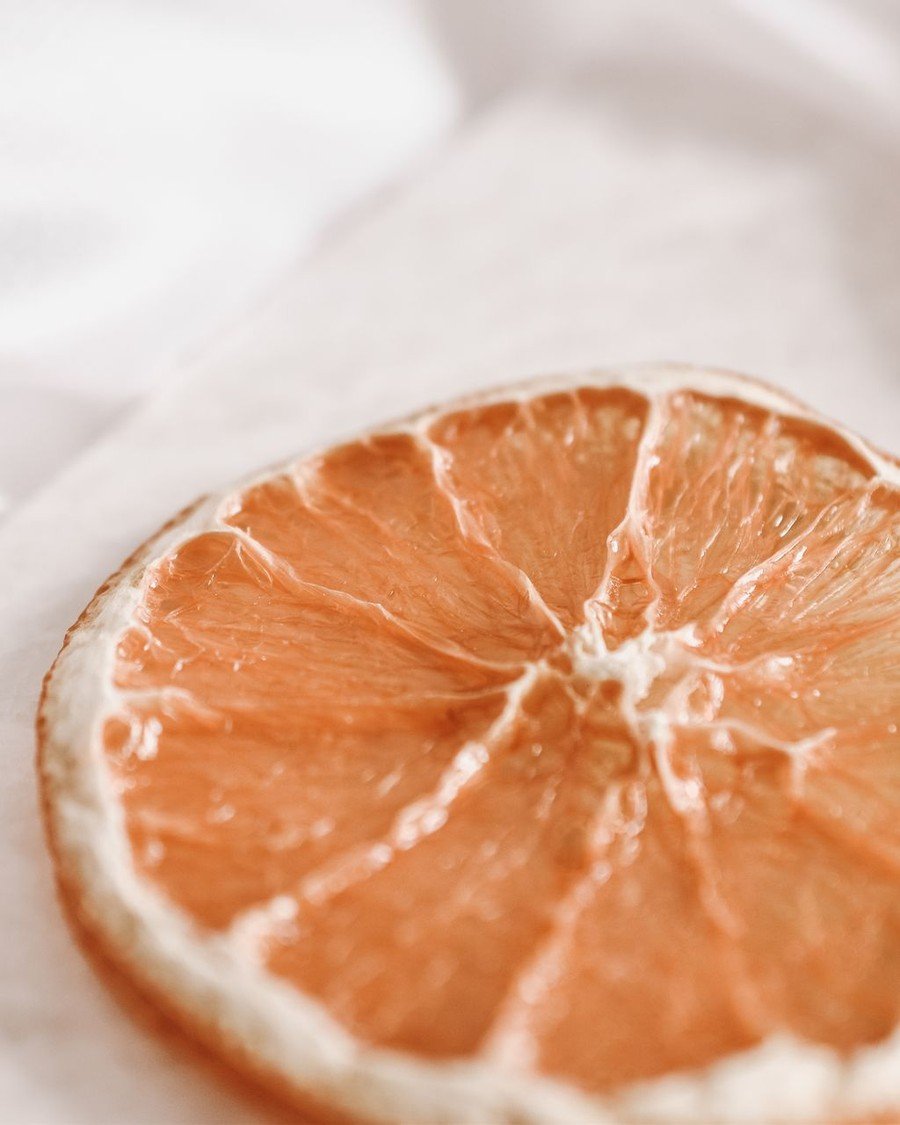
What to place: Individual dried orange slices hung singly in front of light, where each one works like a tiny stained-glass window — the effect you can see in this single-slice close-up.
Steps: Choose slices with the most even, translucent flesh; dehydrator-dried slices glow best. Tie a short loop of clear line or thin ribbon through the top of each slice. Hang them at different heights in a window, from a light fixture’s lower edge (cool bulbs only), or along the front of a bookshelf where lamplight passes through. Five to nine singles make a set — together they read as a deconstructed dried orange garland.
Pro tip: Hold each candidate slice up to a window before stringing — the glow test never lies.
Avoid this: Hanging singles where they swing against the glass all day; a small gap keeps them quiet and crack-free.
27. Stacked Slice Centerpiece
Difficulty: Easy · Time: ~15 min · Cost: Under $10
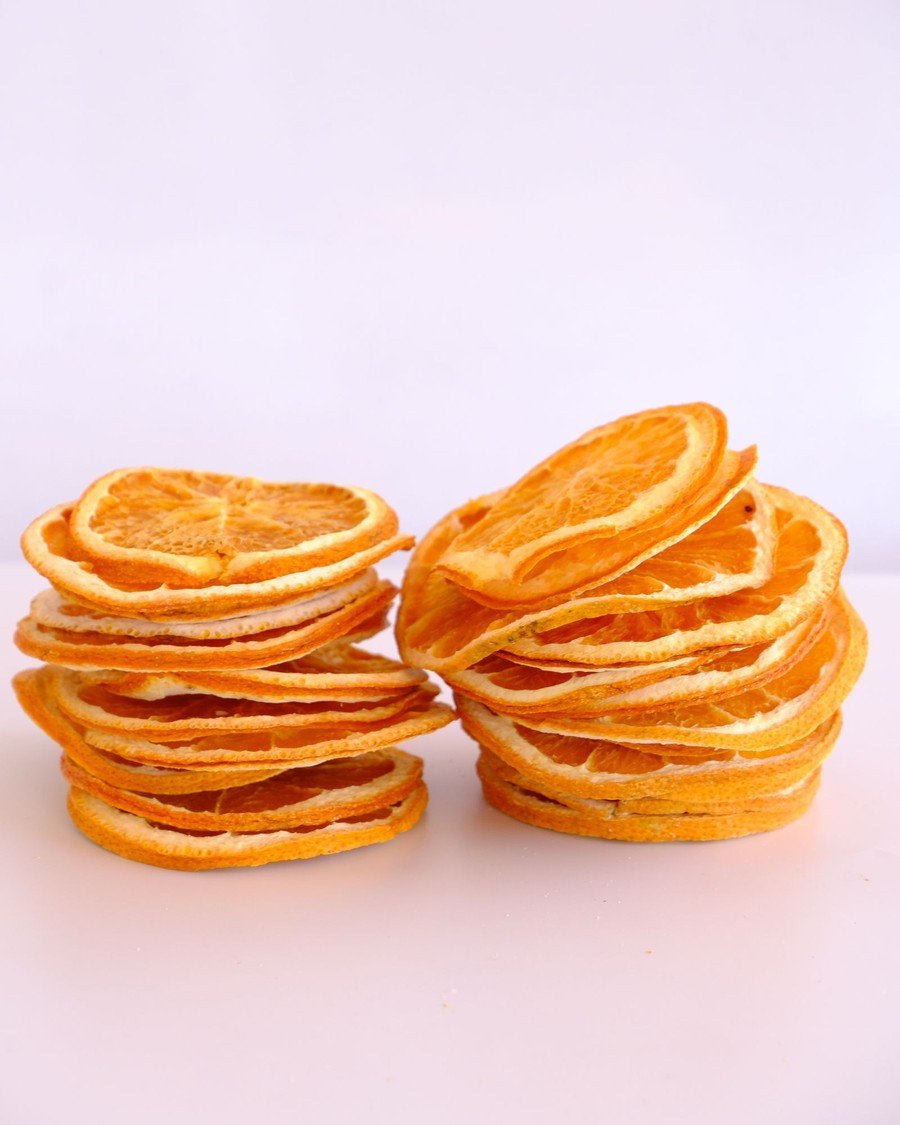
What to place: Neat stacks of dried orange slices used as a sculptural centerpiece, like the tidy piles in this photo.
Steps: Sort slices by size. Build three stacks of graduated height on a cake stand, wooden board, or shallow bowl. Crown the tallest stack with a pinecone, a cinnamon bundle, or one perfect slice stood upright. This is the zero-hanging option for renters and for anyone whose garland spots are already full — the slices decorate from the table up.
Pro tip: A stack beside the coffee maker or bar cart quietly perfumes the whole corner.
Avoid this: Stacking slices that are not fully dry; trapped moisture in the middle of a pile is where mold starts.

28. Jewel-Tone Paired Garland
Difficulty: Easy+ · Time: ~35 min · Cost: Under $25
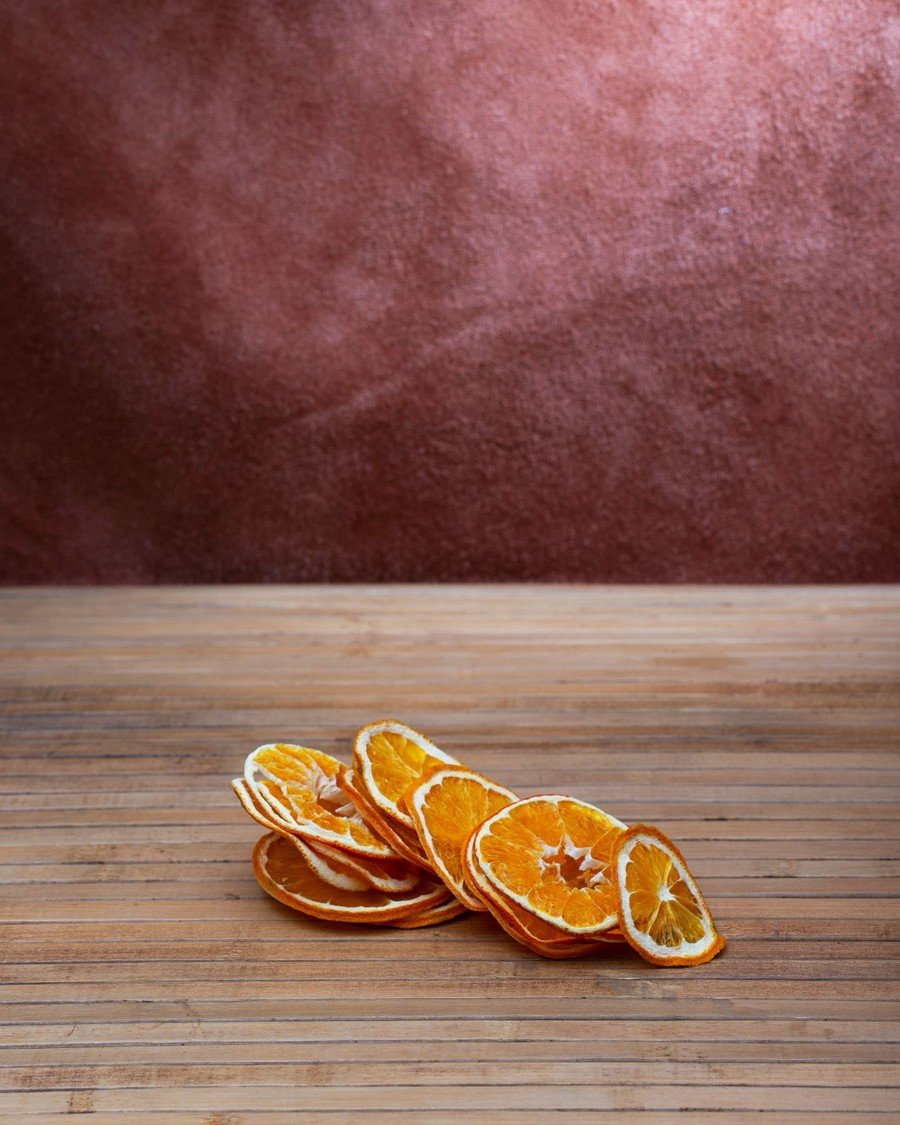
What to place: A dried orange garland set against deep jewel tones — plum, emerald, burgundy — like the rich purple backdrop behind the slices in this photo.
Steps: Choose your jewel backdrop first: a velvet ribbon woven through the strand, a deep-colored table runner under it, or a garland hung against a saturated wall. Add gold-toned accents sparingly — a few brass bells or gold ribbon ties. If you are decorating the whole room in this palette, our jewel tone christmas decor guide shows how the orange slices echo the amber notes in that scheme.
Pro tip: Orange and plum are complementary — the pairing makes both colors look richer than they do alone.
Avoid this: Adding a fourth strong color. Jewel schemes stay luxe by staying narrow.
29. Farmhouse Drying Tray Display
Difficulty: Easy · Time: ~15 min · Cost: Under $10
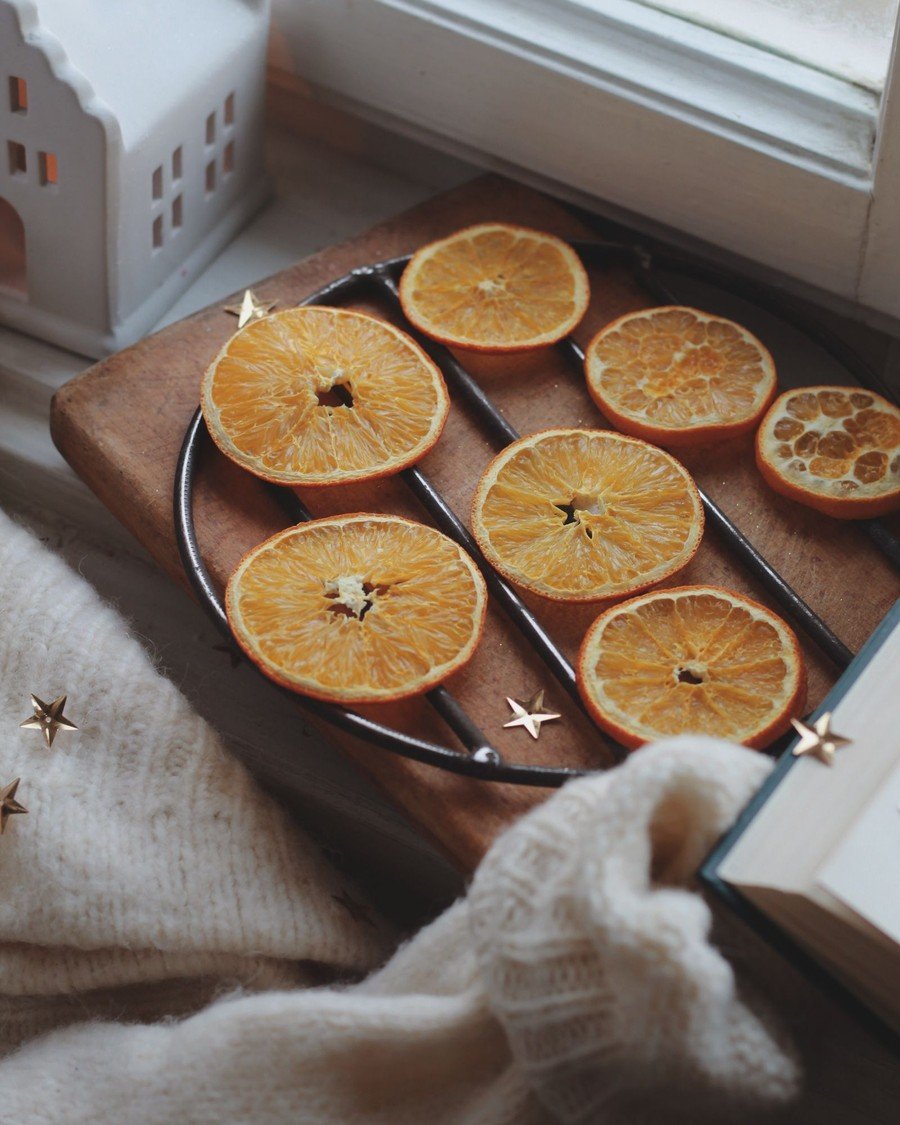
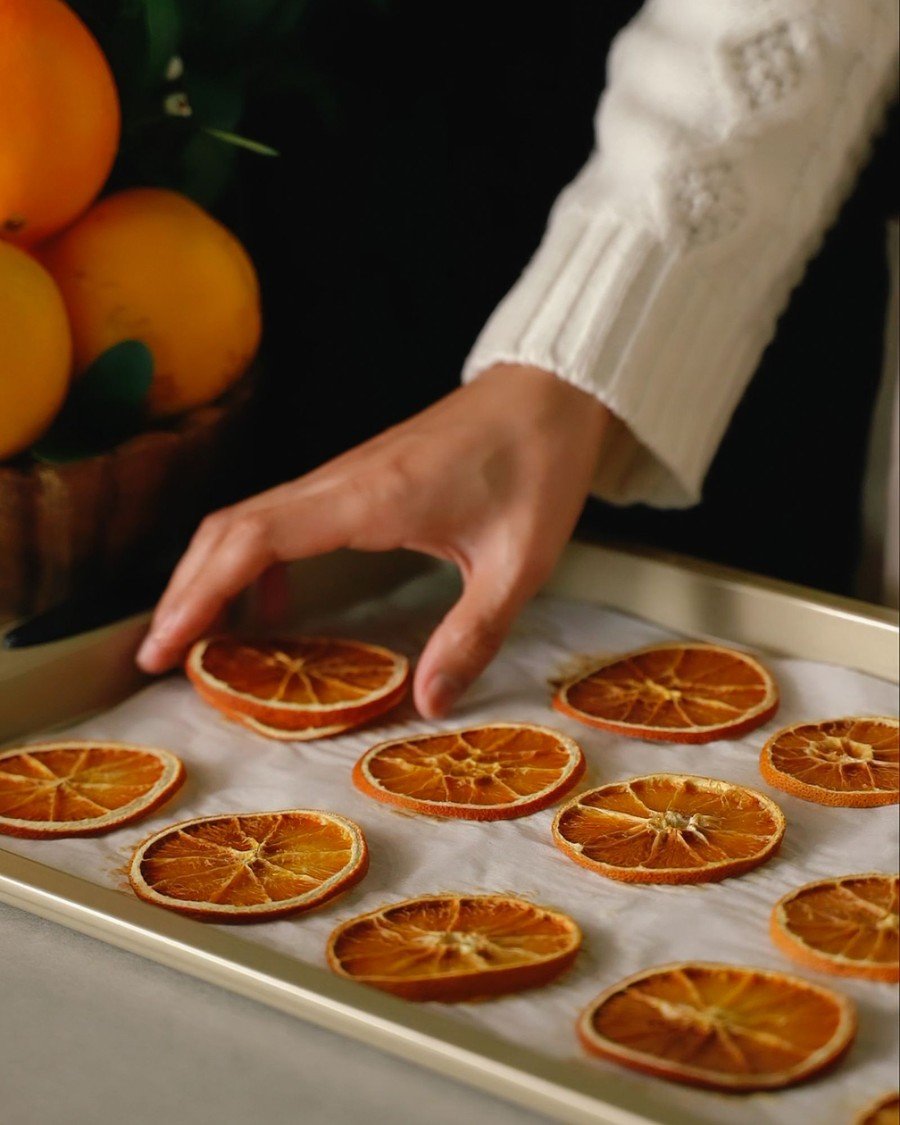
What to place: Your drying tray itself as the decoration — slices arranged on a rack or tray in the kitchen, mid-process like the scene in this photo.
Steps: Use a handsome tray or wooden rack for the air-drying stage and park it on the counter where you would put a decoration anyway. Arrange slices in tidy rows as they dry. Once they are done, string half into a garland for the same room and leave the rest displayed in the tray a few days longer. The kitchen gets a working decoration that changes as the week goes on.
Pro tip: Guests always ask about the tray — it is the most conversational decoration in this whole list.
Avoid this: Trays near the stove’s steam vent; drying slices should lose moisture, not collect it.
Budget, Small-Space & Gift Dried Orange Garland Ideas
You do not need a big house or a big budget for a dried orange garland — the four ideas in this last group are the cheapest and smallest in the whole list.
30. Budget One-Strand Garland
Difficulty: Easy · Time: ~30 min · Cost: Under $10
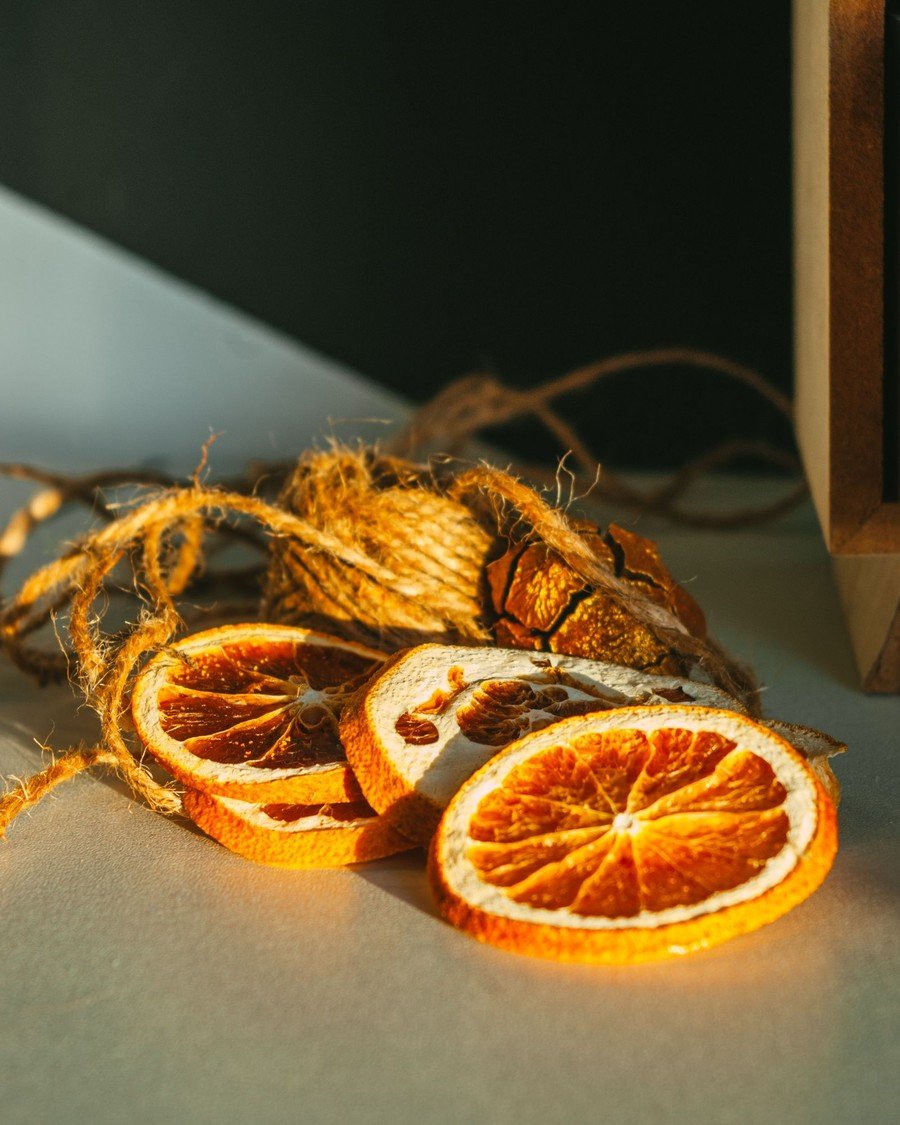
What to place: The simplest possible dried orange garland — one strand, twine, and a bag of oranges — with the slices spread out ready to string, as in this photo.
Steps: Buy oranges when they are on sale; imperfect skins are fine because you are slicing them anyway. Dry one batch with the oven method, string every slice on a single length of dollar-store twine, and hang it in your highest-traffic spot. Total spend stays under ten dollars, and the result is honestly 90% of the charm of the expensive versions.
Pro tip: Day-old bakery oranges and market markdowns dry exactly as well as premium fruit.
Avoid this: Skipping the pat-dry step to save time — surface juice is what makes cheap batches dry unevenly.
31. Small Apartment Mini Swag
Difficulty: Easy · Time: ~20 min · Cost: Under $10
What to place: A short, bright mini garland sized for a small apartment — over a doorway, a kitchen cart, or a single shelf, like the cheerful slices in this photo.
Steps: Cut twine to 2 or 3 feet and string 10 to 14 slices. Hang it where a full garland would overwhelm: the top of a door frame, across a bar cart, or along the front of one floating shelf. Small spaces reward one strong natural accent far more than a room full of small decorations competing for attention.
Pro tip: A mini swag plus a scented candle is a complete small-space holiday scheme — nothing else required.
Avoid this: Scaling down every decoration in the room. One real garland beats five tiny imitations.
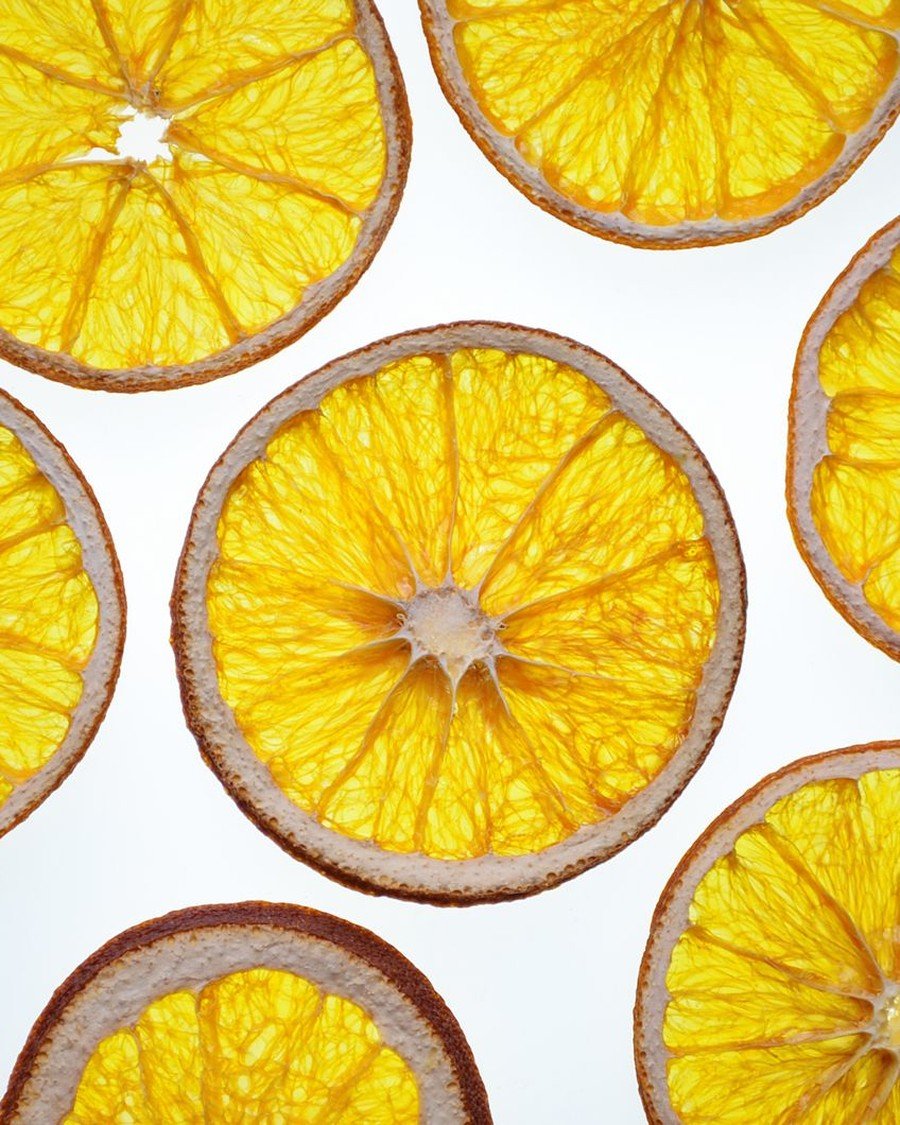
32. Gift-Topper Mini Garlands
Difficulty: Easy · Time: ~25 min · Cost: Under $10
What to place: Tiny three-slice garlands used as gift toppers and bottle decorations, made from the prettiest slices in the batch, like these on the plate.
Steps: String three slices on a 10-inch piece of twine and tie the ends into a bow-able loop. Rest one mini garland on top of each wrapped gift instead of a plastic bow, or slip one around the neck of a wine or olive-oil bottle. The topper perfumes the gift and becomes a keepsake ornament for the recipient’s tree.
Pro tip: Make these from the slices left after your main garlands are strung — the budget for this idea is effectively zero.
Avoid this: Gluing slices to wrapping paper; the loop version survives the unwrapping and gets kept.
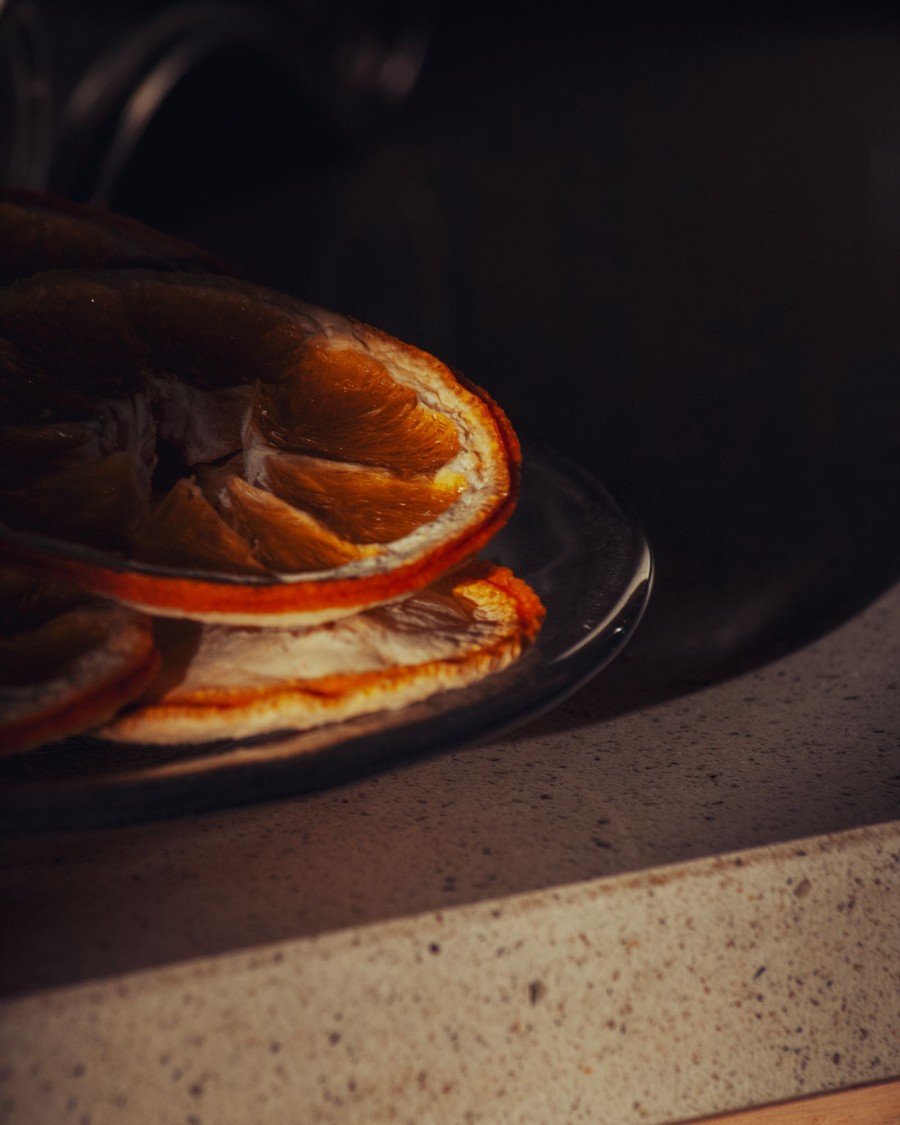
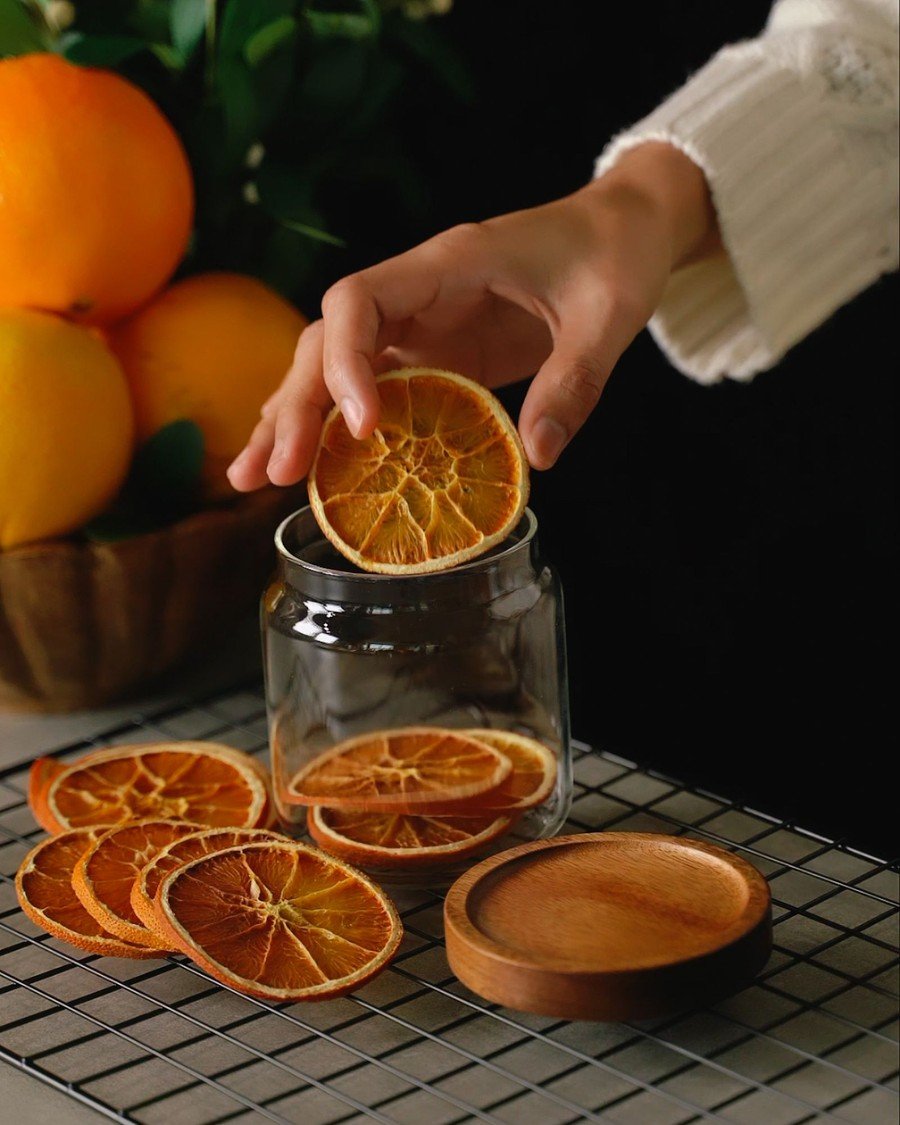
33. Store-Pretty Jar Garland Kit
Difficulty: Easy · Time: ~15 min · Cost: Under $15
What to place: Next year’s garland, stored as this year’s display — slices packed upright in a glass jar with the twine and needle tucked in, like the jar being filled in this photo.
Steps: At the end of the season, check every slice: keep only fully dry, mold-free ones. Stand them upright in a clean, dry jar, add the strand’s twine coiled on top, and set the jar on a shelf instead of boxing it away. Your storage becomes a quiet year-round decoration, and next December the whole project restarts in five minutes.
Pro tip: A small silica gel packet in the jar guards against a humid storage spot.
Avoid this: Storing slices in a sealed plastic bag in a warm attic — trapped heat and any trace moisture invite mold.
Care, Storage & Safety Notes
Keep the glow, skip the risk. Dried orange slices are dried fruit and peel — treat them as flammable, like dried flowers or paper. Never drape a garland where it can touch a candle flame, a fireplace flame, hot bulbs, or a stove burner, and keep strands well clear of the firebox opening on a working fireplace. The U.S. Fire Administration’s fire prevention guidance is worth a quick read before any holiday decorating with natural materials. Flameless LED candles give you the same candlelit look beside a garland with none of the risk.
Moisture is the only real enemy. A dried orange garland hung in a steamy bathroom or directly over a busy stove will soften and can mold. If a slice ever shows white or green fuzz, smells musty, or feels soft again, remove that slice (and any it touches) right away — one bad slice can spread spores along the string.
End-of-season storage. Take your dried orange garland down gently, dust slices with a soft dry brush, and store them flat or upright in a rigid box or glass jar with a silica packet, in a cool, dry place. Stored well, slices keep their color and light scent for a second season; by the third, most makers dry a fresh batch — the project is half the pleasure.
Pets and little hands. Hang garlands out of reach of pets and toddlers. Dried slices are not a toy or a snack once they have been handled, hung, and dusted for a season, and concentrated citrus oils in the peel can irritate sensitive stomachs and skin.
Dried Orange Garland FAQs
How long does a dried orange garland last?
Hung indoors away from moisture, a dried orange garland looks its best for one full holiday season, and well-dried slices stored properly (cool, dry, airtight with a silica packet) usually keep for a second season with slightly deeper color. If any slice molds or softens, replace that slice rather than the whole strand.
How many oranges do I need for a 6-foot dried orange garland?
Plan on 4 to 5 medium oranges. One orange gives roughly 5 to 7 usable 1/4-inch slices, and a 6-foot strand spaced 1 to 2 inches apart takes about 25 to 30 slices. Dry one extra orange as insurance against cracked or uneven slices.
Can I dry orange slices without an oven or dehydrator?
Yes — air-drying works, it just takes patience. Lay slices on a rack or thread them on a skewer in a warm, dry room with good airflow, turn them daily, and expect 1 to 2 weeks. The color ends up deeper and more rustic, which suits farmhouse and woodland styles beautifully.
Why did my slices turn brown or moldy?
Browning usually means the oven ran too hot or the slices were too thick, so the outside cooked before the inside dried. Mold means moisture remained — slices were under-dried, stored too soon, or hung in a steamy spot. Slice evenly at 1/4 inch, pat dry before drying, and test for a firm, glassy finish before stringing.
Are dried orange garlands safe around a fireplace?
Only with distance and care. Dried citrus is flammable, so keep garlands well away from the firebox opening, sparks, and any open flame, and never leave a fire burning unattended with natural decorations nearby. Many people hang their garland on the mantel’s front edge or the wall beside the fireplace instead of across the top near the flue. When in doubt, choose the safer spot — the glow is not worth the risk.
Can I eat the slices after the season?
No. Slices meant for eating should be dried and stored as food from the start, in food-safe conditions. Garland slices have been handled, hung, and exposed to household dust for weeks — compost them or keep them for one more season of decor, but do not eat them.
A Garland That Earns Its Keep
A dried orange garland is the rare holiday decoration that is cheap, natural, fragrant, and genuinely fun to make — and with 33 ways to hang it, one afternoon of drying can dress the whole house. Pick the idea that fits your favorite room, dry one batch of slices this weekend, and let the light do the rest. Merry making!
