
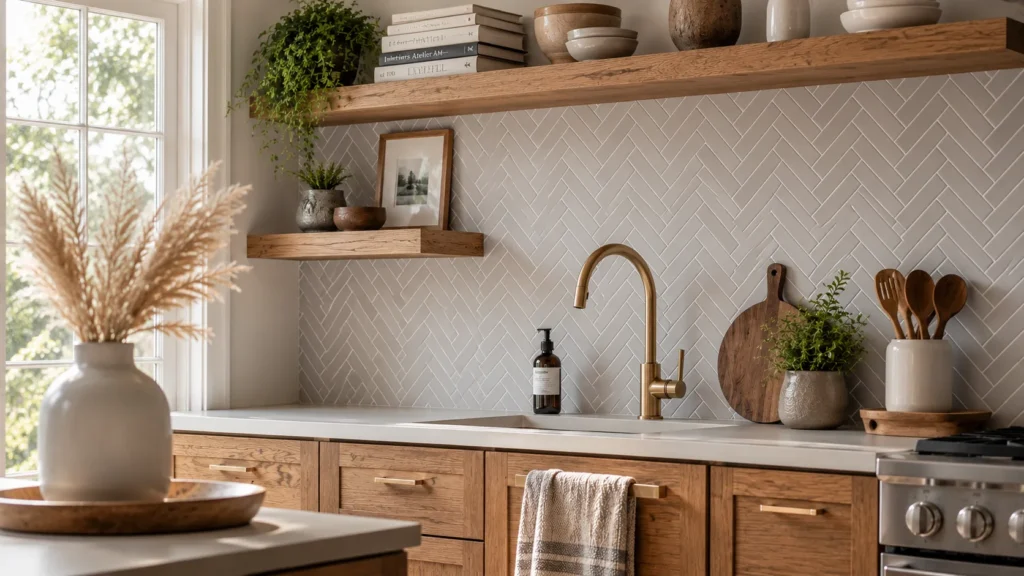
Your kitchen backsplash works harder than almost any other surface in your home, and it shouldn’t take a full renovation budget to get one you love. Peel-and-stick tile has come a long way from the flimsy stickers of a decade ago. These days you can get real texture, real color depth, and a finish that genuinely fools guests until they get close enough to touch it. Whether you’re renting, working with a tight timeline, or just don’t want to deal with grout ever again, there’s a style here that fits.
My Design Notes
I still think about a rental kitchen I helped a client refresh in Austin a few years back. She had exactly one weekend before a big dinner party and a lease that flat out banned any permanent changes to the walls. We landed on a soft grey herringbone peel and stick over her existing tile, and honestly, I was skeptical about how it would hold up around her stove. It surprised me. Eight months later when she moved out, it peeled off clean with barely a trace, and her landlord never even noticed the swap. My biggest takeaway from that project was that prep work matters more than the product itself. We spent almost as long wiping down and drying the wall as we did applying the tile, and that patience is exactly why it looked so sharp on install day and still looked sharp when it came time to remove it
12 Stunning Peel and Stick Backsplash Strategies for an Elevated Kitchen
1. Classic Subway Tile
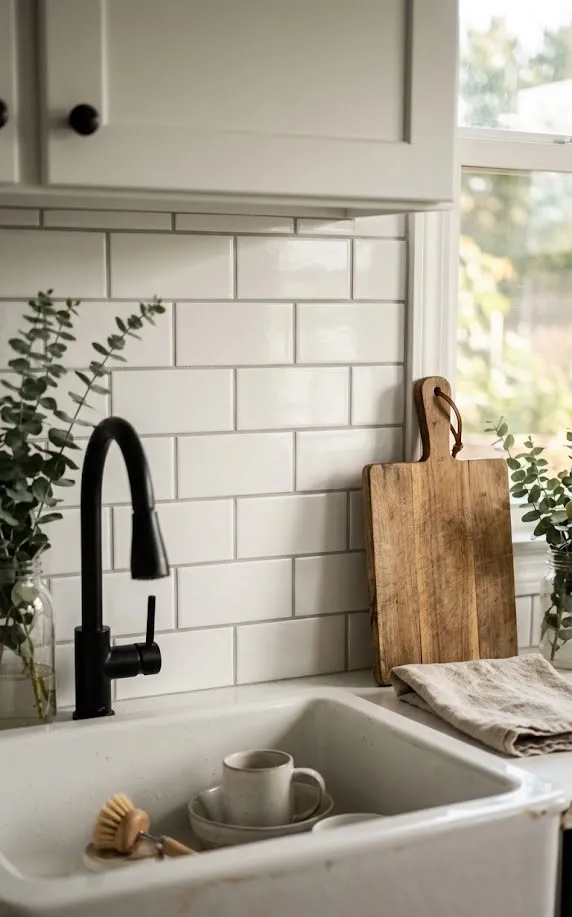
If you want a backsplash that will never look dated, start here. Subway tile has been a kitchen staple for over a century, and the peel and stick version captures that same clean, rectangular rhythm without a speck of grout to maintain. It works in a farmhouse kitchen just as easily as it works in a sleek modern one, which is part of why designers keep coming back to it.
One thing I’ve learned is that the grout lines on these tiles are printed, not real, so pay attention to color options. A soft grey line reads more contemporary, while a bright white line leans classic and crisp.
- Best paired with warm wood cabinets or classic white shaker style
- Holds up well behind stoves when rated heat resistant
- Widely available, so it’s easy to buy extra for touch ups later
2. Herringbone Pattern
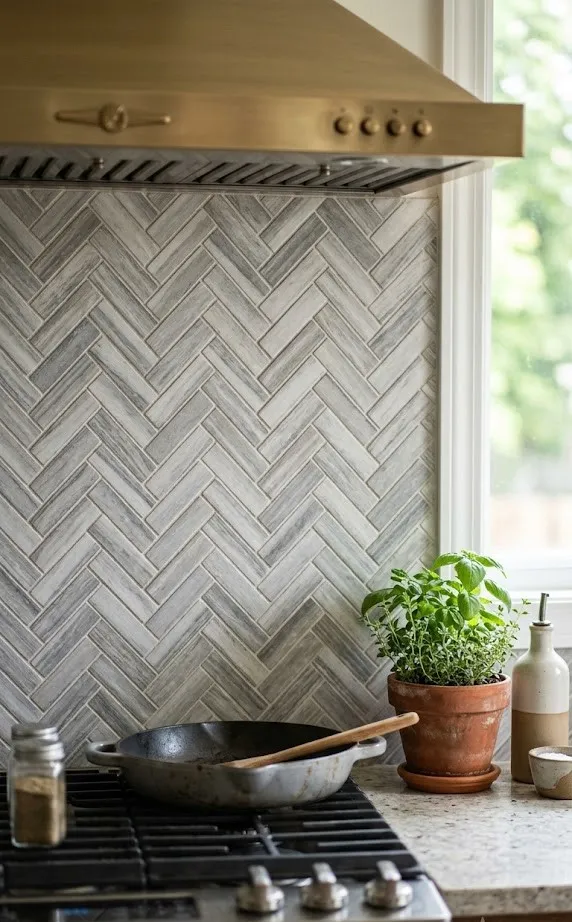
Herringbone takes that same familiar rectangular shape and angles it into something that instantly feels more considered. It’s the kind of detail that makes people assume you hired a professional tile setter, when really you spent an afternoon with a utility knife and a level.
A trick worth trying is starting your pattern from the center of the wall rather than a corner. It keeps the angles symmetrical on both sides and avoids that awkward sliver of tile at one end that gives away the DIY origin.
3. Marble Look Tile
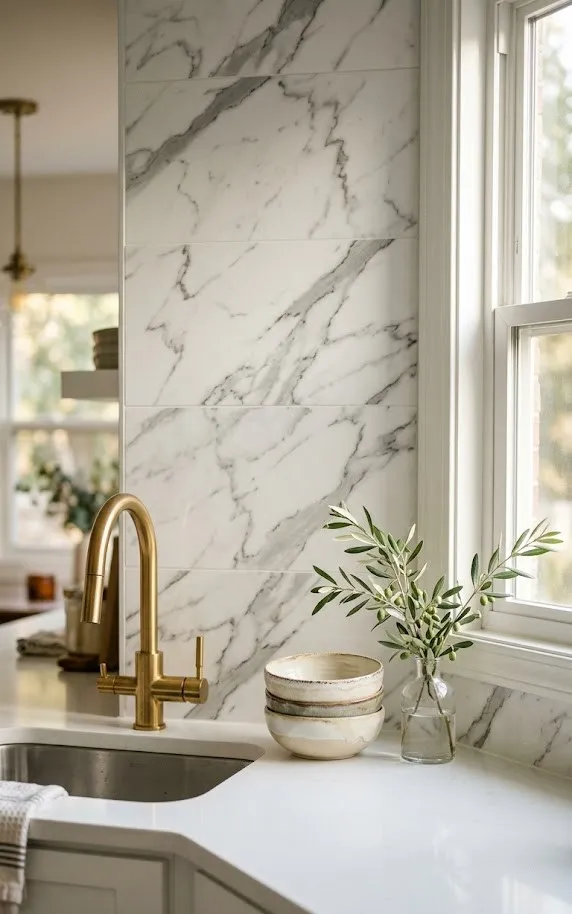
Marble has a certain pull that never really fades, but real marble slab is expensive, porous, and honestly a bit high maintenance for a lot of households. Peel and stick marble look tile solves most of that. You get the veining and the soft grey white palette without worrying about etching from a dropped lemon.
Where this one falls short is under close inspection. The pattern often repeats every few tiles, so if your backsplash spans a large wall, a sharp eyed guest might notice the veining looping back on itself. For smaller runs behind a stove or a narrow galley kitchen, it reads beautifully.
4. Hexagon and Honeycomb
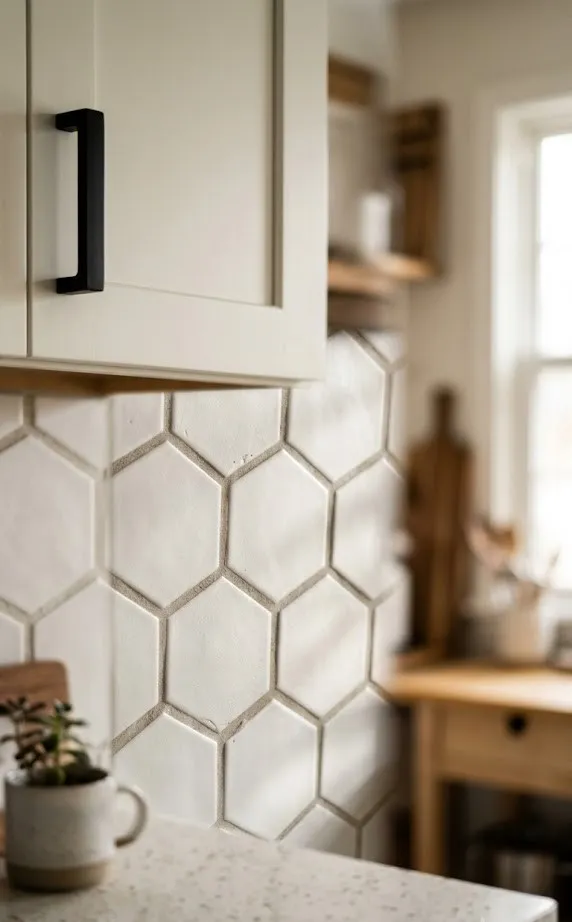
Hexagon tile brings a graphic, almost architectural energy to a kitchen that a straight grid pattern just can’t match. It photographs incredibly well too, which is probably why it shows up so often on design blogs and Pinterest boards lately.
Small kitchens actually benefit the most from this shape. The interlocking geometry draws the eye around the room instead of stopping flat at a wall, which makes a tight space feel a little more alive.
- Works especially well in white or soft pastel tones
- Pairs nicely with brass or matte black fixtures
- Slightly trickier to cut around outlets, so plan your layout first
Which of these would actually survive your kitchen, the marble look or the bold pattern?
5. Bold Pattern Tile
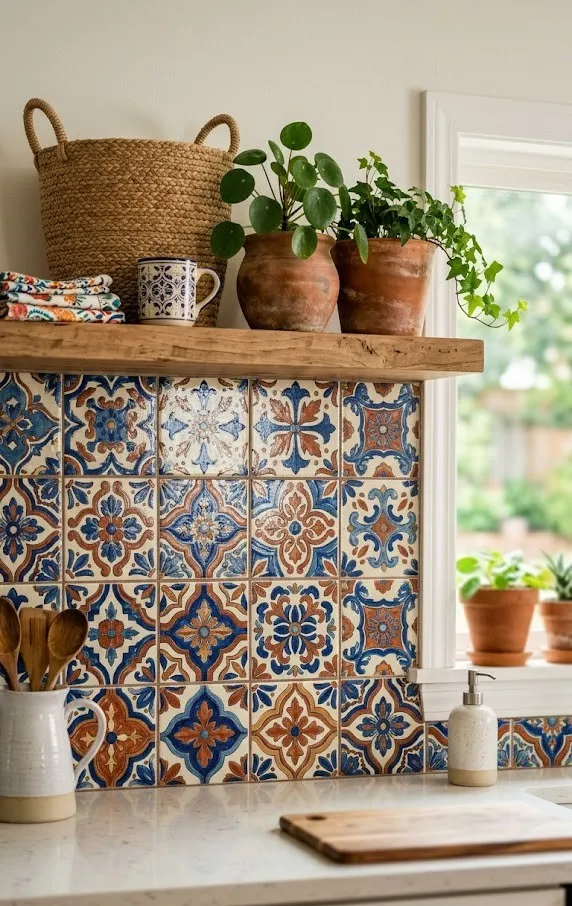
Sometimes a kitchen needs a little personality, and this is where Talavera style or Moroccan inspired patterns earn their spot. These designs bring in color, movement, and a handmade feel that a plain white tile just can’t offer. I’ve noticed clients who choose this route tend to keep the rest of the kitchen fairly quiet, letting the backsplash carry the whole room.
If you’re nervous about commitment, try it on a small accent wall or just behind the range rather than wrapping the whole kitchen. That way you get the personality without it overwhelming the space, and it’s an easier swap later if your taste shifts.
6. Wood Look Planks
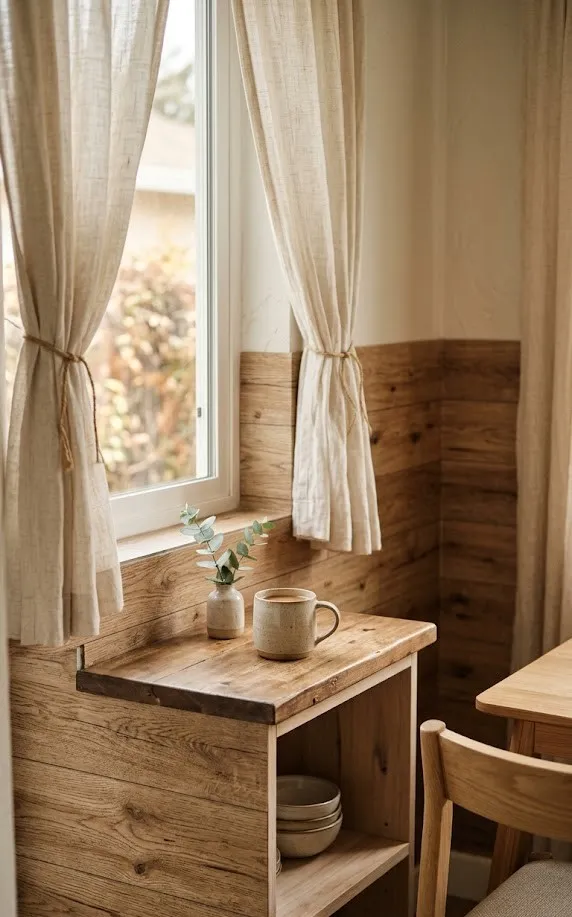
Wood look peel and stick planks bring warmth into a kitchen in a way that ceramic and vinyl tile can’t quite replicate. They’re a natural fit for Japandi and Scandinavian style spaces, and honestly they work in a farmhouse kitchen too, especially layered against white cabinetry.
We used these once in a small breakfast nook where the client wanted a cohesive look between her flooring and her backsplash without matching them exactly. The plank texture picked up just enough visual weight to tie the two together while still reading as a totally separate design choice.
- Great for Japandi, Scandi, or modern farmhouse kitchens
- Adds warmth without a large color commitment
- Look for a matte finish to avoid an overly glossy laminate look
7. Brushed Metal
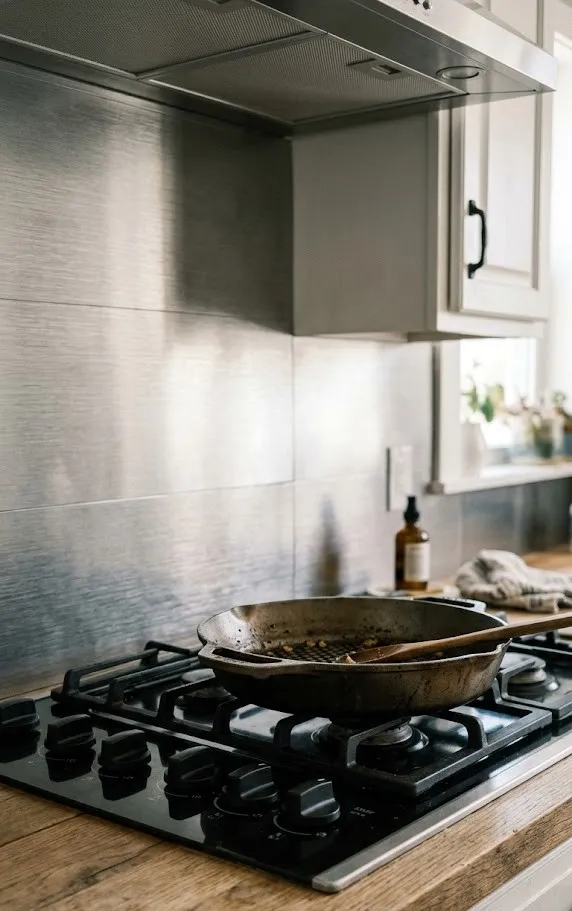
Metal backsplash tile is not for every kitchen, but in the right space it adds a genuinely industrial, high end feel. Brushed aluminum or stainless finishes catch light in a way that vinyl simply can’t fake, and they hold up remarkably well to daily wear.
Here’s the honest part nobody mentions enough. Metal tile is usually thicker than standard peel and stick vinyl, which means you’ll likely need a jigsaw or a sharp utility knife with real muscle behind it to trim around outlets and corners. If your kitchen has a lot of odd angles, budget extra time for this one.
8. Glass Mosaic
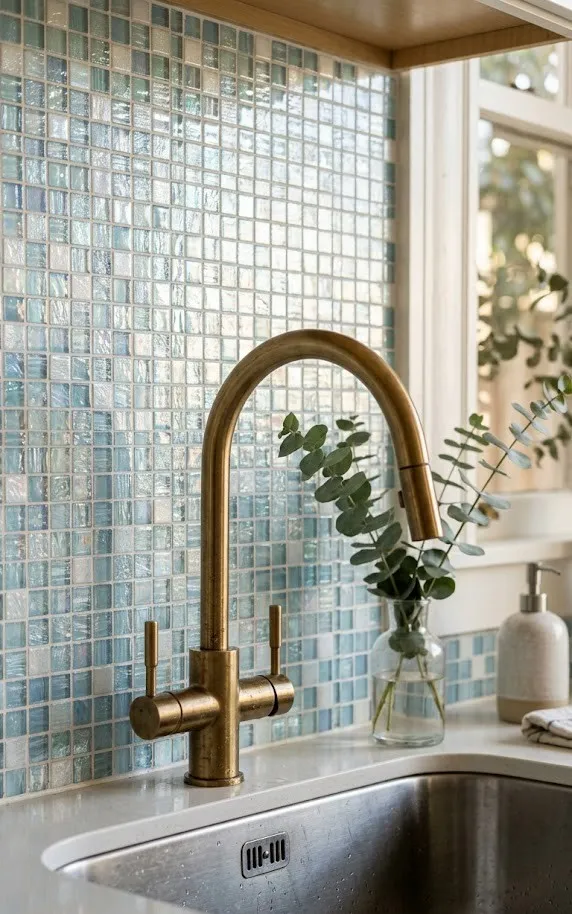
Glass mosaic tile brings a sparkle and reflectiveness that instantly brightens a room, which makes it one of my favorite recommendations for kitchens with limited natural light. The small format also means it can wrap around curves and odd corners more gracefully than a large format tile ever could.
A quick trick I’ve learned is to keep the grout lines within the design light or white. It reads as a genuine tiled surface rather than a printed sheet, and it photographs beautifully under pendant lighting too.
If you had to pick just one wall to update this weekend, which one would it be?
9. Wallpaper Style Decals
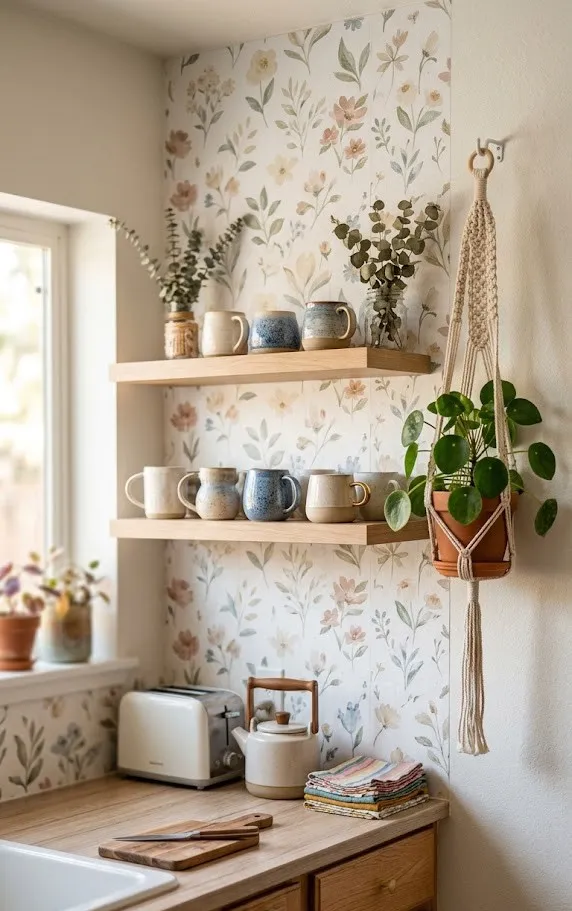
If you’re not ready to commit to a full tile look, peel and stick wallpaper style backsplash is the lowest risk way to test a bold idea. These sheets skip the raised texture of tile altogether and go for a flat, printed pattern instead, which makes them the easiest option to apply and by far the easiest to remove later.
- Best for renters who want maximum visual impact with minimal risk
- Look for a laminated or water resistant finish if it’s going near a sink
- Swap it out seasonally without much guilt since the cost per sheet is low
One thing to watch out for is direct heat exposure. Wallpaper style options generally aren’t rated for the same temperatures as vinyl tile, so keep them a bit further from an open flame than you would a heat rated product.
10. Budget and Real Cost Breakdown
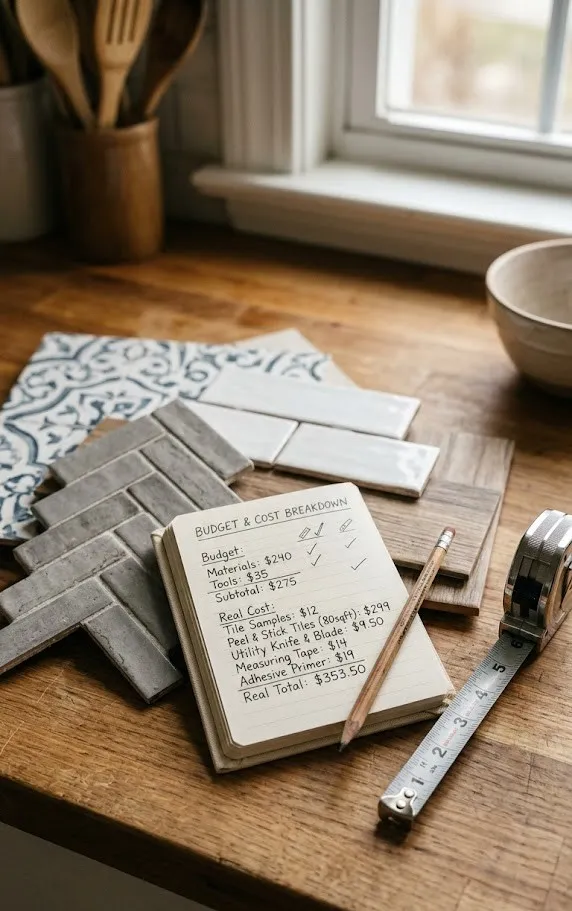
Let’s talk actual numbers, because most articles skip this part entirely. A standard peel and stick backsplash typically runs somewhere between three and twelve dollars per square foot depending on the material, with basic vinyl subway styles at the low end and metal or natural stone composite tiles climbing toward the top. For an average kitchen backsplash spanning around thirty square feet, that puts most projects somewhere between ninety and three hundred dollars in materials alone.
My advice is to always order about ten percent more than your measurements suggest. Cutting around outlets and corners wastes more material than people expect, and running short mid project means waiting on a reorder with a half finished wall staring back at you.
11. Installation and Surface Prep Reality
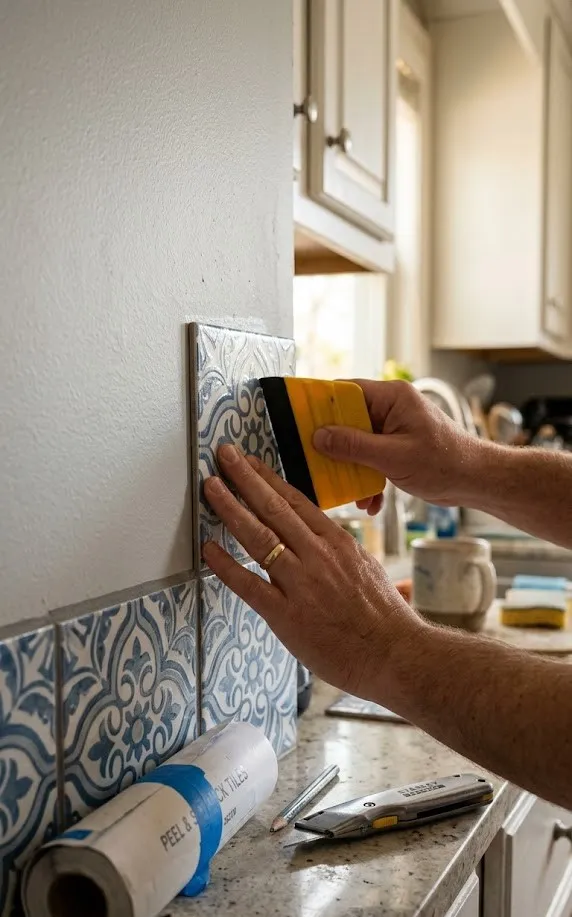
This is the part that actually determines whether your backsplash looks professional or peels off in six weeks, and it has almost nothing to do with the tile itself. Your wall needs to be clean, dry, and smooth. Textured walls, freshly painted walls that haven’t fully cured, and glossy painted surfaces are all going to fight the adhesive no matter how good the product is.
Before you start, here’s what you’ll actually need on hand:
- A level and pencil for marking your starting line
- A sharp utility knife or scissors for trimming
- A smoothing tool or old credit card to press out air bubbles
- A hair dryer, which softens the edges and helps them lay flat around corners
We ran into this exact issue on a project where the client’s wall had a subtle orange peel texture from a previous paint job. The tile technically stuck, but the texture showed through and the edges lifted within days. Lightly sanding the wall first would have solved it before we even started.
12. Maintenance, Heat and Water Zones, and Renter Removal
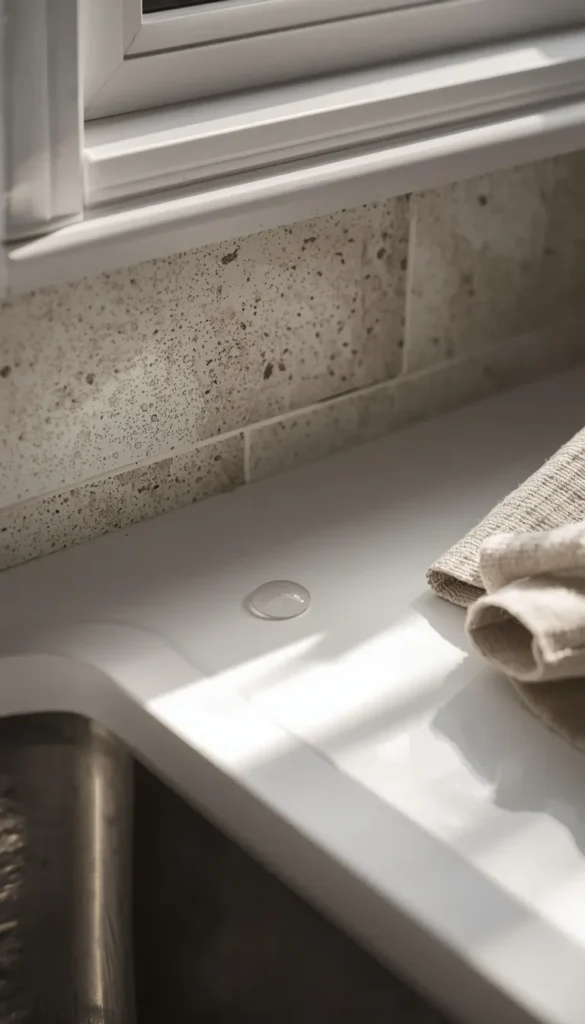
Realistically, most peel and stick backsplashes look fantastic for the first year and then start showing their age around edges and seams, especially near a stove where heat cycles the adhesive repeatedly. That doesn’t mean they’re a bad investment. It just means setting the right expectations going in.
Behind the stove, keep tile at least a few inches from any open flame even if it’s labeled heat resistant, since that rating usually refers to ambient heat rather than direct contact. Near the sink, humidity is the real enemy of adhesion, so wipe down splashes promptly rather than letting water sit against the edges overnight.
When it’s time to remove it, warm the edges gently with a hair dryer and peel slowly at a low angle rather than pulling straight off the wall. Going slow is genuinely the difference between a clean removal and patching paint afterward.
Which Path Is Yours?
By Budget
- Starter Pick: Wallpaper style decals or basic subway tile, both land comfortably under a hundred dollars for most kitchens
- Mid Range: Herringbone or hexagon tile, where the pattern does the heavy lifting without a premium price
- Investment Pick: Brushed metal or natural stone composite, worth it if you want the look to double as a long term feature
By Lifestyle
- Renters: Wallpaper style decals or wood look planks, easiest to remove clean without losing a deposit
- Busy Home Cooks: Subway tile or glass mosaic near the stove, both handle heat and quick wipe downs well
- Small Kitchens: Hexagon or glass mosaic to bounce light and make the space feel bigger
- Bold Personalities: Talavera or Moroccan pattern tile, made to be the star of the room
Frequently Asked Questions
Is peel and stick backsplash actually good for a kitchen?
Yes, for most everyday kitchens it holds up well. Just make sure the surface behind your stove and sink is rated for heat and moisture before you buy.
How long does peel and stick backsplash actually last?
Most last one to three years looking sharp, sometimes longer with light use. Edges near heat and water tend to wear first.
Can I put peel and stick tile directly over old tile?
Yes, as long as the existing tile is flat, clean, and free of heavy texture. Grout lines that are too deep can cause bubbling.
Will peel and stick backsplash damage my walls when removed?
Not usually if you remove it slowly with a hair dryer to soften the adhesive. Rushing the peel is what causes paint damage.
How much does a peel and stick backsplash cost for an average kitchen?
Expect somewhere between ninety and three hundred dollars in materials. Labor cost is basically zero since it’s a DIY install.
That’s the full FAQ section. Let me know what’s next, whether that’s a meta title and description, image alt text suggestions, or something else for the piece.
Conclusion
Your kitchen is where your day actually starts and ends, and it deserves better than a wall you’ve been meaning to fix for two years. Pick one style from this list, order a sample, and see how it looks against your cabinets before committing to the whole wall. Small changes like this add up to a space that finally feels like yours, not just a room you pass through. So tell me, which one caught your eye first, the herringbone or the bold pattern?
