
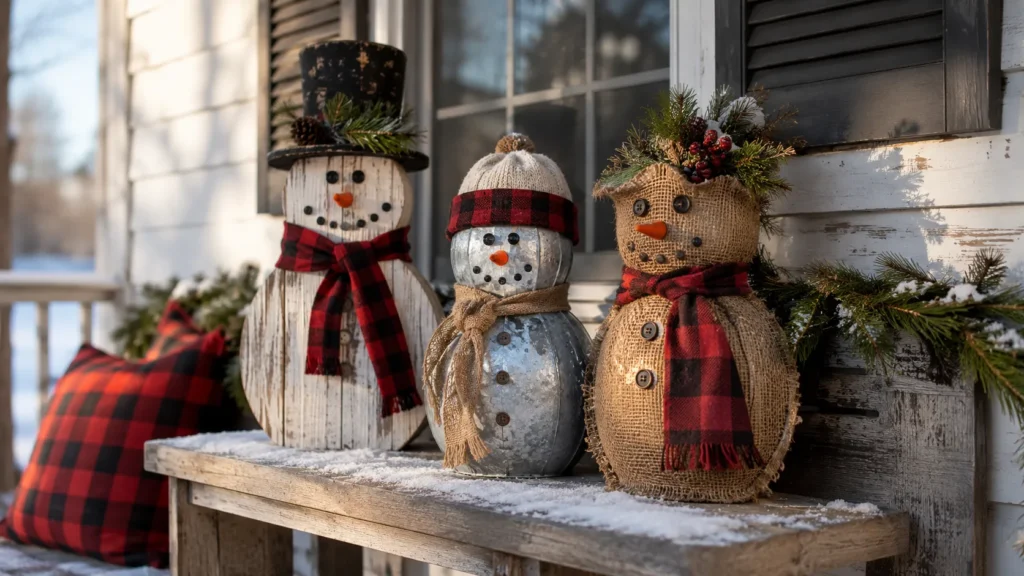
Snow falls, the temperature drops, and suddenly every homeowner I talk to wants the same thing on their porch: a snowman that looks like it’s been in the family for decades, not one that just came off a shelf. That’s the whole appeal of rustic snowman decor. It skips the shiny, mass-produced look and leans into wood grain, twine, and a little bit of imperfection. I’ve styled porches and mantels with this exact aesthetic for clients who wanted their winter decor to feel collected, not purchased. Here are 18 ideas that actually deliver that look, plus the budget and upkeep realities nobody tells you about.
My Design Notes
When I was working on a farmhouse renovation outside Columbus, Ohio, I found a stack of old fence post offcuts sitting behind the client’s barn, gray and weathered from years outside. I asked if I could take a few home, and my client just laughed and said take all of it. I spent a Saturday afternoon sanding them down at my own kitchen table, and I’ll admit I split one board because I got impatient with the grain. What I ended up with was a set of graduated height snowman blocks that looked like they’d been in that family for thirty years. We placed them on the porch for the reveal, and it was the one detail every guest asked about that whole season. I learned the hard way that reclaimed wood needs a proper weatherproof sealant before its first snowfall, not after. That barn sale wood taught me more about rustic styling than any showroom ever has.
Timeless Strategies to Style an Unforgettable Rustic Snowman Display
1.Reclaimed Wood Snowman Blocks
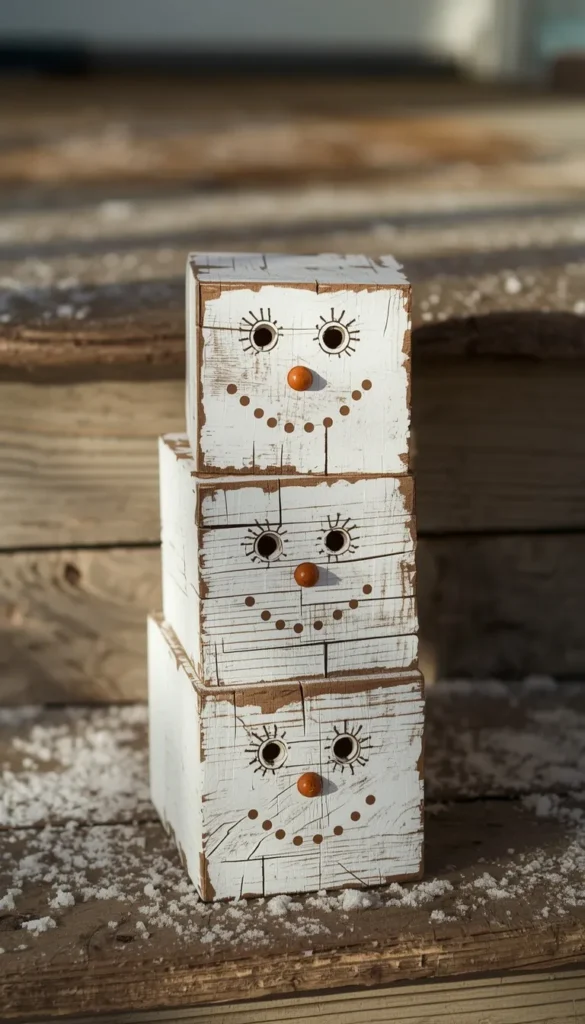
If there’s one material that defines rustic snowman decor, it’s reclaimed wood. Think old fence posts, barn siding, even leftover deck boards cut into stacked circles and painted with a simple face. The beauty is in the imperfections, the knots, the faded paint, the slight warp that no factory-made piece could ever fake.
A few things I always tell clients before they start cutting into old wood:
- Check for nails or staples first, old fence wood is notorious for hiding hardware
- Sand just enough to avoid splinters, but leave the texture alone
- Seal it if it’s going outside, even for just one season
One thing to watch out for is treating this as a one-and-done project. Wood shrinks and swells with humidity, so pieces that fit snugly in October can loosen up by January. I always tell clients to check the joints once mid season.
2.Galvanized Metal Snowman Ornaments
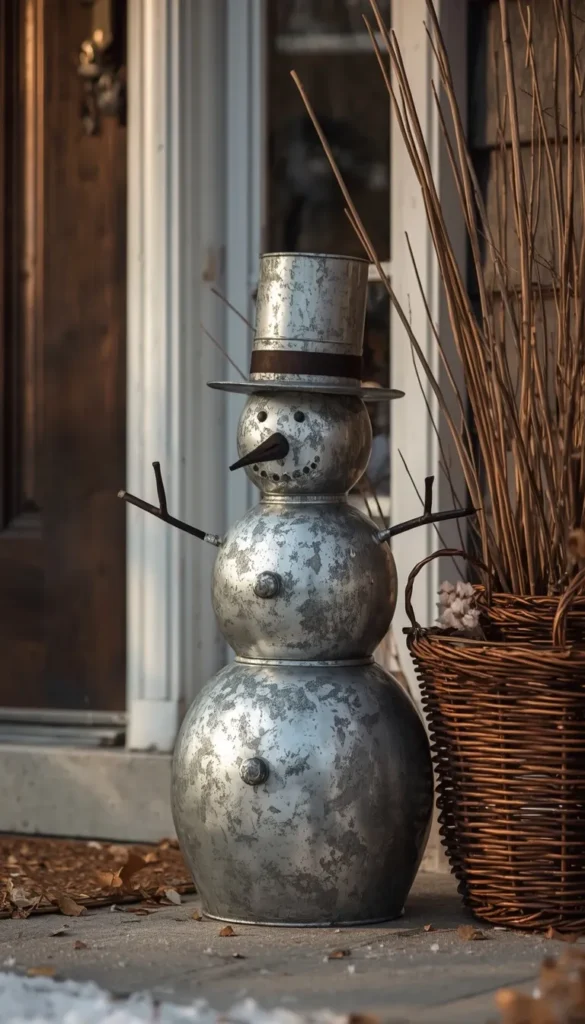
Metal snowmen bring a different kind of rustic, more farmhouse-industrial than cozy cabin. The galvanized finish already looks a little weathered right out of the box, which is exactly why it works so well with wood, wicker, and other natural textures. It’s also one of the few materials on this list that genuinely holds up outdoors through an entire winter without babying it.
I like using these as anchor pieces on a porch rather than scattering several around. One well-placed metal snowman near the front door reads as intentional. Three or four crammed together starts to look like a display table at a craft fair.
3.Twine and Burlap Wrapped Fabric Snowmen
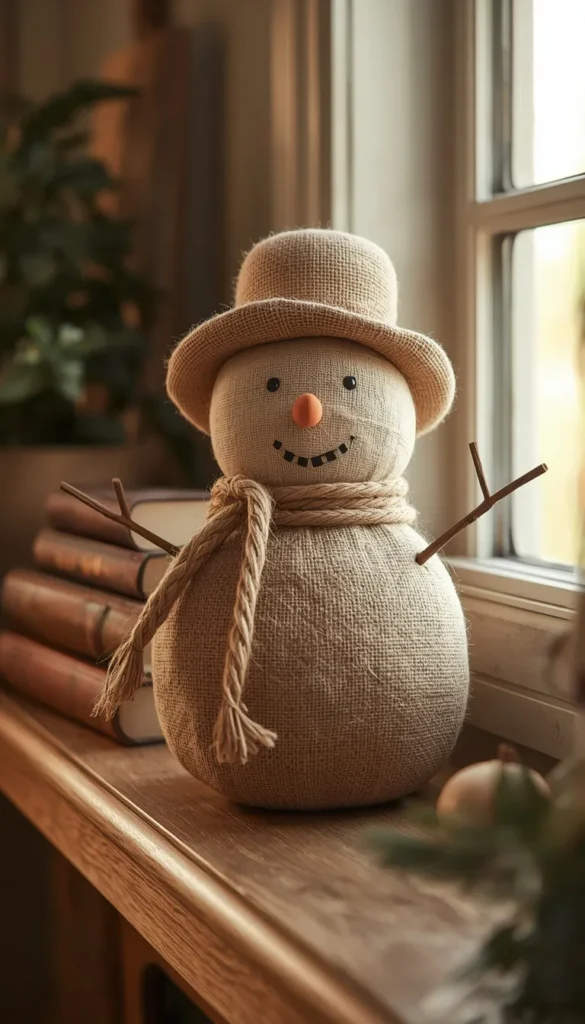
This is the softest interpretation of the trend, and honestly, my favorite for indoor spaces with kids or pets running around. A simple muslin or burlap body, wrapped and knotted with jute twine, gives you all the textural charm of rustic decor without any sharp edges or breakable parts.
A quick trick I’ve learned is stuffing these with rice or dried beans in the base rather than polyester fill all the way through. It gives the snowman enough weight to actually stand upright on a mantel, which matters more than people expect until their snowman face-plants off the shelf for the third time.
4.Chunky Yarn Crochet Snowmen
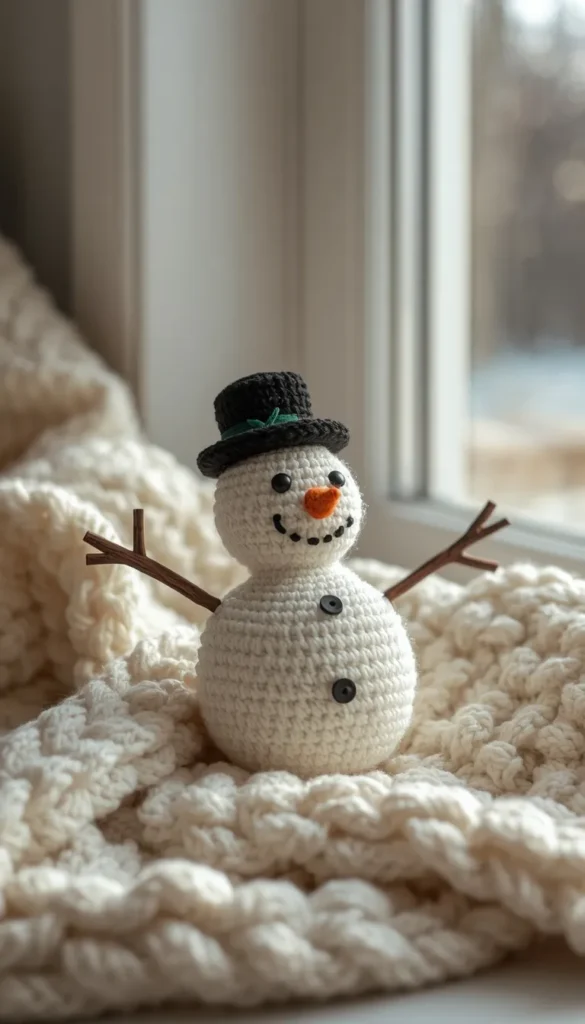
Crocheted snowmen have had a real moment lately, and I get why. Bulky yarn works up fast, the finished piece has this handmade softness that reads instantly cozy, and it’s genuinely one of the more forgiving crafts for a beginner. Two strands of worsted weight held together get you close to the same chunky look if you don’t want to buy specialty bulky yarn.
My honest take is that these are better suited to a shelf or table than a porch. Yarn holds moisture, fades in direct sun, and pets tend to treat it like a toy. Keep it indoors and it’ll last for years.
Which one of these snowmen would actually survive at your house, kids, pets, and all?
5. Birch Log or Stacked Wood Snowman
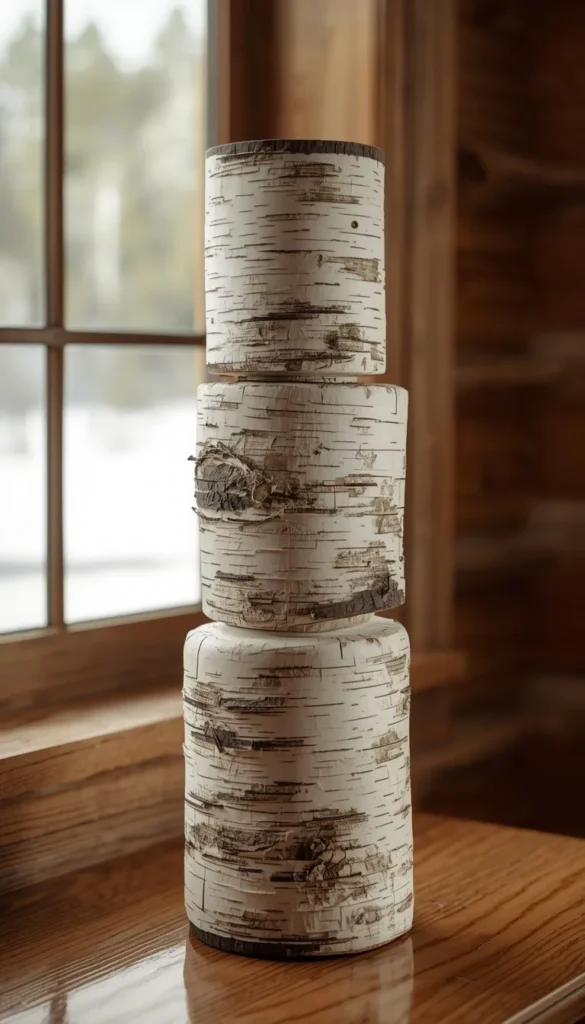
Birch logs bring a slightly more polished, cabin-lodge feel compared to reclaimed fence wood. The white bark with dark horizontal marks already looks like a snowman without you doing much at all, which is probably why this idea shows up in so many Pinterest boards every November.
I’ve used real birch rounds for clients near lake houses in Michigan and Wisconsin, where the material actually fits the surrounding landscape. If you’re nowhere near birch trees, faux birch logs from a craft store hold up just as well and save you the trouble of drilling into real wood.
6. Vintage Inspired Ceramic Figurines
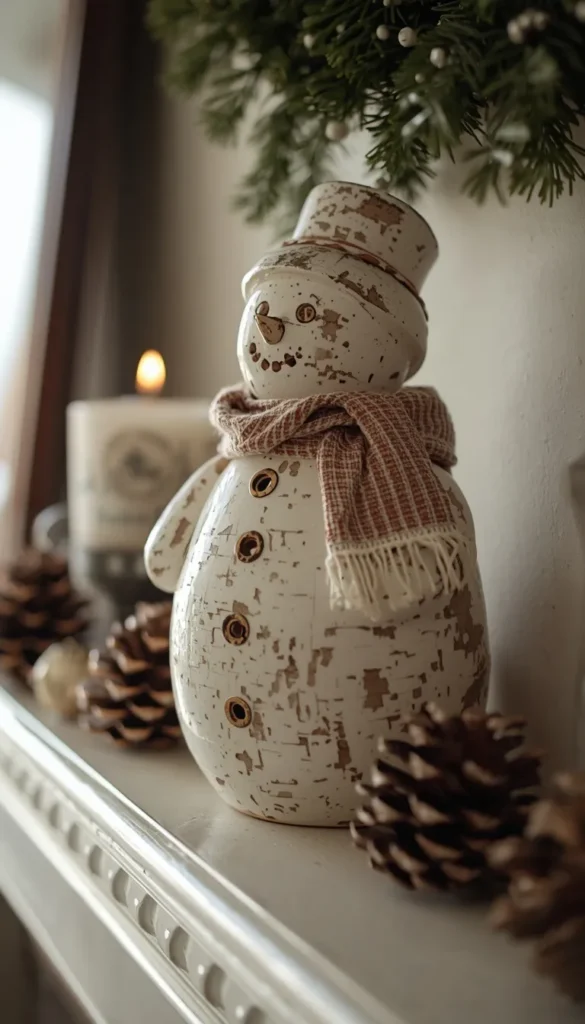
There’s a whole category of collectible snowman figurines styled after old farmhouse pieces, chipped paint finish, faded fabric scarves, that soft worn look built in on purpose. Primitives by Kathy is probably the best known name here, and their pieces show up on mantels from New England to Texas every December.
A few notes if you’re building a collection:
- Buy one or two well made pieces rather than a full set at once
- Mix heights so they don’t read as matchy
- Check the base weight, lighter ceramic pieces tip over easily near foot traffic
Top 6 rustic snowman ideas
| Idea | Estimated Price | Maintenance |
|---|---|---|
| Reclaimed Wood Snowman Blocks | $10 – $25 | Medium |
| Galvanized Metal Snowman Ornaments | $20 – $45 | Low |
| Twine and Burlap Fabric Snowmen | $15 – $30 | Medium |
| Chunky Yarn Crochet Snowmen | $25 – $40 | Medium |
| Vintage Ceramic Figurines | $30 – $60 | Low |
| Farmhouse Porch Snowman Displays | $40 – $100 | High |
7. Mason Jar or Bottle Snowman Fillers
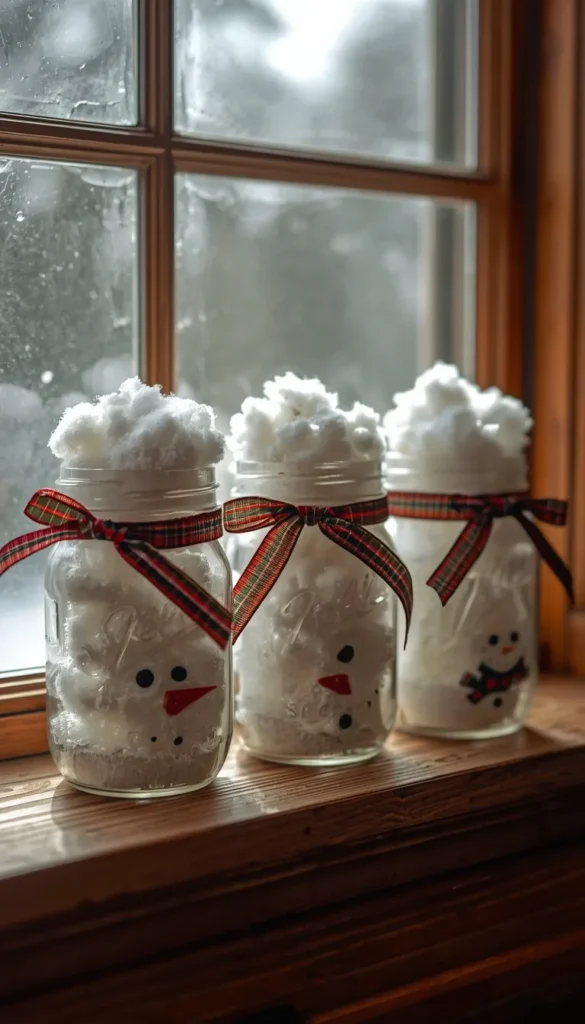
This one’s a favorite for anyone who wants rustic charm without buying a single new decoration. Fill an old mason jar with cotton balls, fake snow, or Epsom salt, add a tiny painted face and a scrap of plaid ribbon, and you’ve got a snowman that costs almost nothing.
It works especially well grouped in threes on a windowsill or entry table. One thing I’d flag is that Epsom salt looks gorgeous but can be messy if the lid isn’t sealed well, so a hot glue bead around the rim saves you a mid season cleanup.
8. Twig Arm Snowmen With Kid Safe Alternatives
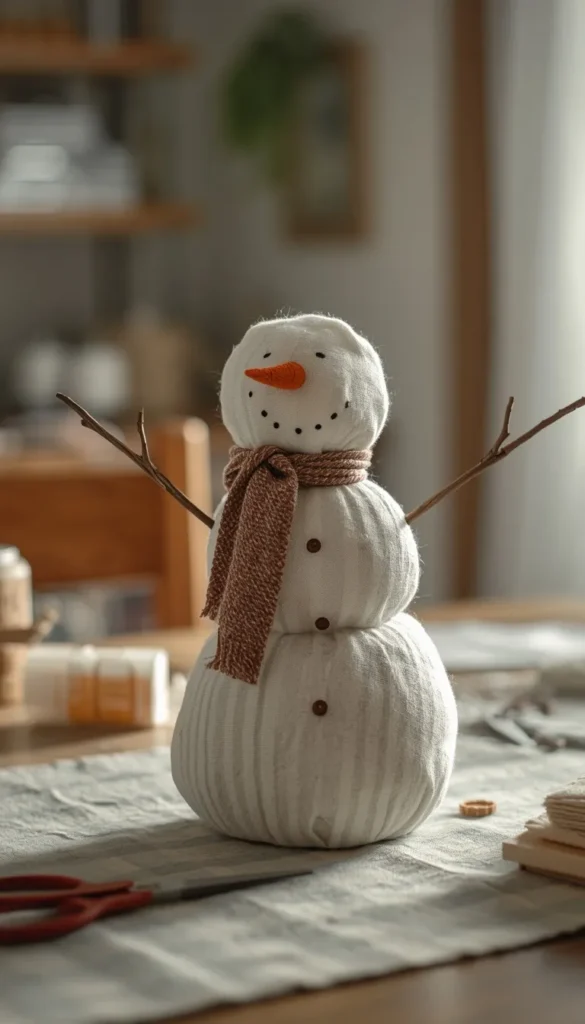
Twig arms are practically the signature detail of rustic snowman decor. They’re free, they look completely natural, and they instantly separate a handmade piece from something store bought. The catch is that most tutorials rely on a hot glue gun and sometimes a bit of wire, which isn’t ideal if little hands are going to be anywhere near the finished piece.
For a family friendly version, I’ve had good luck swapping the glue gun for a fabric glue that dries just as firm but skips the burn risk entirely, or pre drilling a tiny hole in the body and just pressing the twig in snugly. It takes a bit more patience but it’s a safer weekend project if kids want to help build it.
Is your winter decor leaning more farmhouse cozy or cabin lodge right now?
9. Buffalo Plaid Accented Snowman Decor
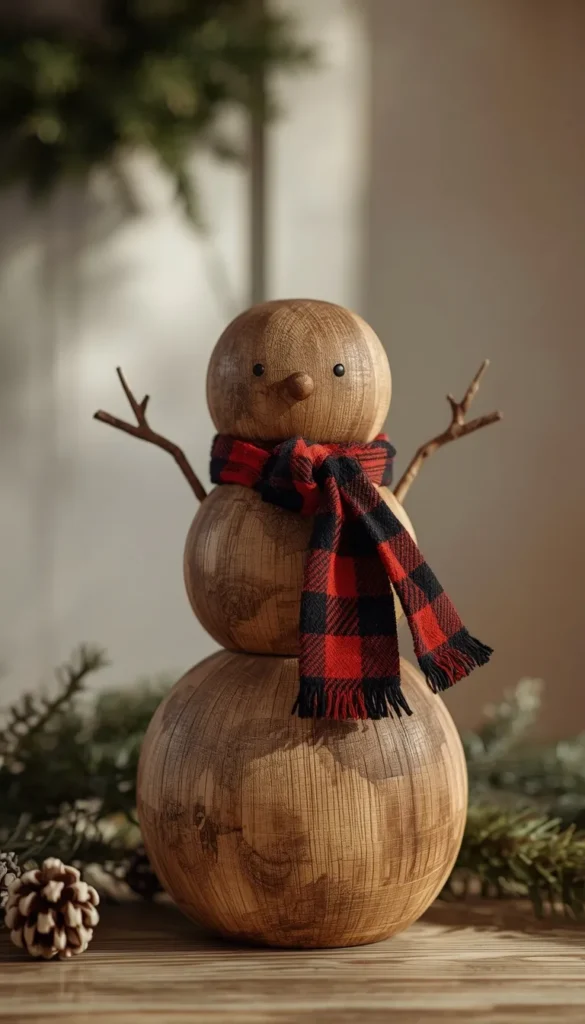
Buffalo plaid is one of those patterns that instantly says farmhouse Christmas, and pairing it with a rustic snowman just makes sense. A scarf, a scrap tied around the neck, even a small hat brim in red and black check adds a pop of color against all that neutral wood and white.
I’d caution against overdoing it though. One plaid accent per snowman is plenty. I’ve seen porches where every single piece has plaid somewhere, and instead of feeling festive it starts to feel like a themed party rather than a home.
10. Farmhouse Porch Snowman Displays
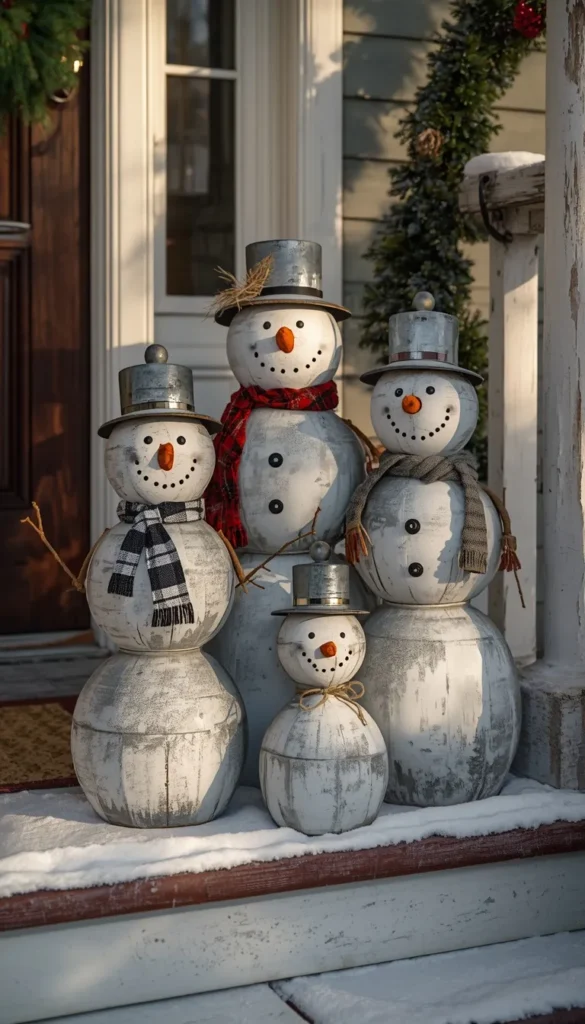
Porches take a beating all winter, wind, moisture, temperature swings, so not every material on this list belongs out there. Galvanized metal, sealed wood, and resin figurines are your safest bets. Yarn, unsealed fabric, and anything with a strong adhesive holding it together tend to fail outdoors faster than people expect.
A layout tip I give almost every client: group your snowmen in odd numbers, usually three, and vary the height slightly so the eye moves naturally across the display instead of landing on one flat row.
11. Tiered Tray Snowman Styling
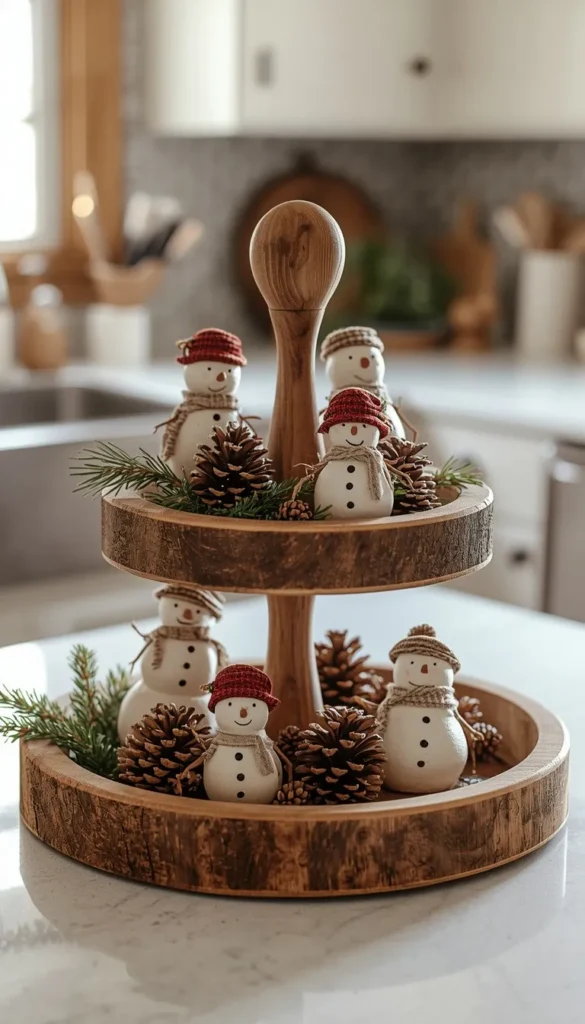
Tiered trays are everywhere in farmhouse decor right now, and snowmen happen to be perfectly sized for them. The trick to making a tray look styled instead of cluttered comes down to a few habits:
- Use odd numbers of pieces per tier
- Keep one tier mostly empty or minimal
- Repeat one material, like wood or metal, across at least two tiers to tie it together
Mixing five different textures on one small tray usually backfires. It starts to look busy instead of curated, and busy is the opposite of what rustic decor is going for.
12. Mantel Centerpiece Snowman Arrangement
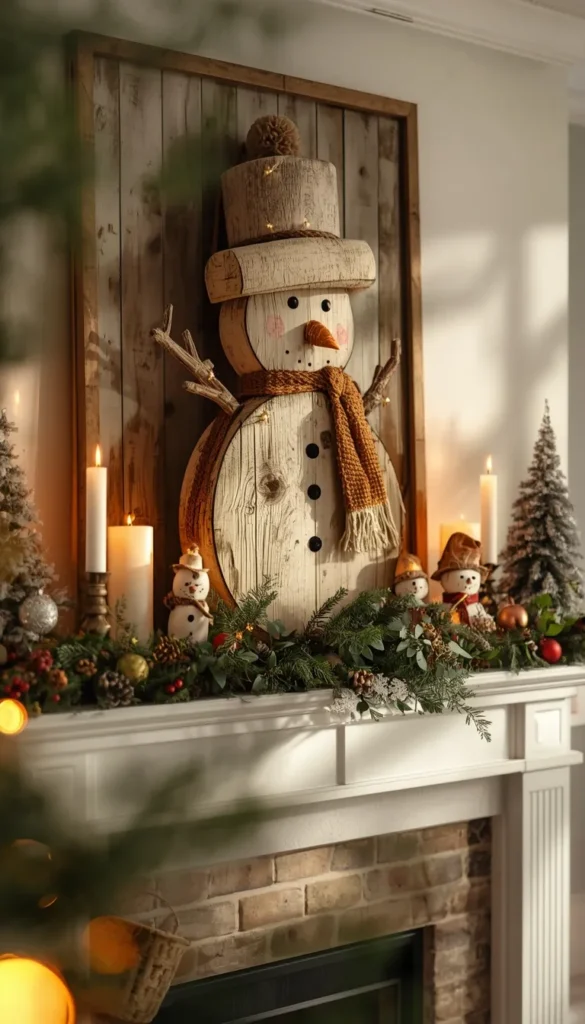
A mantel gives you more room to build a proper scene rather than just placing a single piece. I usually anchor the display with one larger snowman in the center, then layer in greenery, a few candles, and smaller decor pieces around it so the eye has somewhere to land first before wandering.
One thing that trips people up is scale. A five inch snowman on a six foot mantel just disappears. If your mantel is long, go with at least one piece in the twelve to eighteen inch range so it actually registers from across the room.
Got any reclaimed wood sitting in your garage that could become your next snowman?
13. No Sew No Crochet Snowman for Non Crafters
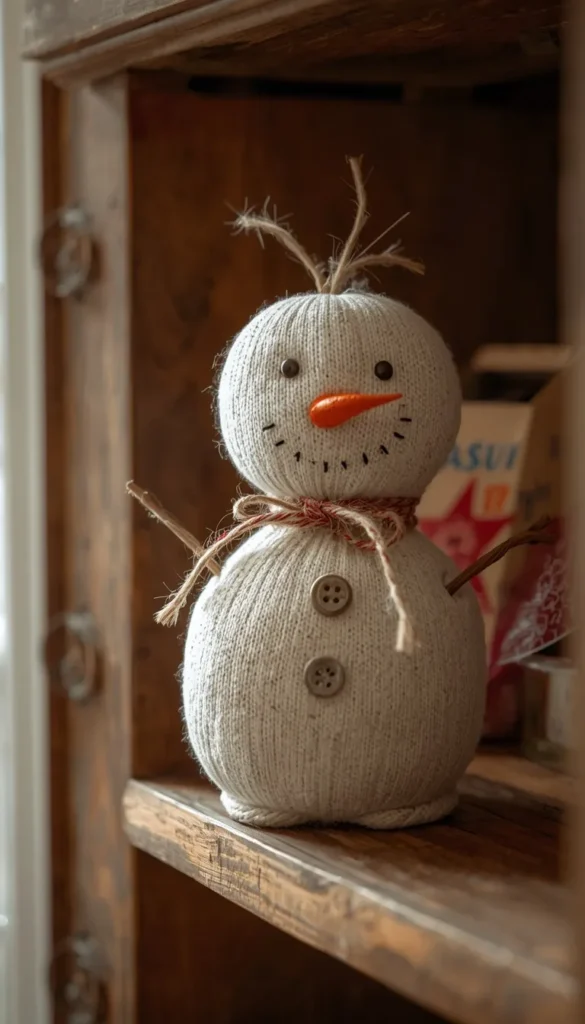
Not everyone wants to pick up a needle or a crochet hook, and that’s completely fine. A simple sock snowman is probably the easiest entry point here. Fill an old white sock with rice or stuffing, tie it off with twine at the neck, add button eyes and a fabric scrap scarf, and you’re done in under twenty minutes.
It’s not going to win any craft awards, but it genuinely captures that same handmade, rustic warmth, and it’s a project I’ve handed to clients’ kids on a Saturday afternoon with zero prior experience.
14. Budget Friendly DIY Snowman Ideas

Rustic decor has a real advantage here. Unlike sleek modern decor that often needs precise, expensive materials, rustic leans into scraps and secondhand finds, so the budget version can look just as good as the pricier one.
A realistic breakdown I give clients:
- Under fifteen dollars: sock snowmen, mason jar fillers, twig arm additions to existing decor
- Twenty five to forty dollars: crochet or fabric snowmen using yarn and stuffing from a craft store
- Fifty dollars and up: collectible ceramic figurines or a full tiered tray set
The honest truth is that the fifteen dollar version, done well, often looks more authentic than the fifty dollar one. Handmade imperfection is the whole point of this style.
15. Mid Range Collectible Snowman Decor
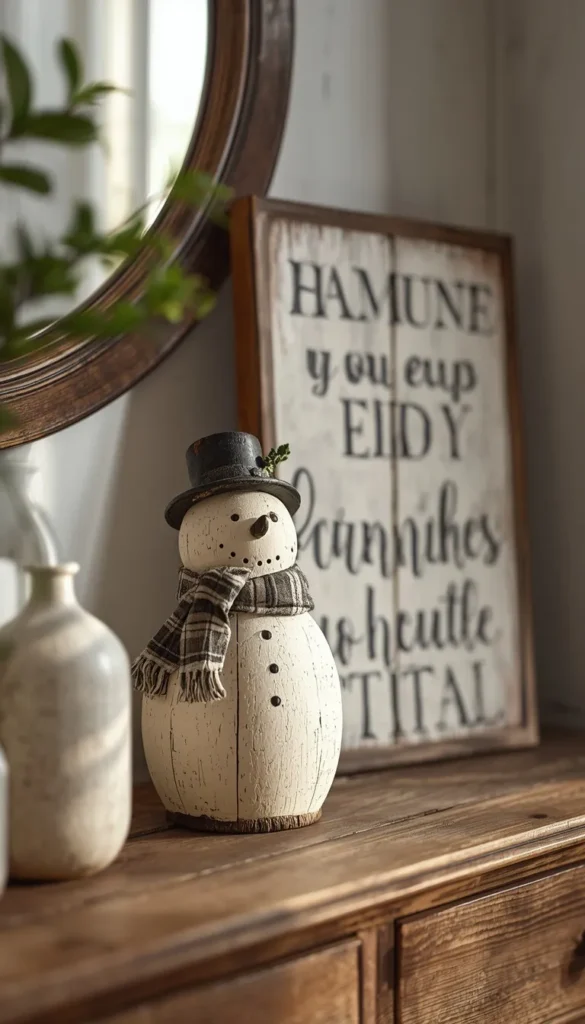
Somewhere between full DIY and high end collectible sits a nice middle ground, wooden block signs, resin figurines with a distressed finish, small sets from brands that specialize in farmhouse style. These usually run twenty to forty dollars and give you a polished look without the time investment of building something from scratch.
My advice here is to buy pieces that can mix with what you already own rather than a full matching set. A single well made wood block paired with something you built yourself tends to look more collected than an entire boxed set placed straight onto a shelf.
16. Thrifted and Upcycled Snowman Decor
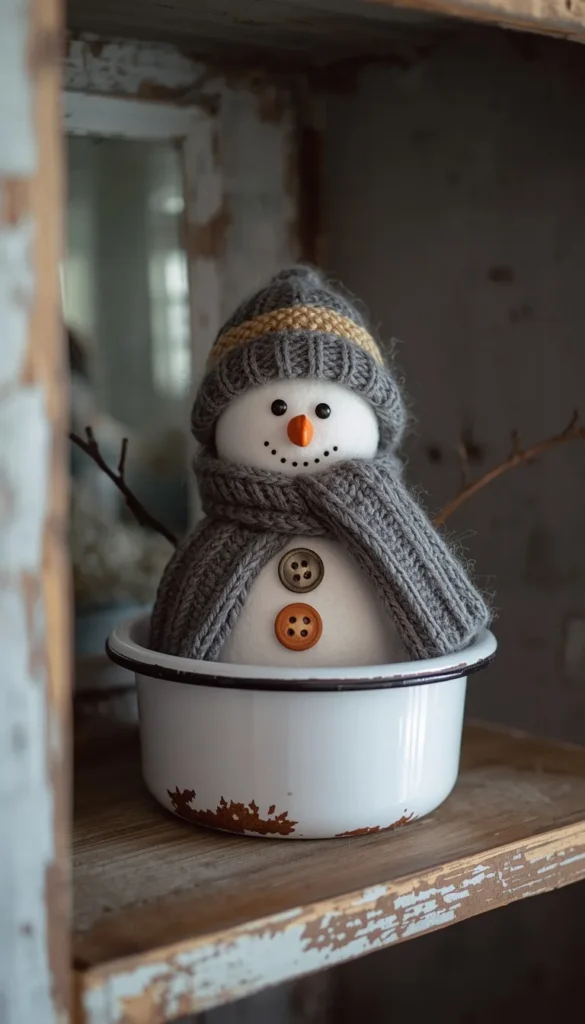
This might be my favorite category because it’s the most in the spirit of what rustic decor is supposed to be about. Old wool sweaters cut down into wraps, mismatched vintage buttons for eyes, a chipped enamel bowl turned into a base, thrift stores are full of pieces just waiting to become something new.
I’ve found some of my best snowman materials in the fifty cent bin at estate sales, not the Christmas aisle. A quick trick I’ve learned is to shop for materials in January and February, right after the holidays end, when secondhand winter items get marked down and nobody else is looking for them.
Which budget tier are you shopping in this year, starter, mid range, or full investment?
17. Mixing Materials for a Collected Over Years Look
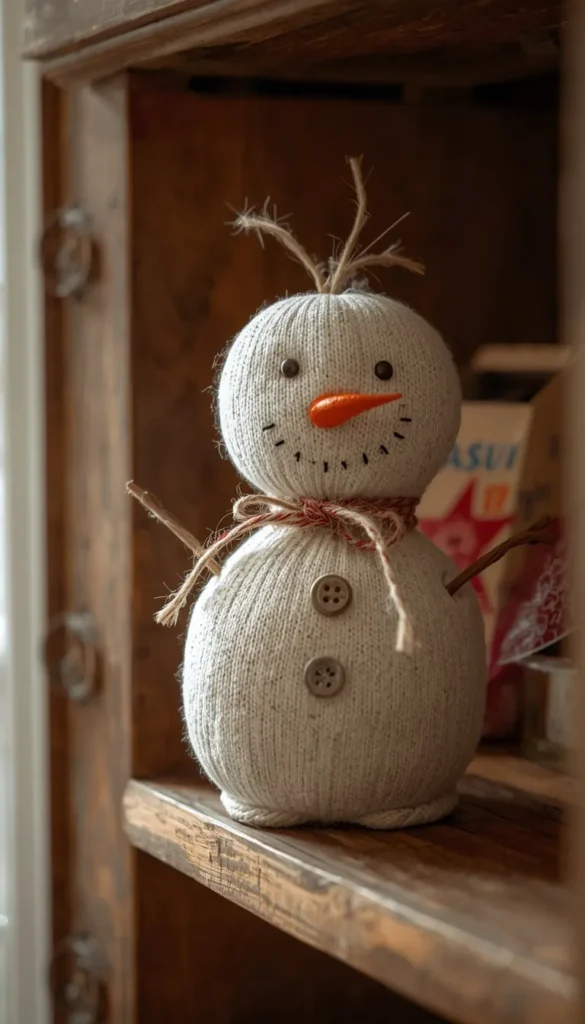
The homes that pull off rustic snowman decor best almost never use one material. Wood next to metal, next to a scrap of fabric, next to something ceramic, that combination is what makes a display look like it grew over several holiday seasons instead of arriving in one box from one store.
A simple rule I use with clients is to pick a dominant material, usually wood since it’s the most neutral, and let everything else play a supporting role around it. Two or three materials total is the sweet spot. Once you cross four or five, the eye stops resting anywhere and the whole thing reads as cluttered rather than curated.
18. Color Palette Choices for Rustic Snowman Decor
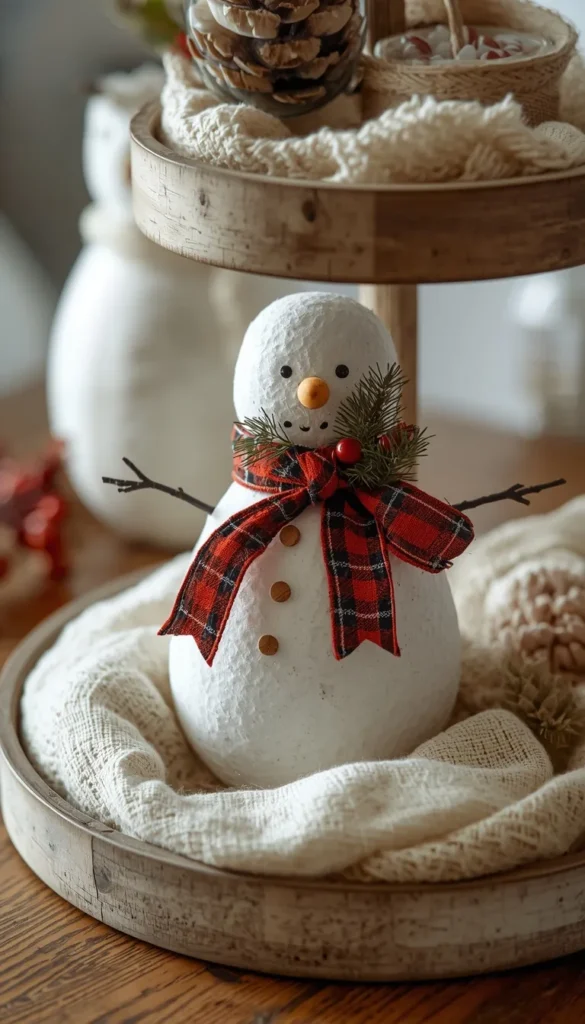
Rustic doesn’t mean colorless, but it does mean restrained. The most successful palettes I’ve styled lean on white, cream, and natural wood tones as the base, with one accent color doing all the work, usually red, black check, or a deep forest green.
We tried a full rainbow of accent colors on one client’s tiered tray a few years back, and it just fought with itself visually. Pulling it back to a single accent thread through buffalo plaid ribbon and a few red berry stems made the whole display feel intentional instead of thrown together. That’s really the heart of this whole style: less clutter, more character, and a little bit of imperfection left in on purpose.
Which Path Is Yours?
By Budget
- Starter: Sock snowmen, mason jar fillers, twig arm accents on decor you already own
- Mid Range: Crochet or fabric snowmen, wooden block signs, small resin figurines
- Investment: Vintage ceramic collectibles, full tiered tray sets, birch log arrangements
By Style Preference
- Cottagecore Charm: Twine and burlap fabric snowmen, mason jar fillers, vintage ceramic pieces
- Farmhouse Classic: Reclaimed wood blocks, buffalo plaid accents, tiered tray displays
- Cabin Lodge: Birch log snowmen, galvanized metal ornaments, natural twig details
By Household
- Kids and Pets in the House: Sock snowmen, fabric wrapped snowmen, fabric glue twig arms
- Empty Nesters and Collectors: Vintage ceramic figurines, mantel centerpiece arrangements, mixed material displays
- Renters and Small Spaces: Mason jar fillers, single mantel piece, no porch commitment needed
By Effort Level
- Grab and Go: Store bought resin or ceramic figurines
- Weekend Project: Sock snowmen, mason jar fillers, twig arm additions
- Full Commitment: Crochet snowmen, reclaimed wood builds, birch log construction
Frequently Asked Questions
Is rustic snowman decor safe to leave outside all winter?
Yes, but only if you pick the right materials. Galvanized metal and sealed wood hold up fine. Yarn, fabric, and unsealed pieces should stay indoors.
How much does DIY rustic snowman decor typically cost?
The average cost runs $10 to $40 per piece depending on materials. Thrifted and upcycled versions can come in under $15 easily.
What’s the best material for beginners trying this for the first time?
Sock snowmen are the easiest starting point. No sewing, no tools, just rice, twine, and a few buttons.
Can I make rustic snowman decor kid and pet friendly?
Definitely. Skip the hot glue gun and use fabric glue instead. Sturdy stuffing over lightweight fill keeps them from tipping.
How do I keep rustic snowman decor from looking cluttered on a shelf?
Stick to two or three materials max per display. Odd numbered groupings, like three pieces, read as styled rather than random.
Ready to assemble the full draft whenever you give the word — just let me know your answers on placement and the closing section from my last question.
Conclusion
Your home doesn’t need a full overhaul to feel like it belongs on a postcard this winter. Sometimes it’s one twine wrapped snowman on a windowsill, or a single wooden block sign propped against a stack of books, that changes how a whole room feels when you walk in from the cold. Clear a small space on your mantel this weekend and just try one idea from this list. You’ll be surprised how much warmth a little imperfection can bring into a room you sit in every single day. Which one of these are you trying first, and where’s it going in your home?
