

Look up. If your ceiling is just a flat, blank slab of drywall, you’re sitting on the single most overlooked surface in your entire home. I’ve walked into more living rooms than I can count where the walls were gorgeous and the ceiling was an afterthought, and a shiplap treatment overhead is almost always the fix that makes clients gasp. It’s not just a farmhouse trend anymore. Done right, shiplap works in a modern loft, a coastal bedroom, or a moody little reading nook, and this guide is going to walk you through every real decision you’ll face, from cost to installation to the mistakes I see homeowners make on a Saturday afternoon project gone sideways.
My Design Notes
When I was working on a project in a 1920s bungalow in East Nashville, my client had her heart set on a shiplap ceiling for her living room, all on a tight $1,800 budget. She wanted to install it herself over one weekend and just have me consult on the design side. I told her that’s doable, but old houses like to keep secrets, and hers had one waiting in the plaster.
Midway through, her brad nailer caught a piece of old knob and tube wiring tucked behind the ceiling. We stopped everything and brought in an electrician before another nail went in. It added a day and a few hundred dollars she hadn’t planned for.
That ceiling turned out beautiful in the end, soft white boards against her original crown molding. But it taught me something I now tell every client. A stud finder that only finds studs isn’t enough in an older home. Get one that flags wiring too, because you never really know what’s hiding up there until you open it up.
11 Mastering Stunning Shiplap Ceilings for an Elevated Home
1. What a Shiplap Ceiling Actually Is
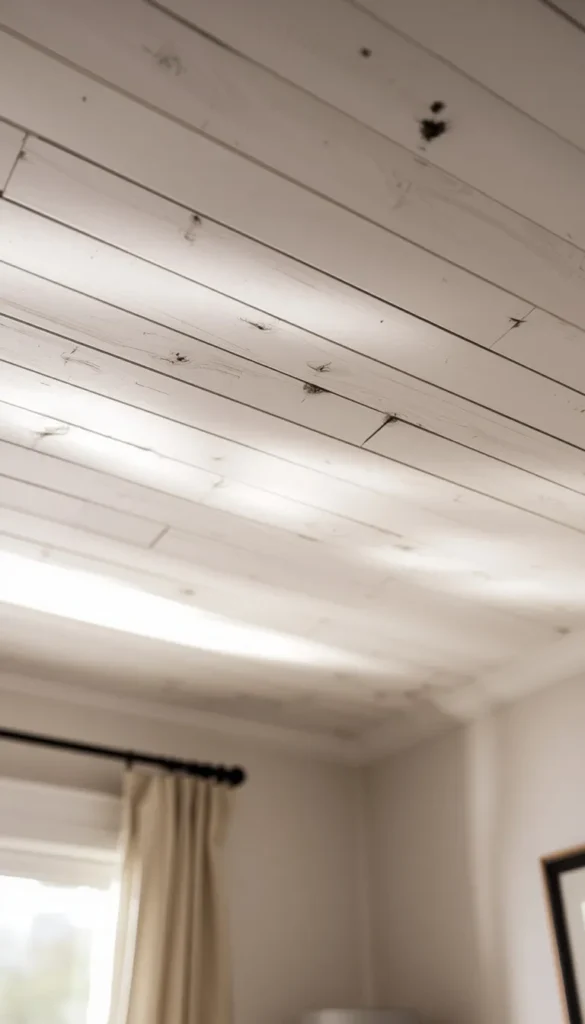
Shiplap is wood board with a notched edge on both sides, so each plank overlaps the next and leaves a small groove where they meet. That groove is the whole look. It’s what gives a ceiling that layered, textured feel instead of one flat surface. The style got its start on old barns and coastal buildings because the overlap kept weather out, and somewhere along the way homeowners realized it looks just as good indoors. On a ceiling specifically, it does something paint can’t. It adds shadow lines that shift depending on the light in the room, and that’s a big part of why it photographs so well and feels so different to stand under.
2. Shiplap vs Tongue and Groove vs Beadboard
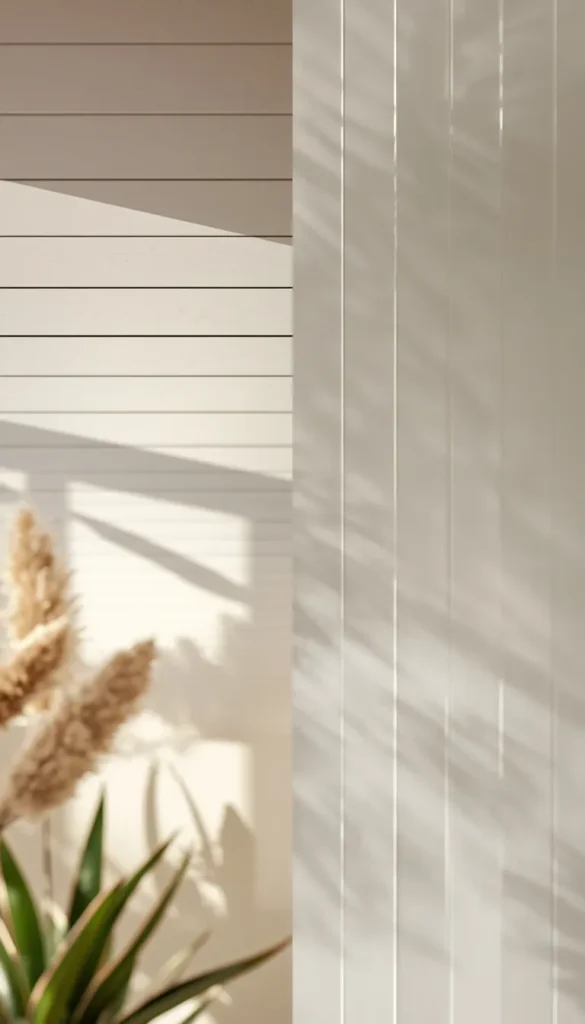
People use these terms interchangeably and honestly, I understand why. They all create a paneled wood ceiling. But the joints are different, and that changes both how they install and how they look up close.
- Shiplap has an overlapping rabbeted edge, which creates a visible shadow gap
- Tongue and groove fits together tightly with almost no visible seam
- Beadboard has narrow, closely spaced grooves and a slightly more formal, vintage feel
If you want that farmhouse texture with visible lines, shiplap wins. If you want something smoother and quieter, tongue and groove is the better fit. Beadboard tends to show up more in older homes and traditional bathrooms than in modern spaces.
3. Real World Cost Breakdown
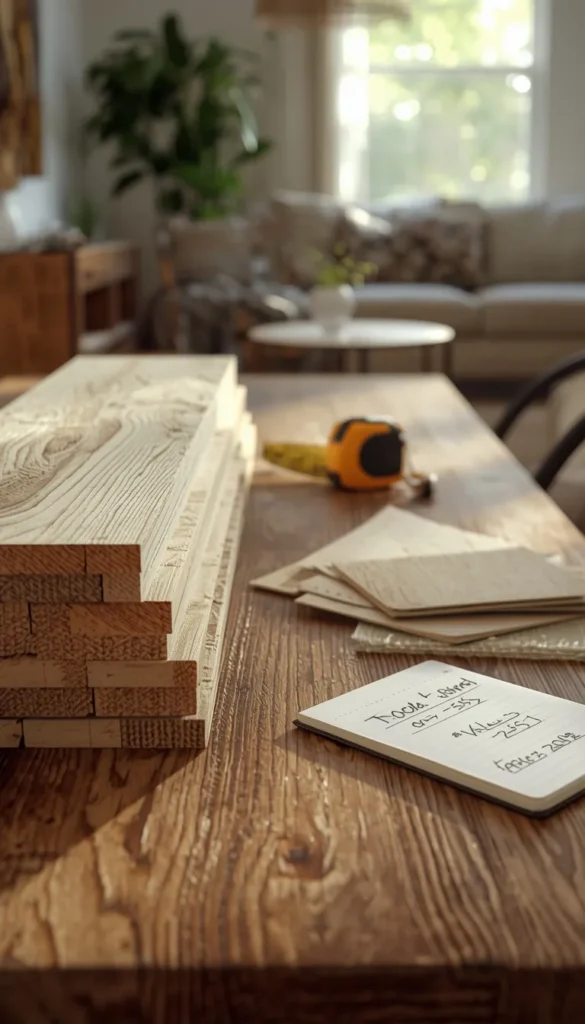
Cost is where most people’s plans fall apart, so let’s be honest about it. Pine shiplap typically runs $2 to $4.50 per square foot, MDF is a little cheaper at $1.50 to $3, and cedar climbs to $4 to $7 because of the natural moisture resistance. For a 200 square foot room, you’re realistically looking at $400 to $1,800 in materials alone depending on what you choose, and that’s before paint, fasteners, or a professional installer if you go that route. Labor alone adds another $3 to $6 per square foot on top. A 12 by 14 bedroom ceiling, which is a pretty average size, usually lands somewhere between $460 and $1,430 if you DIY it, or closer to $2,400 if you hire it out.
4. The Hidden Costs Nobody Mentions
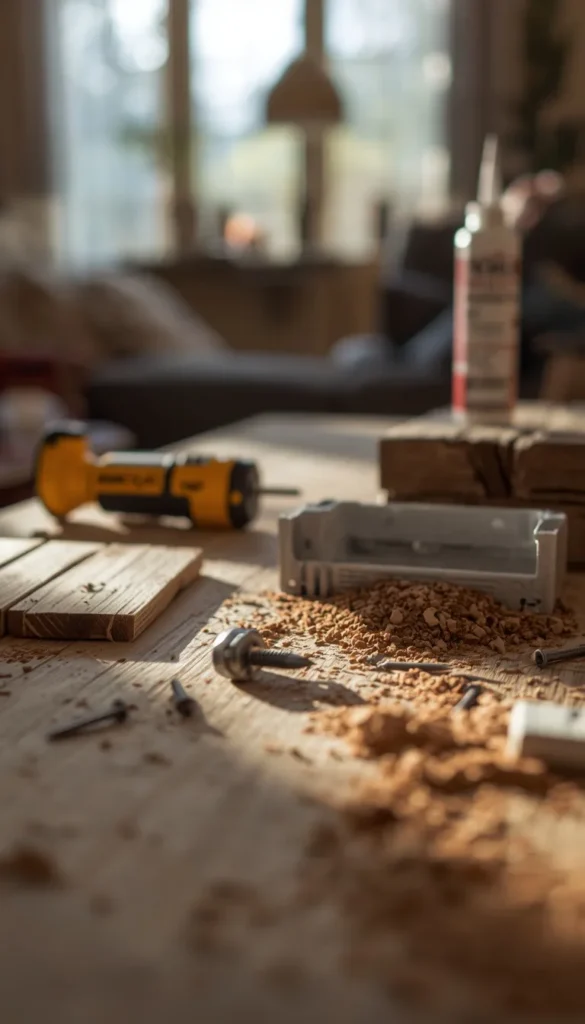
The sticker price on the boards is never the real number. I’ve had clients budget perfectly for materials and still get surprised at checkout for other reasons entirely.
A few things that quietly add up:
- Delivery fees if the lumber yard doesn’t include free drop off
- A tool rental if you don’t already own a brad nailer or miter saw
- Dumpster or hauling costs if you’re removing an old ceiling first
- Electrical box extenders, since shiplap adds about three quarters of an inch of depth around every light and vent
None of these are huge on their own. But add them together on a mid size room and you can be a few hundred dollars past what you originally planned, which is exactly why I tell clients to build in a buffer before they ever pick up a saw.
Which room in your house is crying out for a shiplap ceiling first?
5. Real Wood vs Shiplap Panels
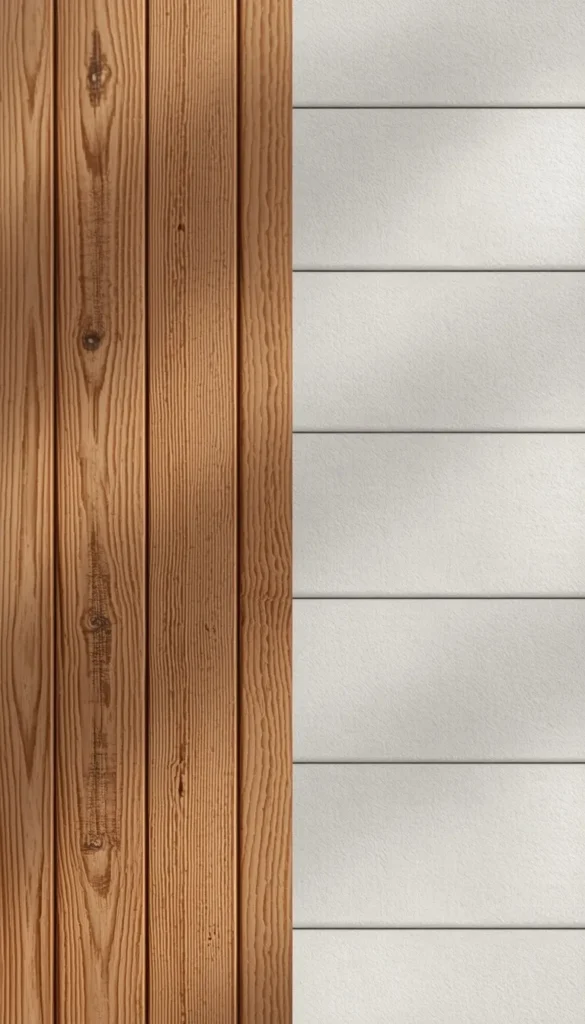
Not everyone wants to deal with real lumber, and that’s fair. Peel and stick shiplap panels and prefab MDF sheets have gotten a lot better in the last few years. They install faster, often in a single afternoon, and they’re a smart call for renters or anyone working with a tight timeline. The tradeoff is depth. Real wood has actual dimension to it, so the shadow lines feel more authentic up close, while panels can look slightly flat if you’re standing right under them. For a quick refresh or a rental you’ll leave in a year or two, panels make total sense. For a forever home where you’re staring at that ceiling every night, I usually steer clients toward real boards.
6. Tools and Materials Checklist
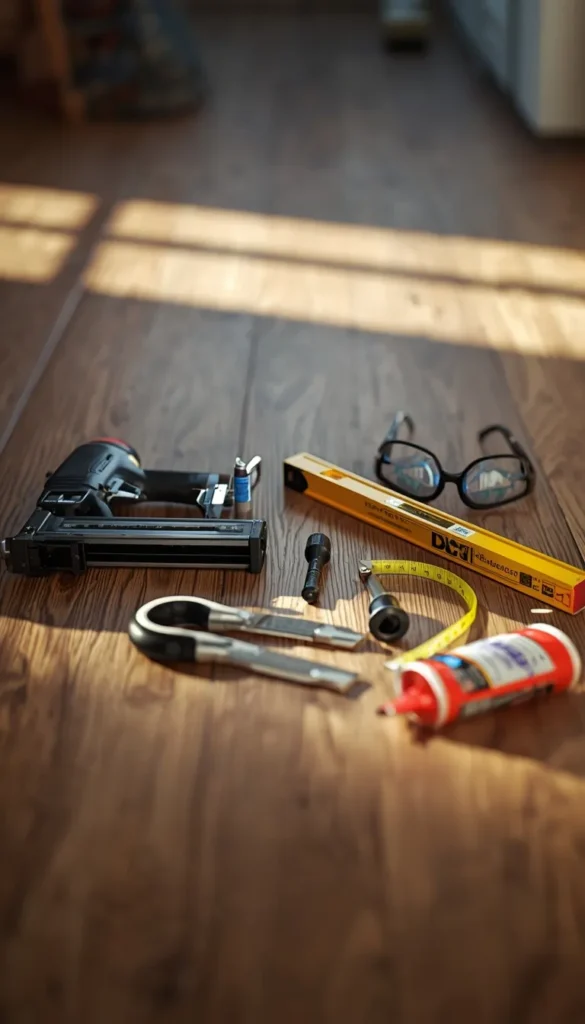
You don’t need a full workshop for this project, but a few tools make the difference between a smooth weekend and a frustrating one.
- Miter saw or circular saw, plus a stud finder and a 4 foot level
- 18 gauge brad nailer with 1.5 to 2 inch brad nails
- Construction adhesive, paintable caulk, and wood filler for the nail holes
One thing I’ve learned the hard way is to always order 10 to 15 percent more board than your measurements say you need. Cuts get wasted, boards warp, and you do not want to be mid project on a Saturday afternoon making an emergency run to the lumber yard.
Top 6 Shiplap Ceiling Design Ideas
| Idea | Estimated Price | Maintenance |
|---|---|---|
| Classic White Shiplap | $2 to $4.50 per sq ft | Medium |
| Farmhouse Wide Board | $2 to $4.50 per sq ft | Medium |
| Modern Nickel Gap | $3 to $5.50 per sq ft | Low |
| Whitewashed/Coastal | $2 to $4.50 per sq ft (plus wash) | High |
| Dark Dramatic Painted | $2 to $4.50 per sq ft (plus paint) | Medium |
| Natural Wood/Cedar Tone | $4 to $7 per sq ft | High |
7. Pre Installation Prep
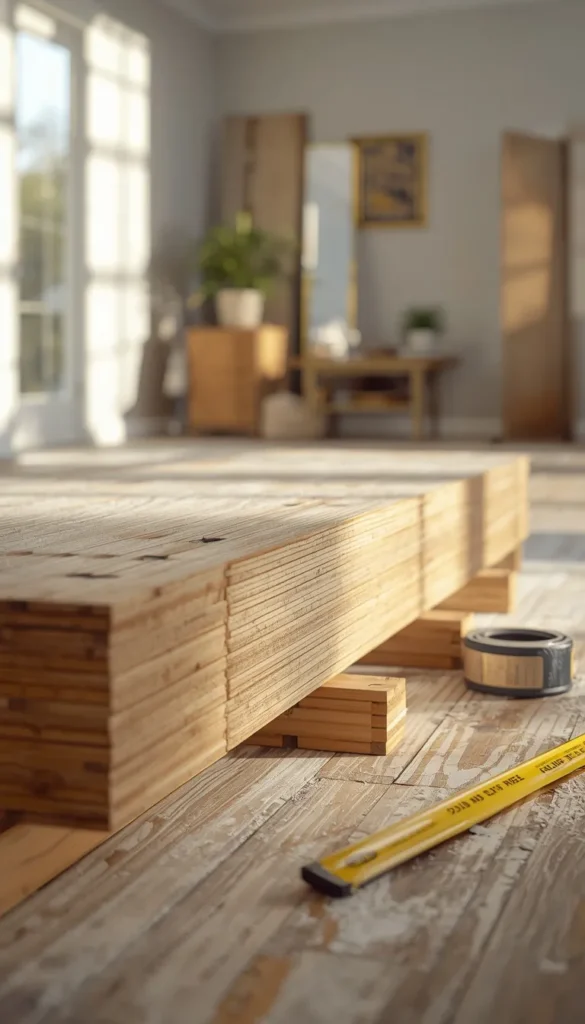
This step is the one people skip, and it’s the one that causes the most regret later. Stack your boards in the room where they’ll be installed for 48 to 72 hours before you touch a nail gun. Wood expands and contracts with humidity, and skipping this acclimation window is how you end up with gaps or warping months later once the seasons change. While the wood is sitting there, use that time to find and mark every ceiling joist with a stud finder, since you’ll be nailing into those for a secure hold. Snap a chalk line across the marks so you have a clean, visible guide once you’re up on the ladder and can’t easily step back to check.
8. Step by Step Installation, Simplified
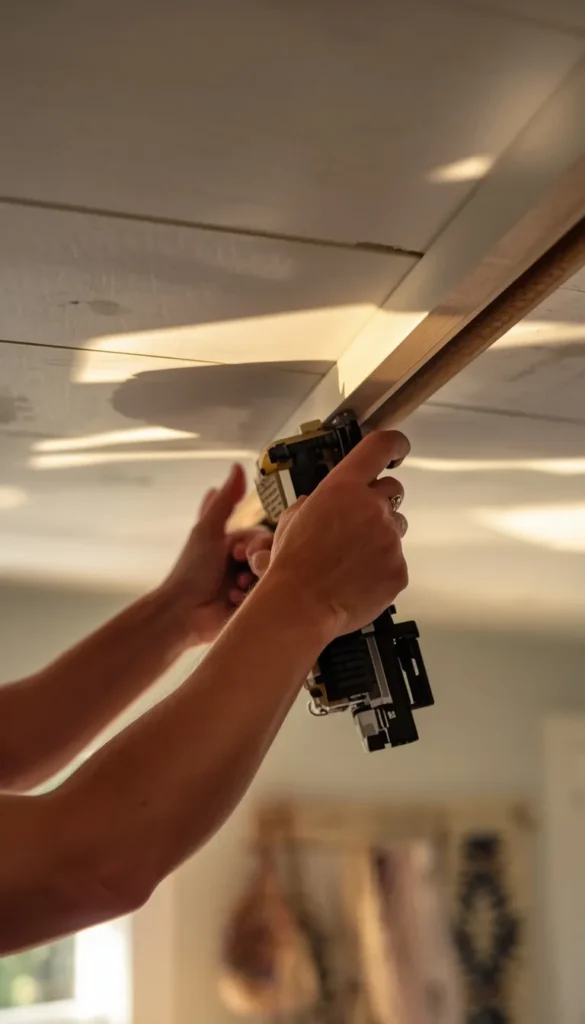
Once your boards are acclimated and your joists are marked, the actual installation moves faster than people expect. Start along one wall with the grooved edge facing it, run a bead of construction adhesive on the back of the board, then nail it into each joist with your brad nailer. Leave a small eighth inch gap at the wall since trim will cover it later.
From there, each new board slides its groove over the previous board’s tongue, and you just keep working across the ceiling. A trick I always pass along is to stagger the end joints by at least two feet between rows. It looks more intentional and it’s structurally stronger, and skipping it is one of the fastest ways to make a ceiling look like a DIY project instead of a finished room.
White, natural wood, or something moodier, which finish keeps pulling you back?
9. Vaulted and Angled Ceilings
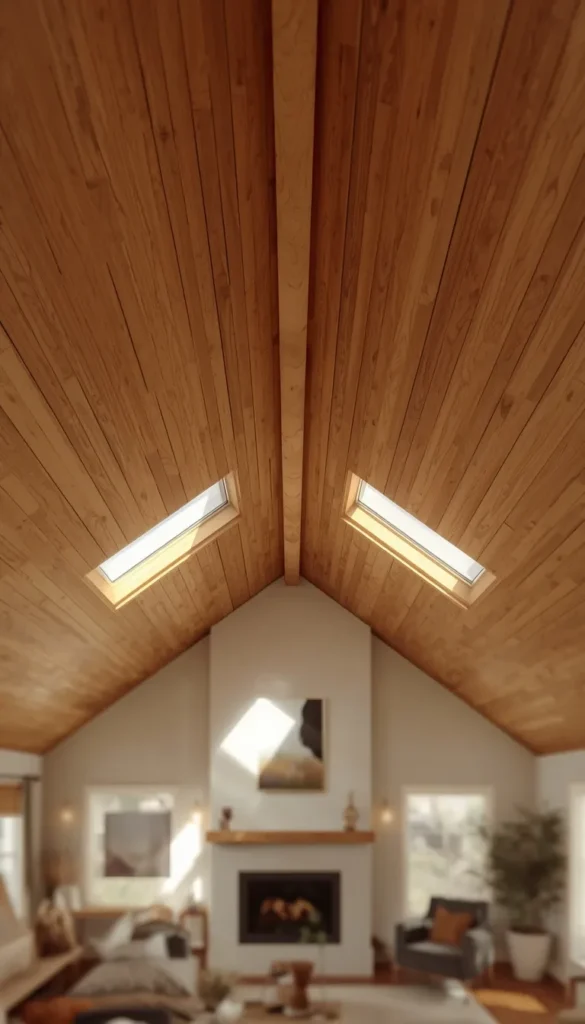
Vaulted ceilings look incredible with shiplap, but they change the math a little. Instead of one flat plane, you’re usually working with two or more angled sections that meet at a ridge, which means more precise cuts and more careful planning before you start. Running boards perpendicular to the slope tends to look the most natural, following the architecture rather than fighting it. The tricky part is the peak itself, where boards on each side need to meet cleanly at an angle instead of a straight seam. I always tell clients to plan this project with an extra set of hands and a sturdy scaffold rather than a single ladder, since you’re working at height and at an angle at the same time, and that combination is not forgiving if you’re rushing.
10. Working Around Lights, Vents, and Fixtures
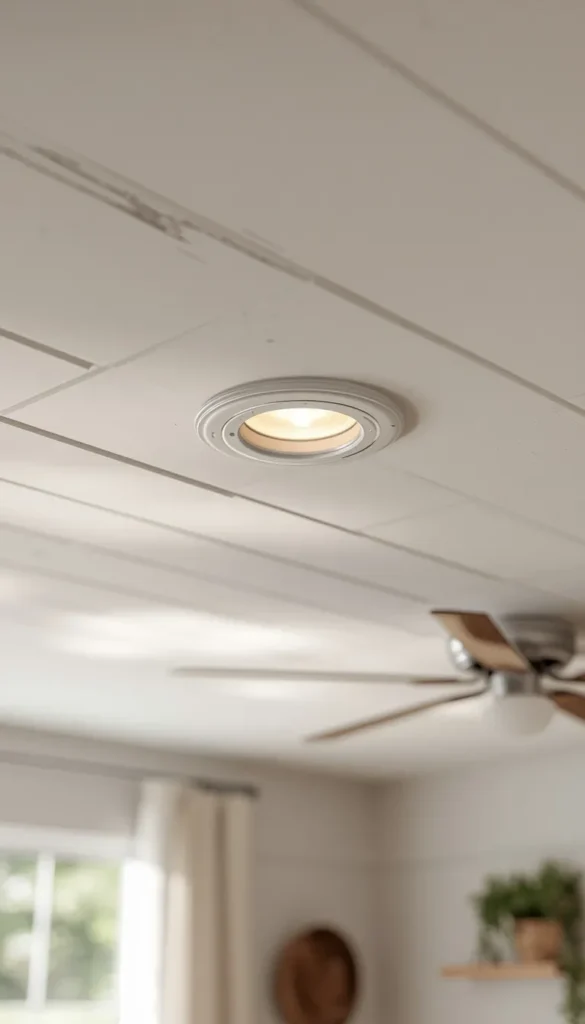
This is the part where I see people slow way down, and honestly, they should. Before you cut anything, turn the power off at the breaker if you’re working anywhere near an electrical box. Measure the fixture location relative to your board edge, transfer that measurement carefully, then cut with a jigsaw rather than trying to eyeball it.
A few things worth knowing before you get there:
- Shiplap adds roughly three quarters of an inch of depth, so most fixtures need box extenders
- Vents may need a slightly wider cut than you expect to allow for airflow clearance
- Mark twice and cut once, because a mistake here is far harder to patch than a flat section of ceiling
11. Mistakes I See Homeowners Make
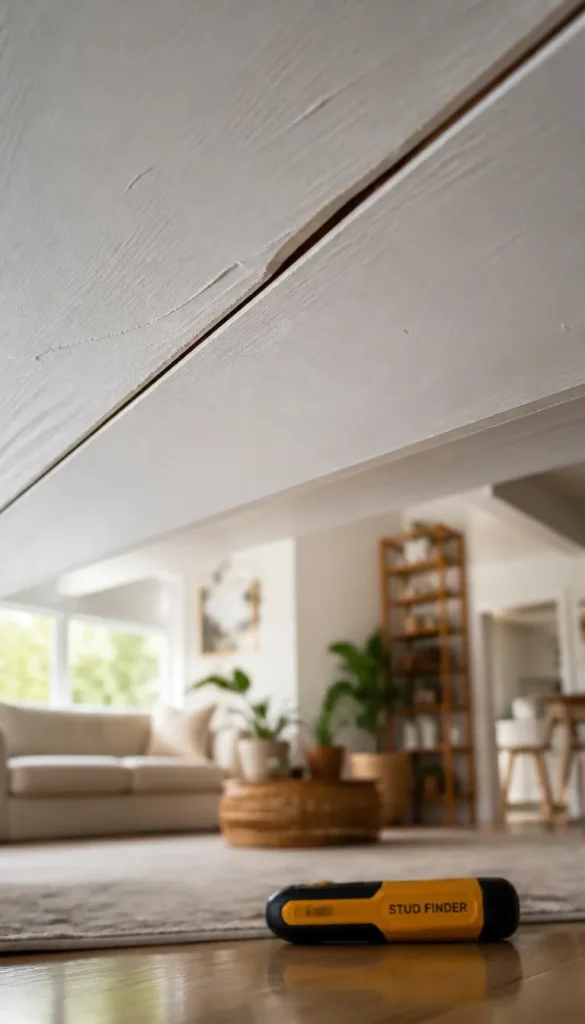
Most of the mistakes I run into aren’t dramatic, they’re just small oversights that snowball. Skipping the acclimation period is the biggest one, and it’s almost always the reason a ceiling that looked perfect on installation day has visible gaps six months later. Uneven joist spacing is another quiet problem, since older homes especially don’t always follow a clean sixteen inch pattern, and nailing blind into a spot with no joist behind it means that board isn’t actually secure. I’ve also seen people rush the layout step and end up with a sliver of a board at the far wall that looks obviously unplanned. Taking twenty extra minutes to measure your ceiling width and divide it out before you start saves you from that awkward finish every time.
Which Path Is Yours?
By Budget
- Starter/Budget: MDF shiplap or peel and stick panels, painted white, DIY install over one weekend. Total cost usually lands under $700 for an average bedroom.
- Investment/Forever Home: Real pine or cedar boards, professional installation, natural wood tone or a custom color. Budget $2,000 and up for the same size room, but it holds up for decades.
By Lifestyle
- Busy Families: Painted MDF or pine in a washable semi gloss finish. Easy to wipe down, forgiving of nicks, low guilt if a nail hole needs patching later.
- Design Purists: Real cedar or pine with a whitewash or natural finish, where the grain and imperfections are the whole point.
- Renters/Short Term: Peel and stick panels or removable shiplap wallpaper. No commitment, no landlord conversation required.
- Small Rooms: Bright white, narrow nickel gap boards. Keeps the ceiling feeling tall instead of closing the room in.
- Vaulted or Open Layouts: Wider boards in a natural or dark tone. The extra height can handle the visual weight without feeling heavy.
Frequently Asked Questions
Can you put shiplap directly over a popcorn ceiling?
Yes, and it’s actually one of the easiest ways to hide that texture for good. You nail straight through it into the joists behind. Just make sure your joists are solid before you commit.
How long does a shiplap ceiling actually take to install?
Plan on one full weekend for an average size room with two people working. A single pro crew can usually knock it out in a single day. Add another afternoon if you’re painting it after.
Does a shiplap ceiling make a room feel smaller?
Not if you go light. White or pale tones actually draw the eye up and out. Dark shiplap can shrink a low ceiling, so save that look for rooms with real height.
Is it cheaper to use shiplap panels instead of real wood boards?
Yes, panels run lower up front and install faster. You lose some of that dimensional shadow line real wood gives you. For a rental or a quick refresh, panels are the smarter call.
Can one person install a shiplap ceiling alone?
Technically yes, but I wouldn’t recommend it. A simple T brace can hold one end while you nail the other. A second set of hands still makes the whole job faster and the finish cleaner.
Conclusion
Your ceiling has been waiting a long time for someone to notice it. That blank stretch overhead is real square footage of personality you haven’t used yet, and fixing it doesn’t have to mean a full renovation or a weekend of stress. Grab a single board from the lumber yard this week, hold it up against your ceiling, and just see how it feels before you commit to the whole room. Small, deliberate choices like that are how a house starts to feel like it actually belongs to you.
