
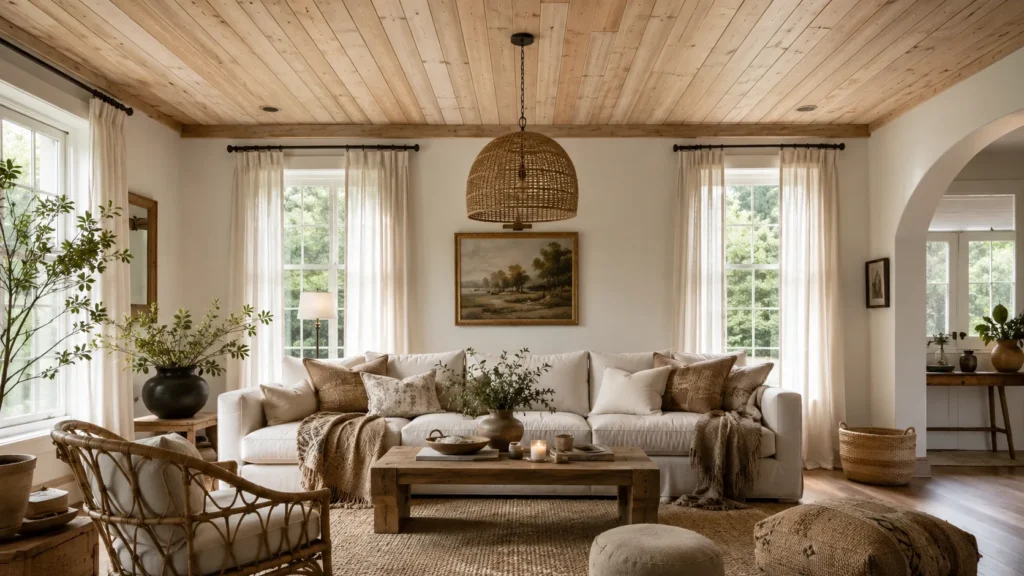
Not every dream ceiling needs a five-figure renovation budget. I’ve walked into more client homes than I can count where a flat, builder-grade ceiling was quietly dragging down an otherwise beautiful room and the fix cost less than a new area rug. Wood ceilings bring instant warmth, texture, and that “someone actually designed this” feeling, and the good news is there are inexpensive wood ceiling ideas for practically every budget, skill level, and room in the house. In this guide, I’m sharing 13 of my favorite affordable approaches, real cost ranges, and the honest maintenance trade-offs nobody mentions until you’re two years in.
My Design Notes
When I was working on a farmhouse sunroom conversion out in Lancaster County, PA, my client had already blown most of her budget on the kitchen — but she still wanted that “wow” ceiling she’d pinned a hundred times. I walked into the lumberyard expecting to talk her into a cheaper species, and instead I found their cull pile: pine tongue-and-groove boards with minor knots and slight color variation, priced at almost half of the premium stock. My team and I whitewashed them ourselves over one weekend, working right there in her garage before installing.
Nobody who walks into that sunroom now guesses those boards were “seconds.” It’s the room everyone comments on first, and it taught me something I now tell every client: the biggest money-saver in wood ceilings isn’t a cheaper material, it’s buying the “imperfect” grade of a good one.
1. Whitewashed Pine Tongue-and-Groove
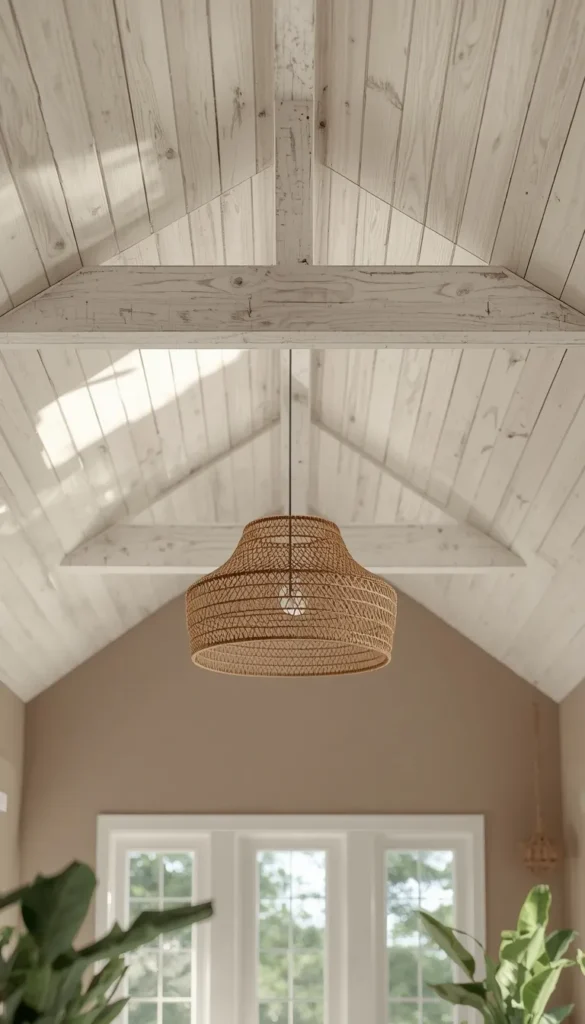
There’s a reason this look shows up in nearly every modern farmhouse renovation. Whitewashing lets the wood grain peek through while brightening the whole room, which is exactly why it works so well in smaller spaces or rooms that don’t get much natural light. Pine is one of the most budget-friendly woods you can buy, and tongue-and-groove boards install with minimal gaps, so you get a clean, finished look without hiring a specialty carpenter.
A quick trick I’ve learned is to test your whitewash ratio on a scrap board before committing to the whole ceiling. Too much white and you lose the grain entirely; too little and it barely reads as whitewashed at all. I usually start with a 50/50 mix of white paint and water, then adjust from there depending on how much of the wood tone I want peeking through.
Expect to pay somewhere between $2 and $5 per square foot for the pine itself, before paint and installation.
2. Stained Pine Plank Ceiling
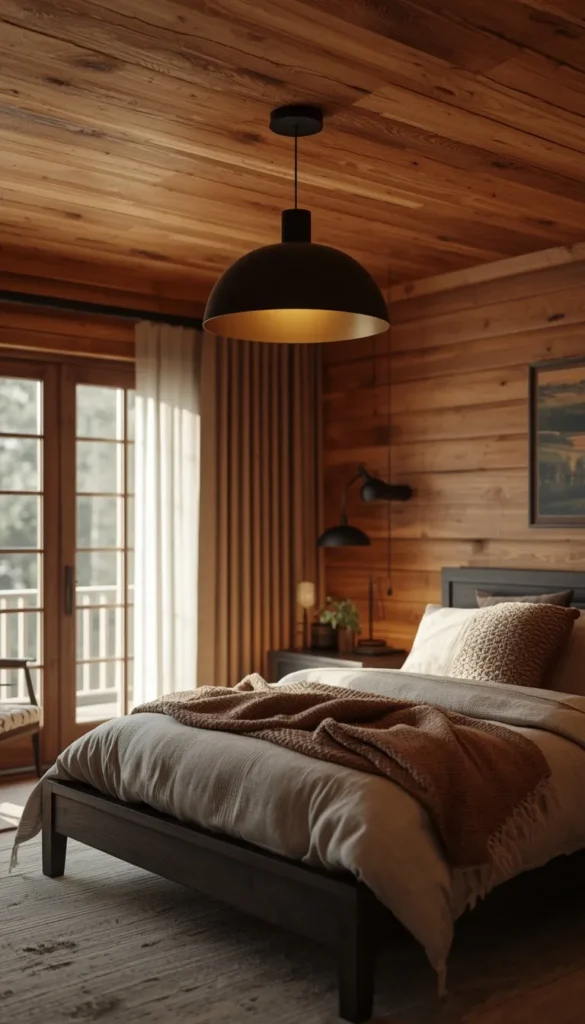
If whitewash feels too light for your space, a simple stain does the opposite job beautifully. Stained pine brings a cozy, cabin-like warmth that pairs naturally with darker furniture, black light fixtures, and that overall “lived-in luxury” feel so many of my clients are chasing right now.
This is genuinely one of the most forgiving DIY projects out there. You don’t need fancy tools, just a good miter saw, a nail gun, and patience. My team and I have installed these in everything from primary bedrooms to home offices, and the labor cost stays low because there’s no complicated pattern to plan around, just straight boards running in one direction.
One thing to watch out for is humidity. Pine can expand and contract with seasonal changes, so leaving a small gap between boards during installation saves you from buckling down the road.
3. Peel-and-Stick Wood Panels
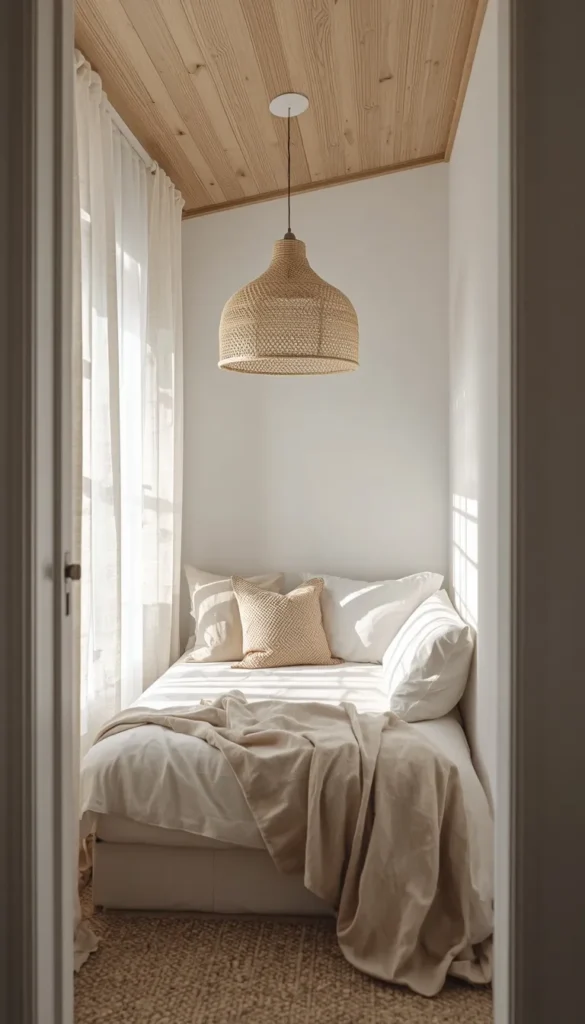
I’ll be honest, when peel-and-stick wood panels first hit the market, I was skeptical. But the quality has improved so much that I now recommend them to clients who are renting, testing a design before committing, or simply want a weekend refresh without construction dust everywhere.
- No nails, no saws, no mess
- Most rooms can be done in a single afternoon
- Ideal for accent ceilings, closets, or small nooks
The tradeoff is durability. These panels look fantastic for the first few years, but in high-moisture rooms like bathrooms, the adhesive can start to lift at the edges over time. I’d save this option for bedrooms, hallways, or living areas rather than anywhere steamy.
4. Plywood “Faux Plank” Ceiling
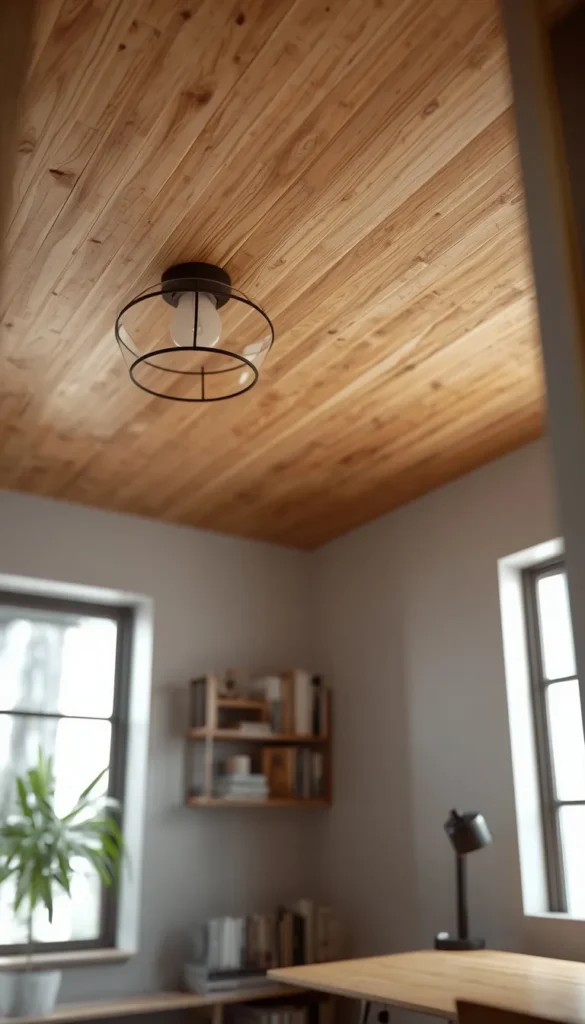
This is the hack most homeowners have never heard of, and it happens to be one of my favorites for stretching a tight budget. Instead of buying individual plank boards, you buy full sheets of birch or oak plywood and have them ripped into plank-width strips at the hardware store, often for free or a small cut fee.
The savings here are significant since plywood sheets cost a fraction of what pre-milled tongue-and-groove boards run per square foot, and you still get a real wood grain finish once it’s stained or sealed. My team has used this trick on basement ceilings and home offices where clients wanted the wood-plank look without the wood-plank price tag, and honestly, most guests can’t tell the difference once it’s installed and finished.
5. Budget Shiplap
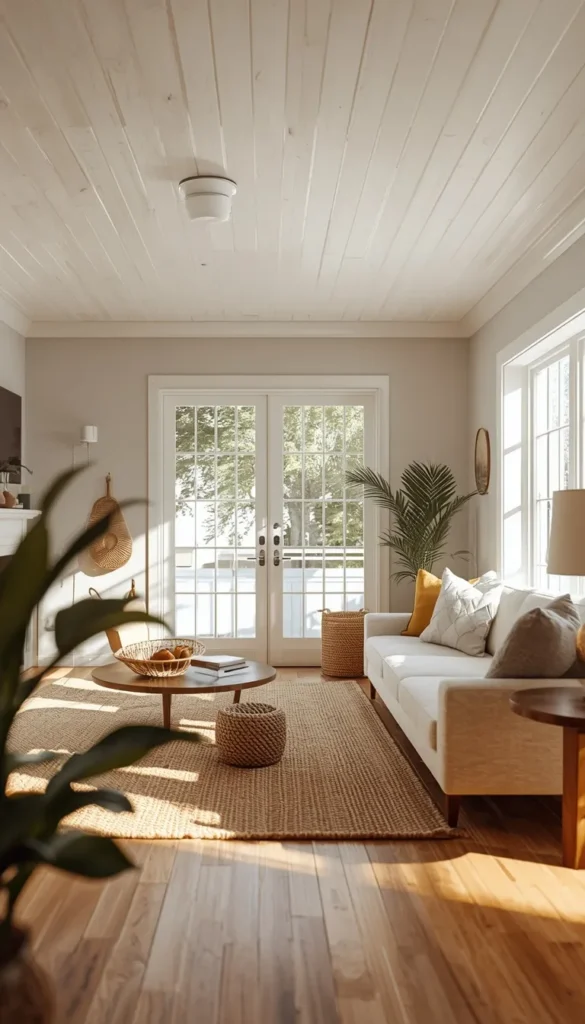
Shiplap earned its reputation as the face of modern farmhouse style, and it hasn’t slowed down. The good news is you don’t need real solid wood to get the look. Primed MDF shiplap boards cost less than pine, install just as easily, and take paint beautifully since there’s no grain fighting your finish.
I usually steer clients toward MDF for ceilings specifically because it’s more dimensionally stable than solid wood, meaning less risk of warping overhead where you really don’t want a callback. Pair it with a crisp white or soft greige paint, and it reads clean and bright rather than heavy.
6. Cedar Accent Ceiling for Porches and Outdoor Spaces
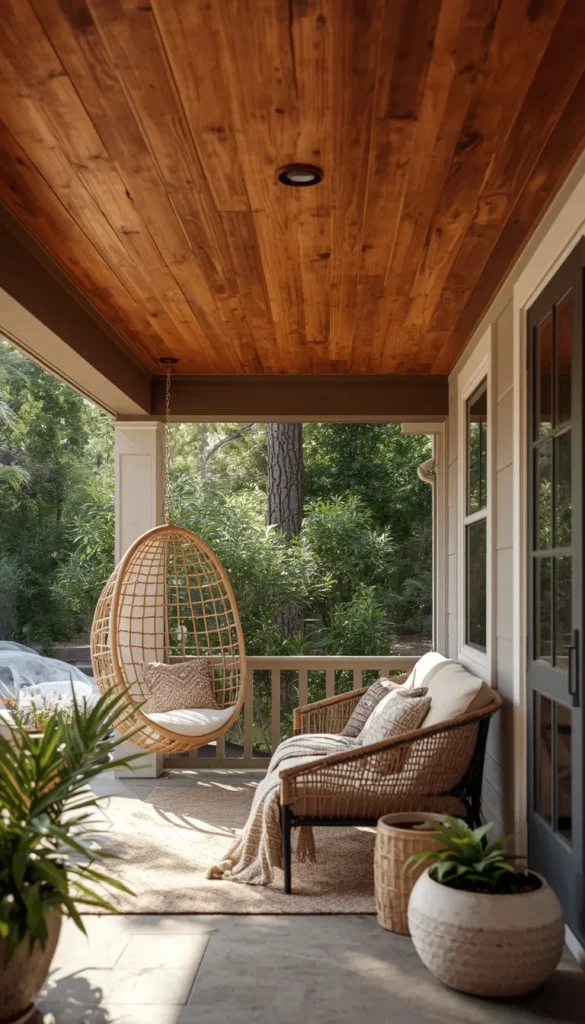
Cedar is worth every extra dollar when you’re working outdoors, and I say that as someone who’s seen what happens to the wrong wood species after one humid summer. It naturally resists rot, insects, and moisture damage, which makes it the smart choice for covered porches, screened-in patios, and three-season rooms.
A few things that make cedar ceilings worth the investment:
- Naturally weather-resistant without heavy chemical treatment
- Ages into a beautiful silvery-gray patina if left unsealed
- Smells incredible when freshly installed, genuinely
Yes, cedar costs more upfront than pine, typically $4 to $8 per square foot, but I always tell clients to think of it as outdoor insurance. Spending less on porch ceiling material almost always means repainting or replacing boards within a few years.
Top 6 inexpensive wood ceiling ideas ideas
| Idea | Estimated Price | Maintenance |
|---|---|---|
| Whitewashed Pine Tongue-and-Groove | $200 – $500 (per 200 sq. ft. room) | Low |
| Peel-and-Stick Wood Panels | $150 – $350 (per 200 sq. ft. room) | Medium |
| Plywood “Faux Plank” Ceiling | $180 – $400 (per 200 sq. ft. room) | Low |
| Cedar Accent Ceiling (Porch) | $800 – $1,600 (per 200 sq. ft. room) | Medium |
| Reclaimed Barn Wood Ceiling | $600 – $1,200 (per 200 sq. ft. room) | High |
| Wood Slat Ceiling (Furring Strip) | $150 – $300 (per 200 sq. ft. room) | Low |
7. Reclaimed Barn Wood Ceiling
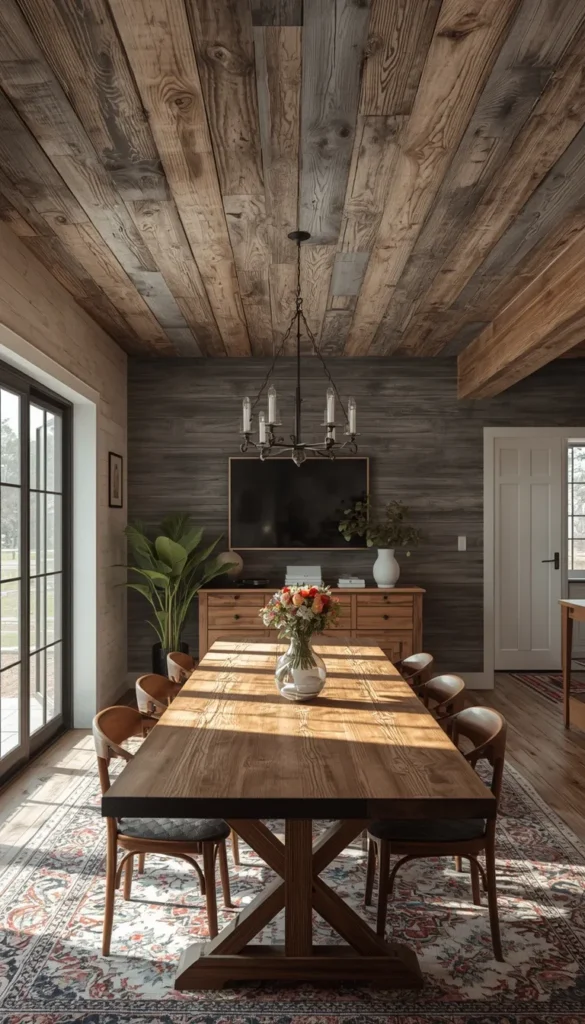
There’s a soul to reclaimed wood that new lumber simply can’t fake. Every knot, nail hole, and weathered gray streak tells you the board has lived a life already, and that character is exactly what makes rustic and farmhouse spaces feel collected rather than staged.
Sourcing is where most people get stuck, so here’s what’s worked for me and my clients. Salvage yards are the most reliable option, though not every city has one nearby. Facebook Marketplace and local classifieds often turn up barn teardown wood for a fraction of retail. Freight pallet companies sometimes sell off damaged or excess pallets by the truckload, which skilled DIYers can disassemble into usable boards with a bit of patience.
One thing I always tell clients upfront is that reclaimed wood needs to be properly cleaned, de-nailed, and sometimes heat-treated before it goes anywhere near your ceiling, especially if it came from an actual barn where pests could be an issue. Skip this step and you’re inviting problems into your home, not just character.
8. Beadboard Ceiling
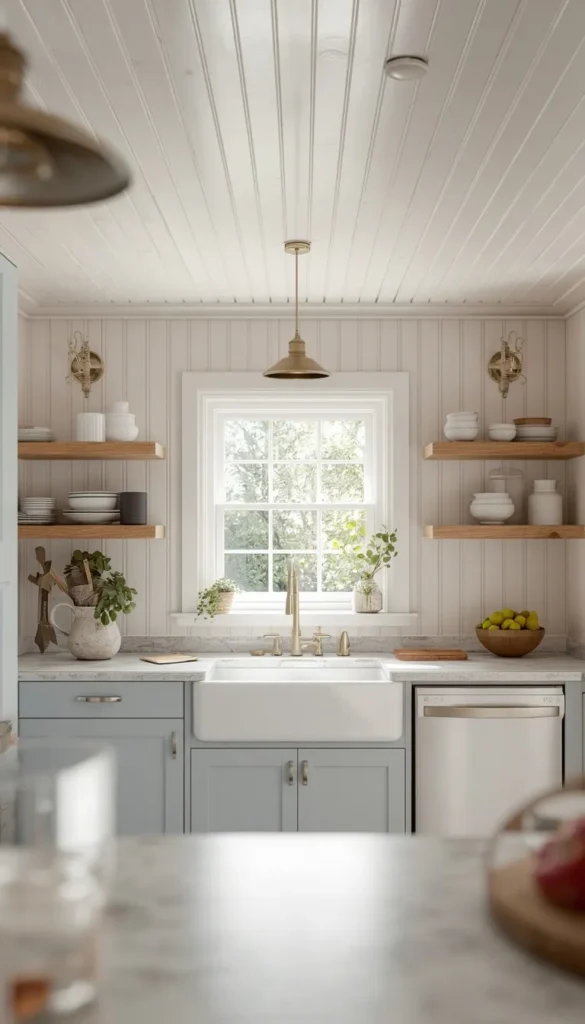
Beadboard is the quiet workhorse of budget ceiling ideas. It’s been used in American cottages and farmhouses for well over a century, and there’s a reason it never really goes out of style, it’s inexpensive, easy to source, and instantly cozy.
This is a strong choice for kitchens, bathrooms, and mudrooms where you want texture without going full rustic. Most home centers carry pre-primed beadboard panels that install almost like drywall, and painting it a soft white or pale blue gives you that classic coastal cottage feel without much effort at all.
9. Wood Slat Ceiling (Furring Strip Hack)
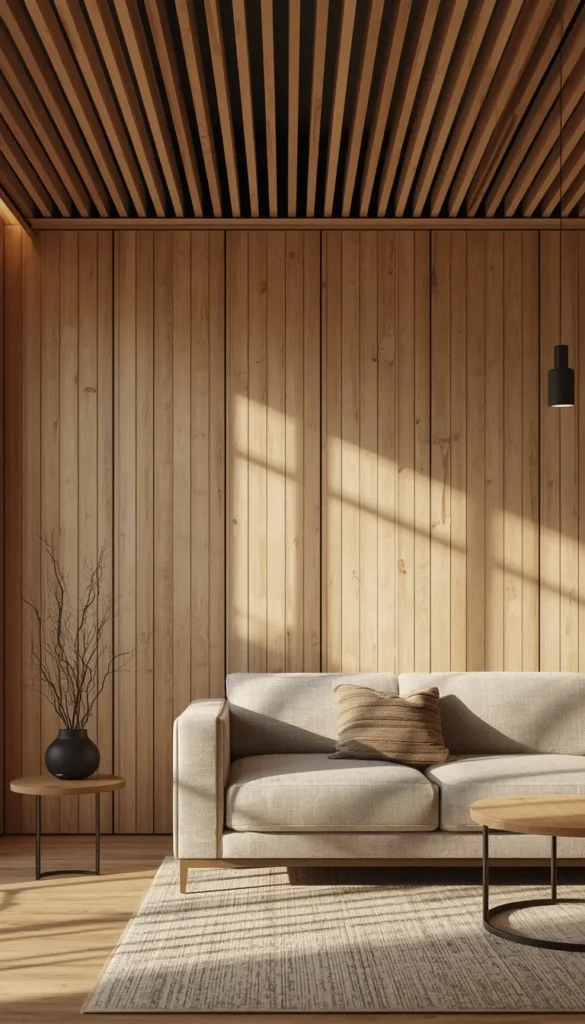
This is one of those looks that seems expensive but is actually one of the cheapest options on this list once you know the trick. Instead of buying specialty slat panels, my team and I use plain pine furring strips, the same lumber used for framing, spaced evenly across the ceiling with small gaps between each strip.
The visual impact is huge for how little the materials cost. It reads modern, almost architectural, and works especially well in minimalist or Scandinavian-inspired spaces where you want texture without ornamentation.
A quick trick I’ve learned is to paint the ceiling behind the slats black or a deep charcoal before installing them. The gaps between strips create shadow lines that make the whole ceiling look intentional and layered, rather than just a row of boards.
10. Painted Wood Plank Ceiling
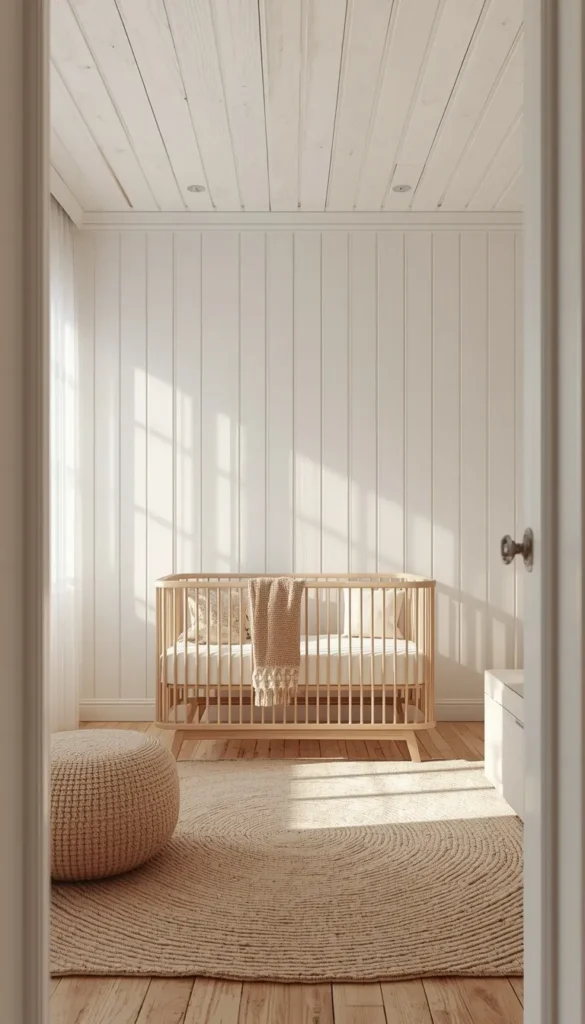
Not every wood ceiling needs to show off its grain. Sometimes the most budget-friendly move is buying the cheapest grade of pine you can find, the stuff with visible knots and color inconsistency, and simply painting over all of it.
- Paint hides imperfections completely, so you can buy lower-grade lumber
- Works in any color scheme, from crisp white to bold statement hues
- Still gives you the texture and plank lines wood ceilings are known for
I’ve done this in nurseries and kids’ rooms more than once, since parents usually want a specific color anyway and there’s no reason to pay a premium for grain you’re about to cover up.
11. Partial or Accent Ceiling Treatment
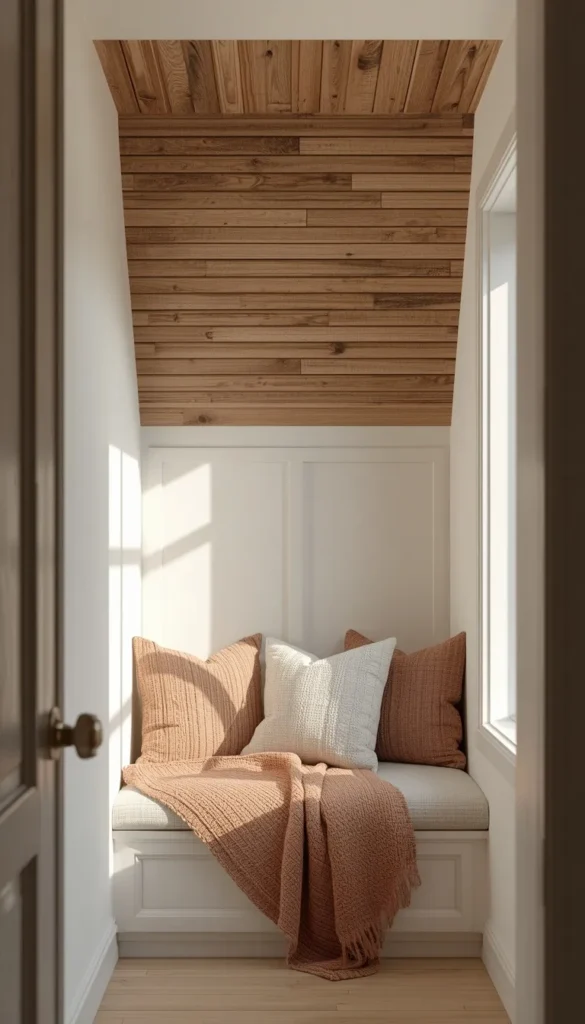
If you’re not ready to commit to wood across an entire room, start small. Treating just one section, a reading nook, a hallway ceiling, or the area above a kitchen island, gives you all the visual drama at a fraction of the material and labor cost.
This is genuinely the option I recommend most often to first-time clients who are nervous about the investment. It lets you live with the look, see how it feels with your lighting and furniture, and decide later whether to expand it. I’ve had more than one client fall in love with their accent ceiling and call me back six months later asking to finish the whole room.
12. DIY Herringbone or Medallion Inset
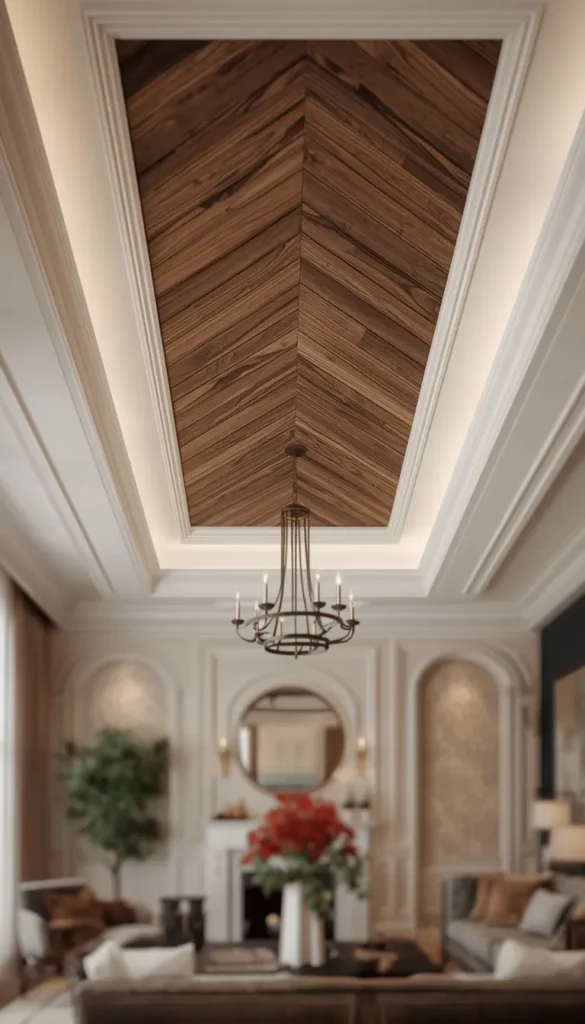
For homeowners who want a genuine showstopper without covering an entire ceiling, a small herringbone panel or a circular medallion inset delivers serious visual weight in a compact footprint. Because you’re only working with a fraction of the square footage, you can justify splurging slightly on a nicer wood species without blowing the overall budget.
This one does take more patience than the others on this list. Herringbone especially requires careful measuring and angled cuts, so I’d suggest it for confident DIYers or anyone willing to hire a carpenter for just a day. The payoff, though, is a ceiling detail that genuinely looks custom-designed rather than store-bought.
13. Cabin-Style Knotty Pine Ceiling
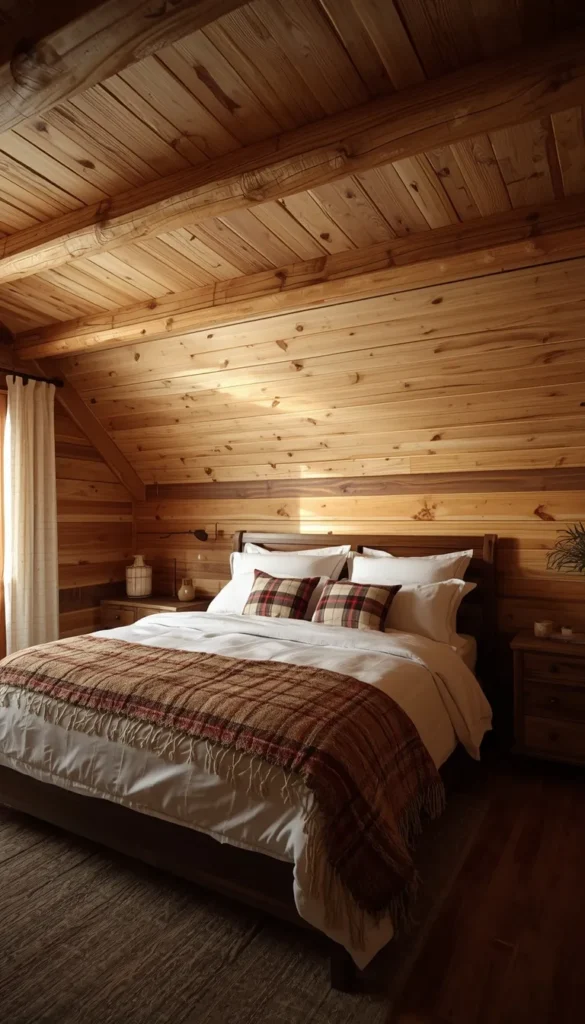
There’s something about a full knotty pine ceiling that instantly makes a room feel like a retreat, even if you’re nowhere near the mountains. This is the look most people picture when they think “cabin,” and it happens to be one of the most affordable full-wood treatments you can do since knotty grade pine costs less than clear, knot-free boards.
I’d lean into this style in bedrooms, dens, or lower-level family rooms where you want warmth and a sense of enclosure. Sealing the boards with a clear matte finish, rather than a heavy gloss, keeps it feeling current rather than dated. One thing worth knowing going in is that knotty pine will darken and amber slightly over the years as it’s exposed to sunlight, so if you want to keep that fresh, honey-blonde tone, a UV-protective topcoat is worth the extra step.
Which Ceiling Is Yours?
By Budget
Starter / Weekend Project:
- Peel-and-Stick Wood Panels
- Plywood “Faux Plank” Ceiling
- Wood Slat Ceiling (Furring Strip Hack)
- Painted Wood Plank Ceiling
Investment / Statement Piece:
- Cedar Accent Ceiling
- Reclaimed Barn Wood Ceiling
- DIY Herringbone or Medallion Inset
By Room & Lifestyle
Small Spaces (bathrooms, closets, nooks):
- Beadboard Ceiling
- Partial or Accent Ceiling Treatment
- Peel-and-Stick Wood Panels
Open Layouts & Living Areas:
- Whitewashed Pine Tongue-and-Groove
- Stained Pine Plank Ceiling
- Budget Shiplap
High-Moisture or Outdoor Rooms:
- Cedar Accent Ceiling
- Beadboard Ceiling
Cozy Retreats (bedrooms, dens, cabins):
- Cabin-Style Knotty Pine Ceiling
- Stained Pine Plank Ceiling
FAQ
What is the cheapest way to add a wood ceiling?
Plywood ripped into planks at the hardware store is your cheapest real option. You get genuine wood grain for a fraction of pre-milled board pricing.
Can you install a wood ceiling yourself?
Yes, most of these projects are beginner-friendly with basic tools. Herringbone and medallion insets are the exception, those take real skill or a hired hand.
How much does it cost to cover a ceiling in wood?
Budget options run $150 to $500 for an average 200 sq. ft. room. Premium materials like cedar or reclaimed wood can push past $1,000.
Does a wood ceiling make a room look smaller?
Not if you choose the right tone. Lighter woods and whitewashed finishes open a room up, while dark stains work best in already-spacious spaces.
What wood is best for a ceiling in a bathroom?
Cedar and beadboard handle moisture the best. Skip peel-and-stick panels here, the adhesive tends to lift in steamy conditions over time.
Conclusion
Your ceiling has been waiting its turn, and now you know exactly how to give it one without draining your renovation budget. I’ve watched clients transform an entire room’s mood with nothing more than a few pine boards and a weekend of effort, and honestly, that’s the kind of win worth chasing. Pick one idea from this list, grab a sample board or a few feet of shiplap, and just start. You’ll know within a day whether it’s the right fit for your space.
