
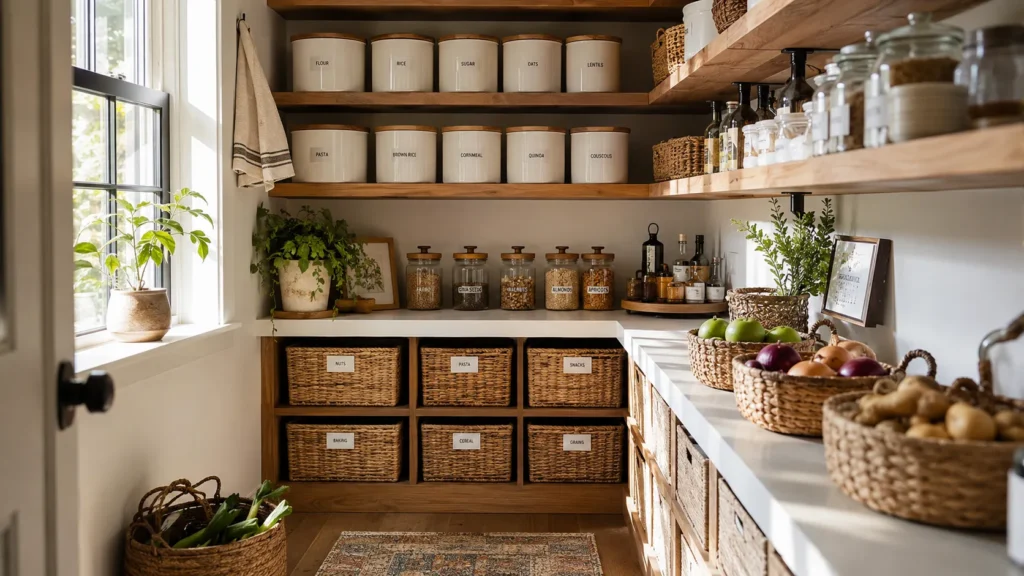
Open your pantry door right now and be honest: is it a system, or is it just a place where food goes to hide? I’ve walked into more “organized” pantries than I can count where the baskets are gorgeous and the flour is still stale from March. Real pantry organization isn’t about matching containers or a Pinterest moment. It’s about building a setup you’ll actually keep up with on a Tuesday night when you’re exhausted and just want the pasta. That’s what we’re solving here, one shelf at a time.
My Design Notes
I still think about a client I worked with outside Austin who wanted her new walk in pantry to look like it belonged in a magazine. Matching glass canisters, woven baskets, the whole look. Six weeks after we finished the install, she called me almost in tears. Pantry moths had gotten into the woven baskets holding her open flour and grain bags, and one of her glass canisters had cracked when her toddler dragged a step stool over to reach it.
We ended up redoing half the system. I moved anything flour or grain based into sealed acrylic bins, kept the woven baskets strictly for produce and napkins where airflow actually helps, and pushed the glass jars up to shelves her son couldn’t reach. My biggest takeaway from that project, and one I bring to every client since, is that a pantry has to be designed around how your family actually lives in it. Pretty comes second. Function comes first.
Mastering Effortless Pantry Storage: Proven Strategies for a Stunning, Stress Free Kitchen
1. Start With a Full Purge
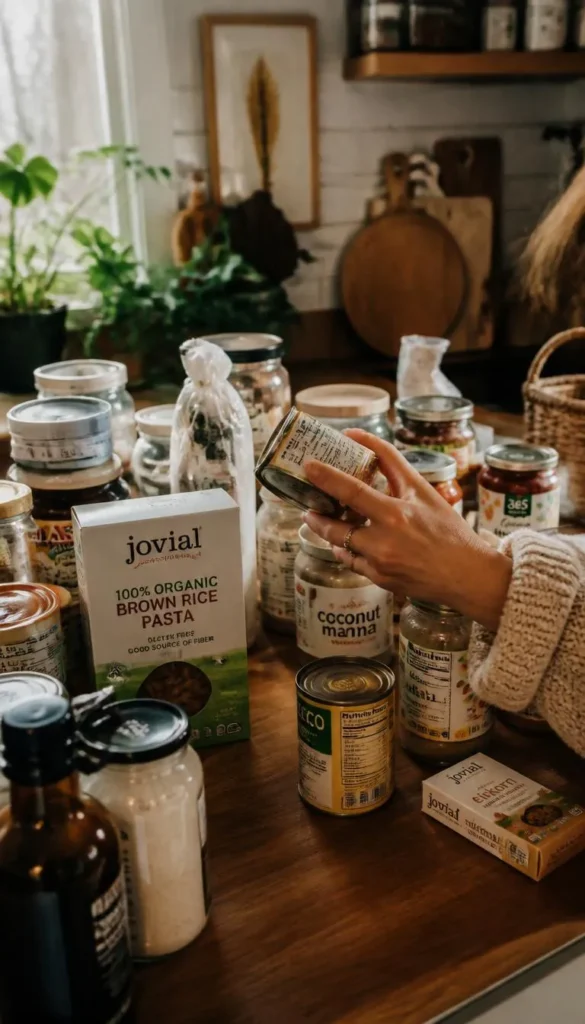
Before you buy a single container or basket, empty the whole pantry out. I mean everything, down to that mystery jar shoved in the back corner. Lay it all out on your counter or kitchen table so you can actually see what you’re working with, then go through each item and check dates. If something’s been sitting untouched for six to twelve months, it’s probably time to let it go, whether that means the trash, a donation bin, or your neighbor’s pantry instead of yours.
This step feels tedious, I know. But skipping it is the single biggest reason pantry makeovers fail within a month. You end up organizing clutter instead of removing it, and the system collapses the second life gets busy again.
2. Zone Your Pantry by Category, Not by Wherever It Fits
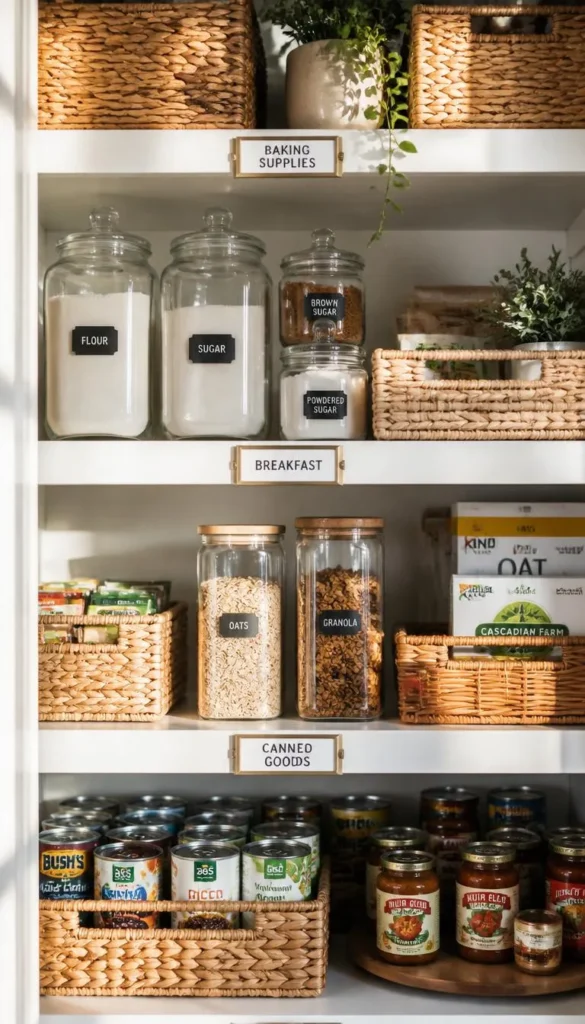
Once everything’s out, resist the urge to just put it all back. Think in zones instead. Baking supplies live together. Snacks live together. Canned goods, breakfast items, spices, each gets its own designated area. I like to think of it the way a small grocery store is laid out, since your brain already knows how to navigate that logic without thinking twice.
A few zones worth carving out in almost any American kitchen:
- Baking essentials (flour, sugar, extracts, mixes)
- Breakfast and snack zone, especially if you’ve got kids grabbing things solo
- Canned and jarred goods, oldest items pushed to the front
Once zones are set, everyone in the house tends to put things back where they belong without being told twice.
3. Invest in Uniform Airtight Containers
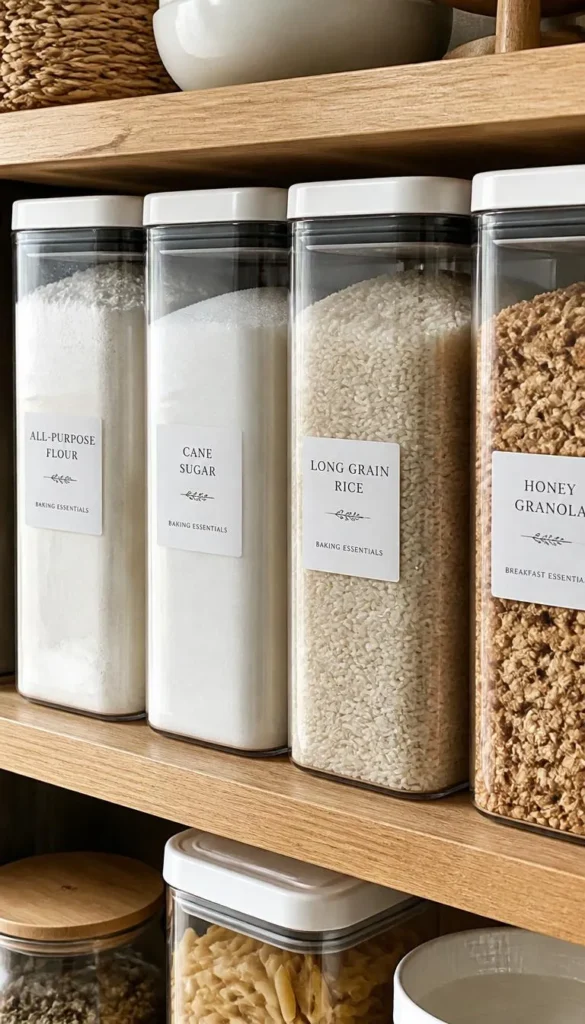
There’s a reason this shows up on nearly every pantry list out there, and it’s not just about looks. Airtight containers keep pests out, keep flour and cereal fresher longer, and let you see exactly how much you have left before you’re mid recipe and realize you’re out of rice.
You don’t need to drop three hundred dollars to get this right. A basic set of BPA free plastic containers from a big box store will run you under fifty dollars and do the job just fine. If you want the glass look for open shelving, that’s where the budget climbs, sometimes well past two hundred for a full matching set. My honest take is to save the glass splurge for shelves people actually see, and use cheaper plastic bins for the deep cabinet stuff nobody’s looking at anyway.
4. Use Turntables and Lazy Susans for Corner Dead Zones
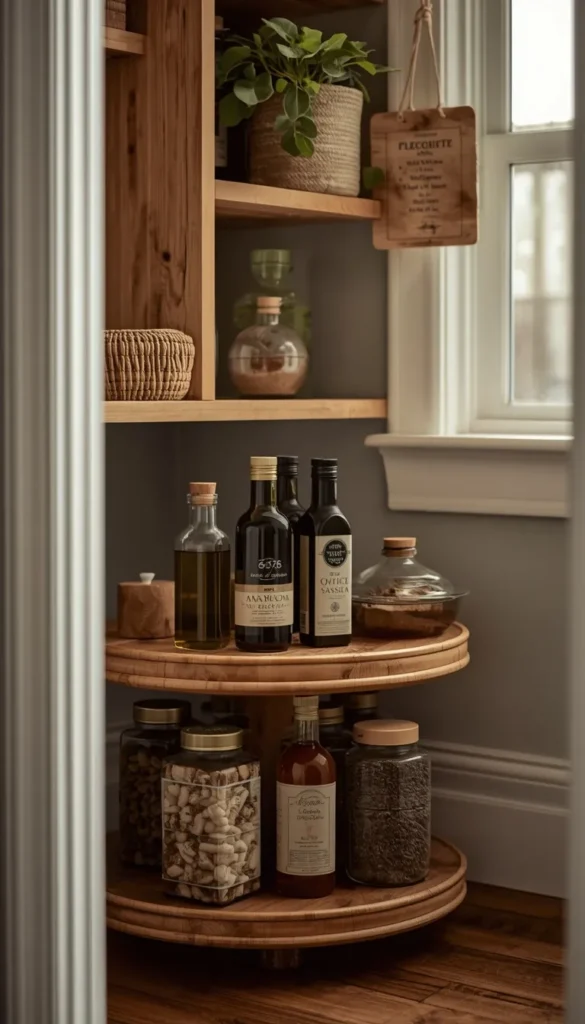
Every pantry has that one corner where things go to get lost. A lazy Susan solves this instantly, and it’s one of the cheapest upgrades on this whole list. Spin instead of dig.
One thing I’d flag from experience: cheap plastic turntables with flimsy bearings tend to stick or wobble within a year of daily use, especially once they’re loaded with heavy bottles. Spend the extra ten or fifteen dollars for a bamboo or metal turntable with a smooth center bearing, and it’ll outlast the cheap version by years.
Which of these zones is closest to how your pantry already looks, and which one needs the most work?
5. Install Pull Out Drawers or Baskets for Deep Cabinets
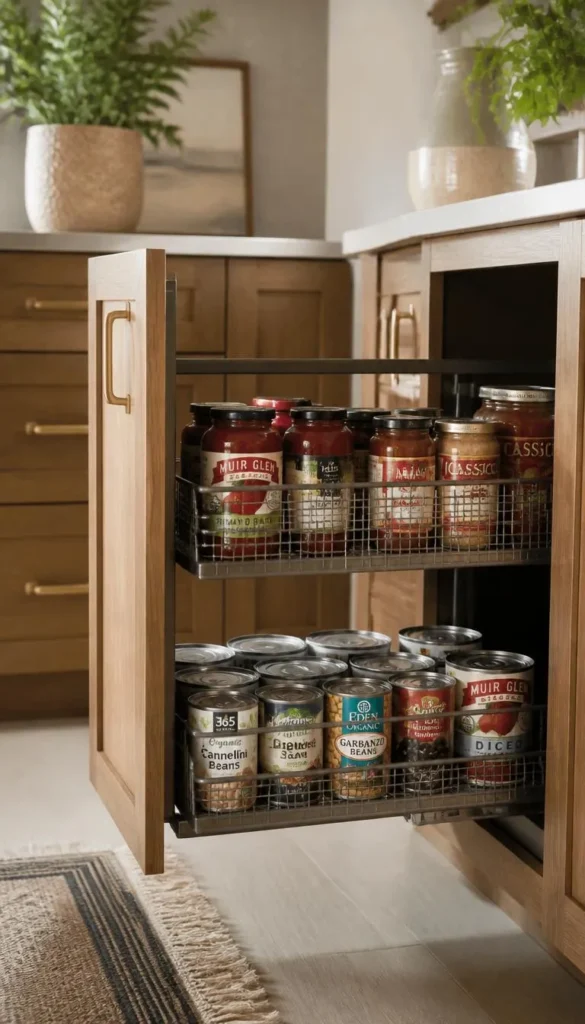
If your pantry is really just a set of deep base cabinets, you already know the struggle. Whatever’s in the back becomes invisible the moment you close the door. Pull out drawers or wire baskets fix this completely, and most home centers sell retrofit kits that don’t require a full cabinet replacement.
A carpenter I’ve worked with on a few Dallas area kitchens can usually install these in an afternoon for a few hundred dollars per cabinet. If that’s outside your budget right now, sliding wire baskets designed to sit on existing shelves are a solid stopgap. They won’t glide as smoothly, but they still beat crawling on your hands and knees for that can of tomatoes.
6. Add Door Mounted Storage for Small Essentials
The inside of your pantry door is basically free real estate that almost nobody uses. Over door racks or mounted wire shelving can hold spice jars, foil and plastic wrap boxes, or packets of taco seasoning that otherwise clutter up a shelf.
Just measure twice here. I’ve seen more than one client install a door rack that was too deep, and it wouldn’t let the door close all the way. Not a fun surprise on move in day.
Top 6 pantry organisation ideas
| Idea | Estimated Price | Maintenance |
|---|---|---|
| Airtight Containers | $50 to $250 | Low |
| Turntables and Lazy Susans | $10 to $30 each | Low |
| Pull Out Drawers or Baskets | $150 to $400 per cabinet | Low |
| Door Mounted Storage | $20 to $60 | Low |
| Beverage or Coffee Station | $100 to $600 | Medium |
| Task Lighting (LED strips) | $15 to $50 | Low |
7. Go Vertical With Wall Space Above Eye Level
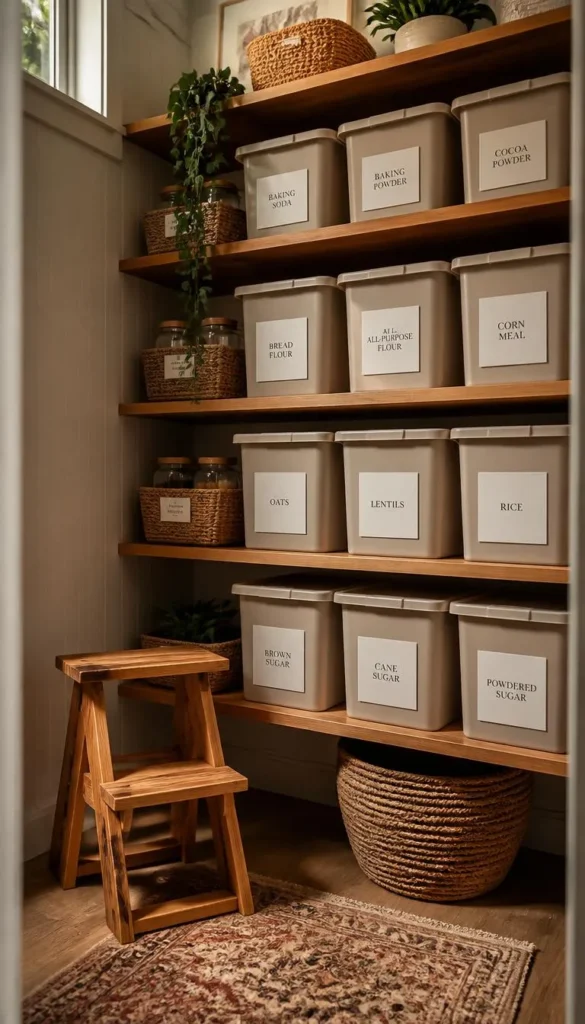
We tend to stop seeing our pantries once they’re above head height, but that space is prime real estate for anything you don’t need daily. Think holiday baking supplies, bulk paper towel backstock, or that air fryer box you’re keeping just in case.
- Store rotating bulk stock up high, since you’re not reaching for it weekly
- Keep a small step stool nearby so it actually gets used instead of ignored
- Label bins clearly since you can’t glance and identify contents from below the way you can at eye level
8. Label Everything, But Skip the Instagram Perfect Trap
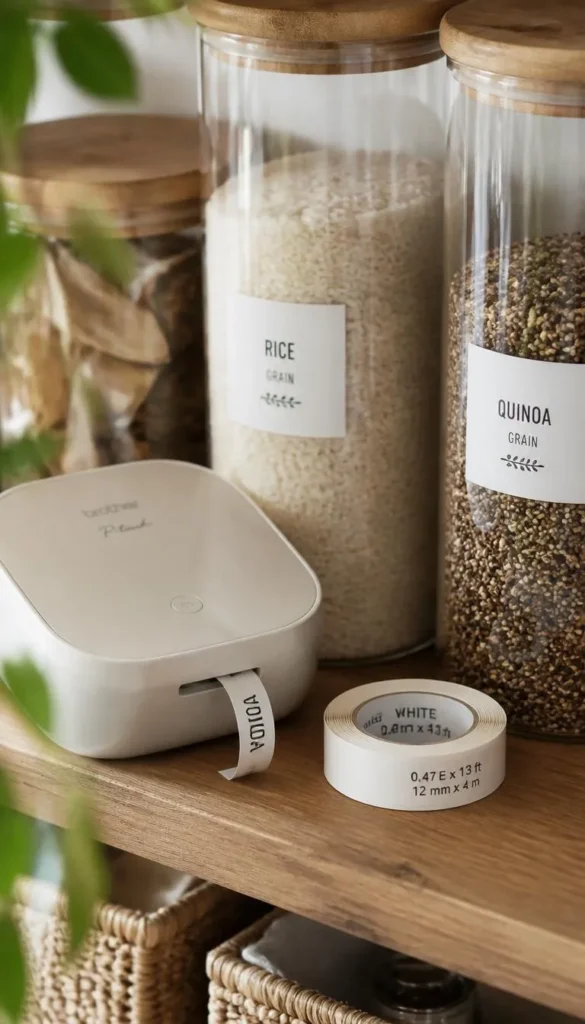
Labeling matters, genuinely. It cuts down on duplicate purchases and helps everyone in the house find what they need without asking. But here’s what nobody tells you: those beautiful calligraphed labels you see online are high maintenance. Contents change, and suddenly your gorgeous label says “quinoa” while the jar’s actually got rice in it.
A trick I’ve started recommending to almost every client is a simple label maker with a peel and stick tape, or even painter’s tape and a Sharpie if you want zero cost. It’s not glamorous, but it’s honest, and you can swap it in ten seconds when contents change. Save the fancy calligraphy for jars that genuinely never change contents, like sugar or flour.
If you could only fix one shelf in your kitchen this weekend, which one would you tackle first?
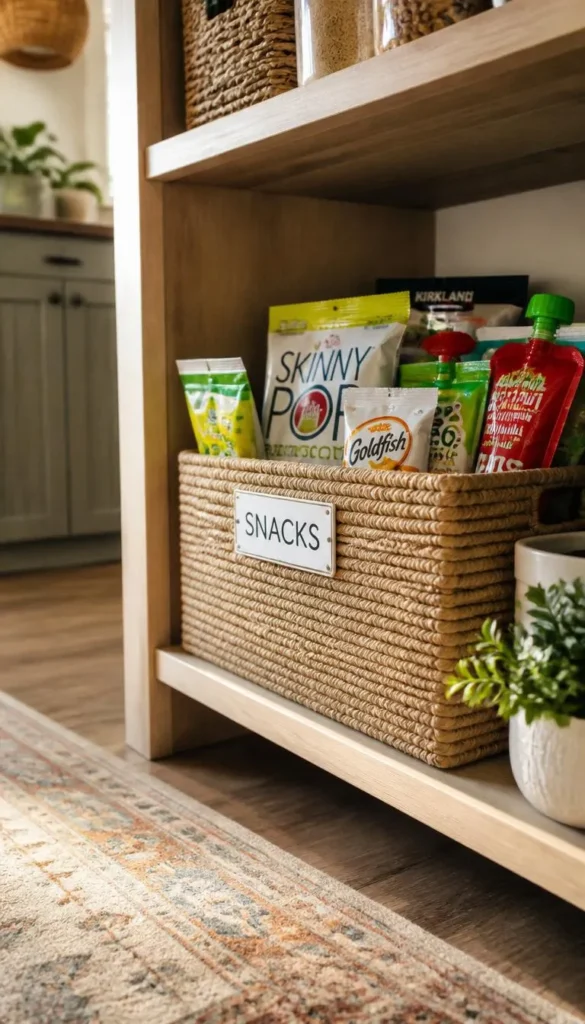
9. Create a Kid Friendly Snack Zone at Lower Shelves
If you’ve got kids, give them their own turf. A lower shelf or bin stocked with grab and go snacks means fewer requests for you to referee and fewer tiny hands reaching for things above their pay grade. I’ve done this in almost every family home I’ve designed for, and it’s consistently one of the changes parents thank me for months later.
Keep it simple. One bin, clearly labeled, restocked weekly. Kids catch on fast.
10. Set Up a Dedicated Coffee or Beverage Station
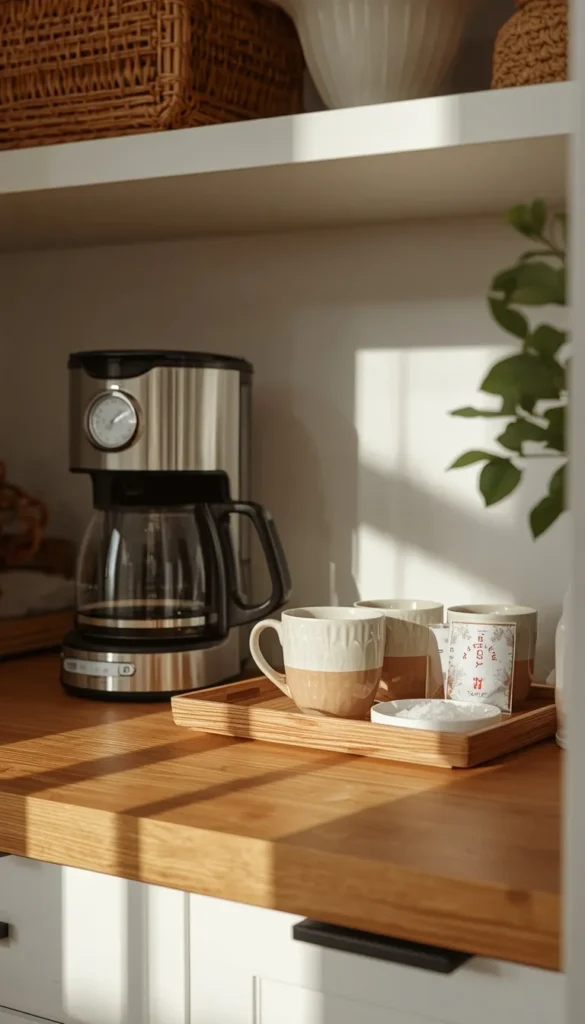
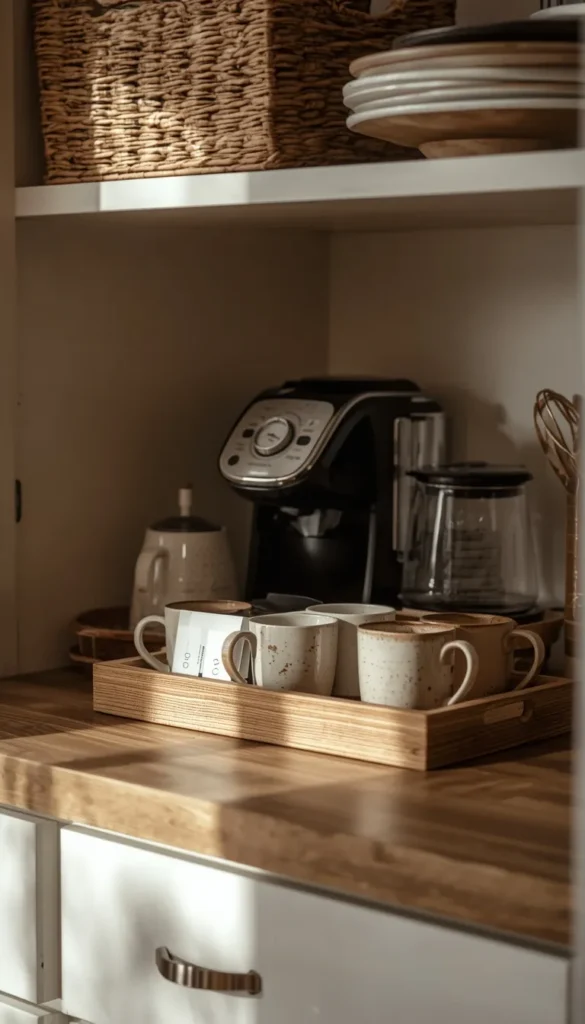
Mornings run smoother when coffee, tea, and mugs live in one spot instead of scattered across three cabinets. This doesn’t need to be elaborate. A small shelf with your coffee maker, filters, and a couple of mugs within arm’s reach does the job.
A few things worth including:
- Coffee grounds or pods, stored in an airtight container
- Sweeteners and creamers, grouped together
- A small tray to corral loose sugar packets or stirrers
If you’ve got the space and budget, a proper beverage center with a mini fridge is a genuine value add. Real estate agents I’ve spoken with in the Nashville market have mentioned buyers pay noticeably more for homes with one already built in.
11. Use Risers and Tiered Shelving for Visibility
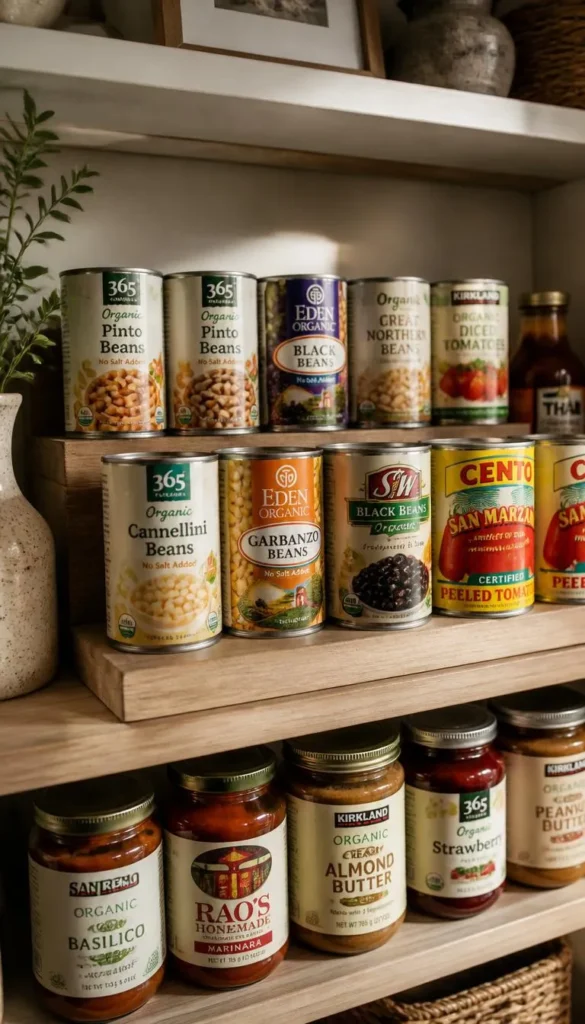
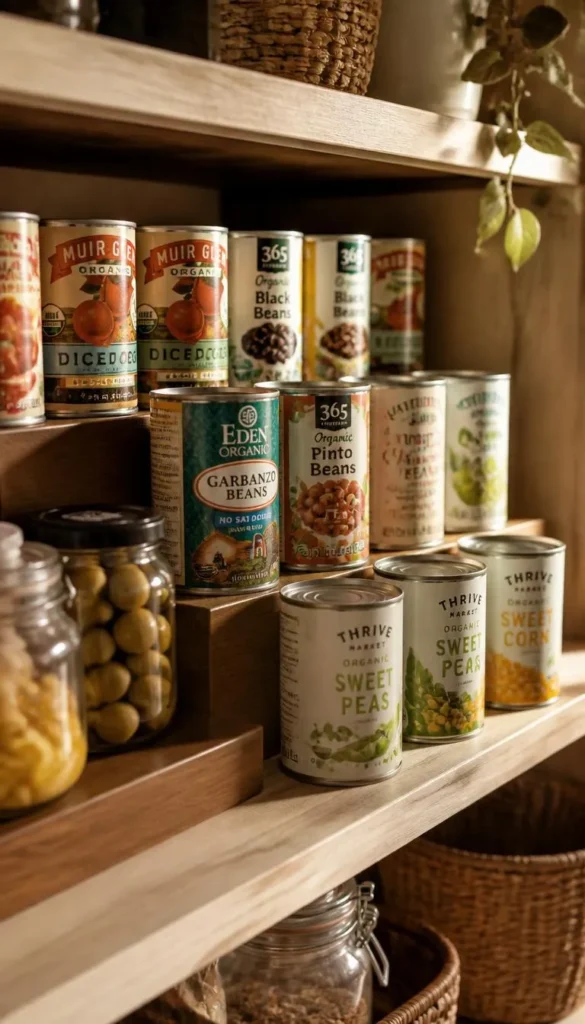
Cans and jars stacked flat behind each other are a recipe for forgotten food. Risers solve this by putting the back row slightly higher than the front, so you can see everything at a glance instead of digging.
They’re inexpensive, usually under thirty dollars, and take five minutes to set up. Small fix, big difference.
12. Store Spices Flat in a Drawer Instead of a Spinning Rack
I used to recommend spinning spice racks constantly, until enough clients told me the same thing: after a year or two, they jam, tip over, or just stop spinning smoothly. Now I steer people toward flat drawer storage instead, where spice jars lie on their sides with labels facing up.
You lose nothing in terms of visibility, and there’s no mechanism to break down over time. If you don’t have a drawer to dedicate, a slim drawer insert that sits inside an existing shelf works just as well and costs less than most spinning racks anyway.
Are you more of a “everything matches” pantry person, or do you just want to find the crackers without a search party?
13. Choose the Right Baskets for the Right Job
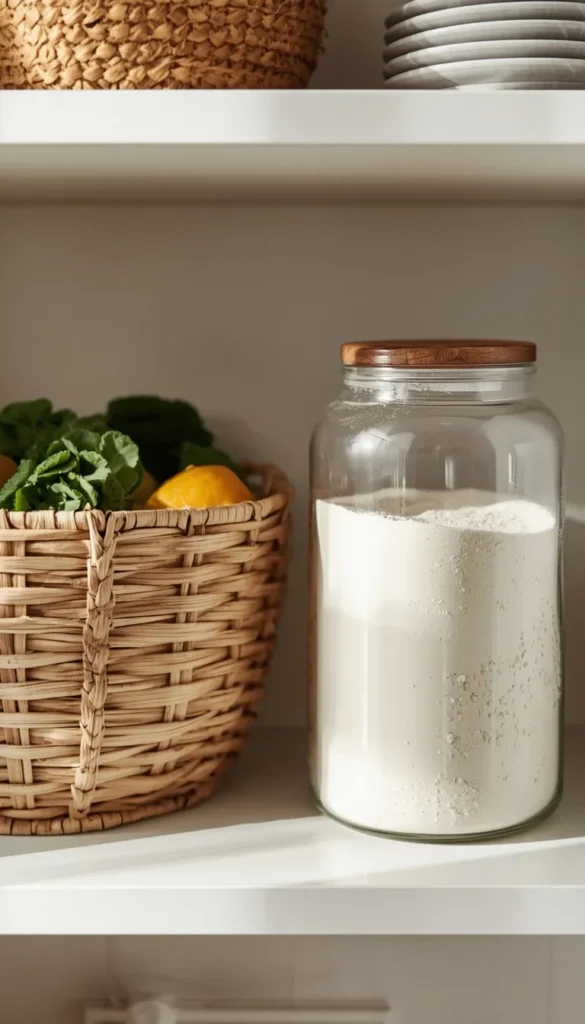
Baskets look wonderful on shelves, no argument there. But not every basket suits every job, and this is where I see the most costly mistakes. Woven baskets are gorgeous for produce, napkins, or bread since they let air circulate. The problem comes when people use them for open bags of flour, rice, or grains.
Here’s the reality nobody puts in the pretty photos: woven baskets don’t seal, and pantry moths absolutely love finding their way into open grain bags left exposed. I learned this the hard way with a client’s pantry, which is actually the story behind my design notes above. My rule now is simple. Woven and wire for anything that needs airflow. Sealed bins for anything edible that pests could get into. Keep those two categories separate and you’ll avoid a whole headache.
14. Light It Properly for Deep or Dark Shelves
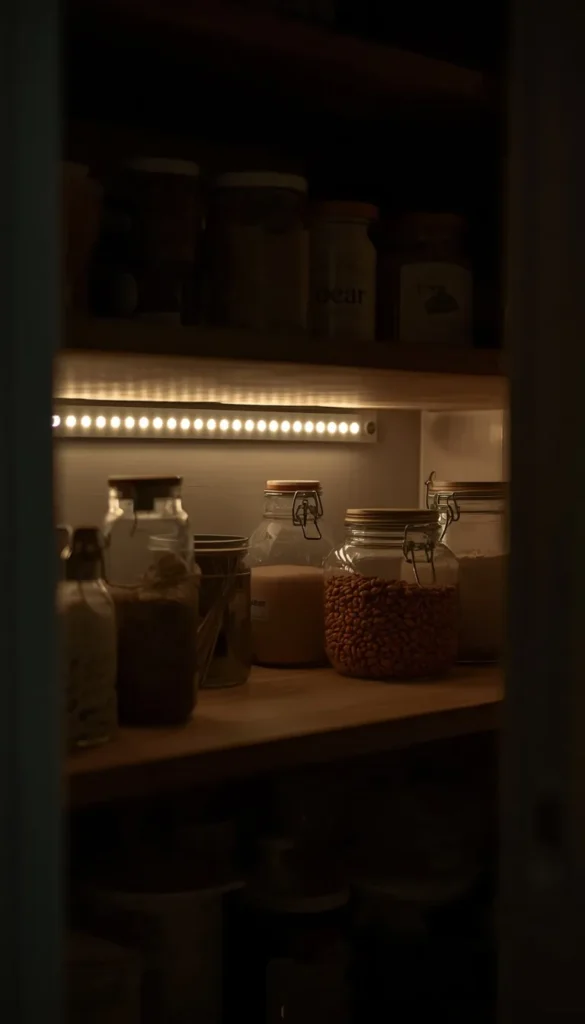
A dim pantry hides more than clutter, it hides food you’ve already forgotten you own. Task lighting fixes this in a way that’s honestly underrated. Battery operated puck lights or a simple LED strip under each shelf costs very little and takes maybe twenty minutes to install, no electrician required.
- Stick on LED strips are the easiest option for renters and homeowners alike
- Motion sensor lights are worth the extra few dollars if your hands are usually full
15. Small Pantry or Single Cabinet Solutions
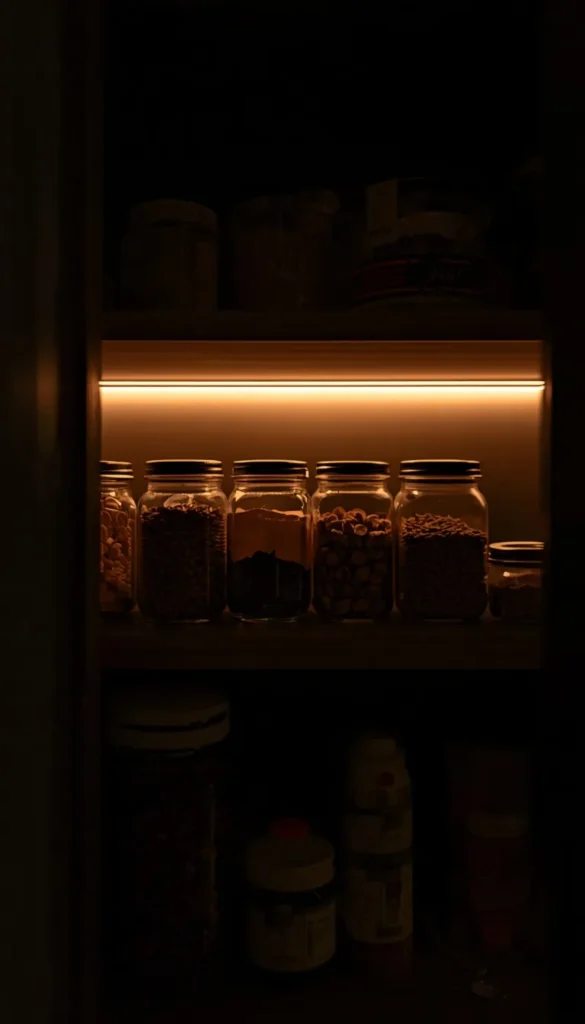
Not everyone has room for a walk-in, and that’s completely fine. If you’re working with one cabinet or a narrow closet, the trick is maximizing height and depth rather than wishing for more square footage. Door mounted racks, slim pull out shelves, and stackable bins do a lot of heavy lifting in a tight footprint.
I’ve set up single cabinet pantries for clients in New York apartments that hold more than you’d think possible, purely because every inch was assigned a job instead of left to chance.
16. Walk In Pantry Layout Tips
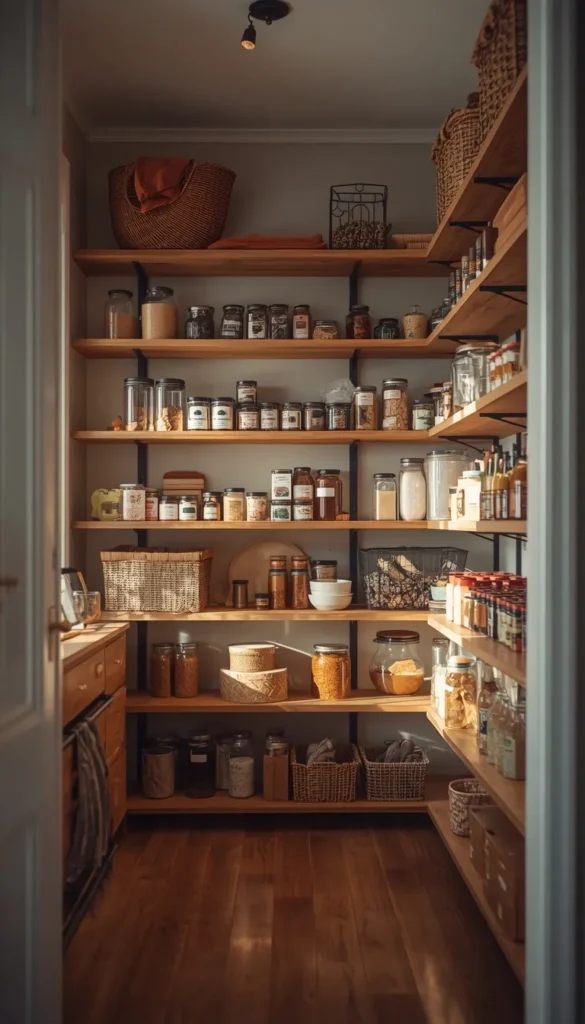
If you’re lucky enough to have a dedicated walk-in, the biggest mistake I see is leaving the layout too open, with everything just sort of floating on wide shelves. Treat it like a small room, not a closet. Zone it the same way we talked about earlier, keep frequently used items at eye level, and push bulk or rarely used stock to the highest and lowest shelves.
One thing worth budgeting for if you’re renovating from scratch is adjustable shelving rather than fixed. Families and needs change, and a walk-in that can be reconfigured in an afternoon ages a lot better than one you’re stuck with for a decade.
What’s the one item in your pantry right now that you know has been expired for way too long?
17. Renter Friendly No Drill Organization Hacks
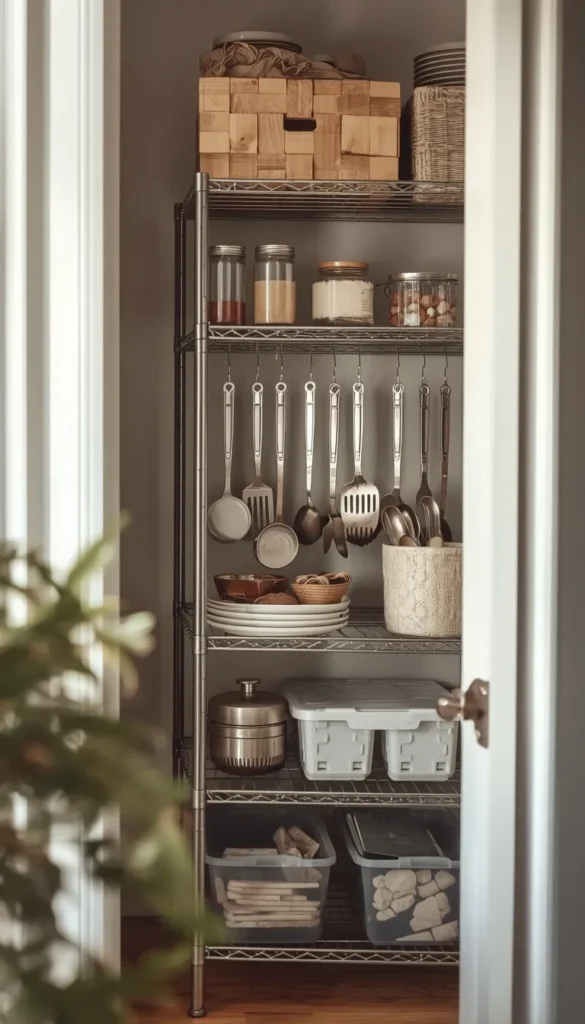
If you’re renting, you don’t need to skip half the ideas on this list just because you can’t drill into walls. Tension rods, adhesive hooks rated for a few pounds, and freestanding shelving units get you most of the way there without touching a single wall.
A couple of go to options I’ve suggested to renters over the years:
- Freestanding wire shelving units for instant vertical storage
- Removable adhesive strips for lightweight hooks and small racks
Everything here comes down when you move, deposit intact, pantry still fully functional the whole time you lived there.
18. Maintain It With a Ten Minute Weekly Reset
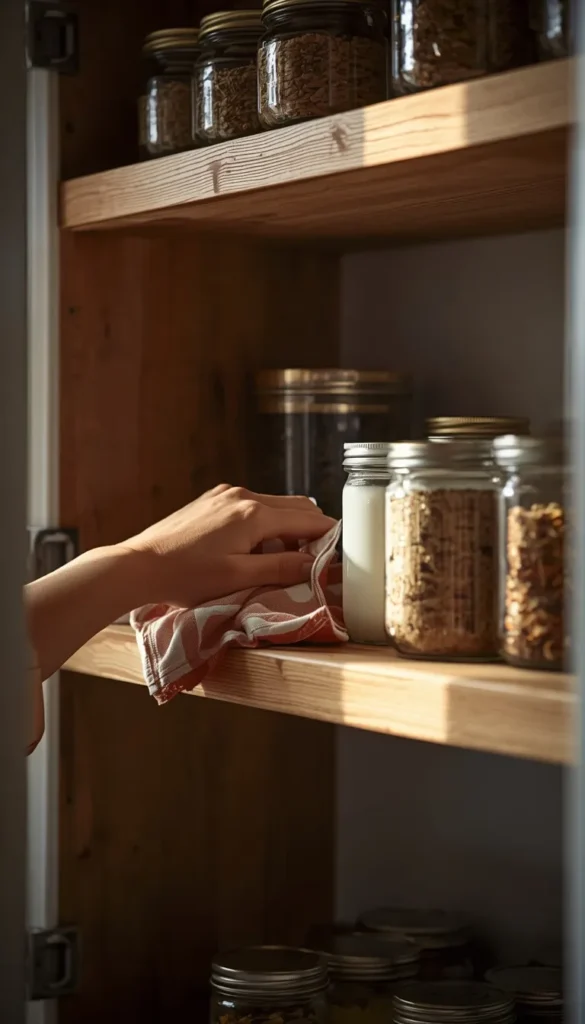
This is the part every pretty pantry photo leaves out. Organization isn’t a one time event, it’s a habit. Pick one day a week, even just ten minutes, to push products forward, wipe down a shelf, and toss anything that’s gone bad. It sounds small, but it’s the single difference between a pantry that stays organized for years and one that slides back into chaos within a month.
I tell every client the same thing before I leave their home: the system only works if it’s easier to maintain than to ignore. Keep it simple enough that future you, tired and hungry on a random Tuesday, will actually stick with it.
Which Pantry Path Is Yours?
By Budget
- Starter Fix (under $100): Uniform bins from a big box store, a couple of lazy Susans, adhesive LED strips, painter’s tape labels
- Mid Range Refresh ($200 to $600): Pull out baskets for one or two cabinets, door mounted racks, a proper label maker, tiered risers
- Full Investment ($600 and up): Custom pull outs across the whole pantry, a built in beverage station, adjustable shelving system, professional install
By Lifestyle
- Busy Families: Kid snack zone, drawer spice storage, weekly ten minute reset habit, clear zoning by category
- Small Space Dwellers: Door mounted storage, vertical wall space, stackable bins, single cabinet solutions
- Renters: Tension rods, adhesive hooks, freestanding wire shelving, zero drill required
- Hosts and Entertainers: Beverage station, risers for visibility, walk in layout tips if space allows
Frequently Asked Questions
How do I organize my pantry on a budget?
Start with what you already own before buying anything new. Repurpose jars, bins, and baskets from other rooms, then only fill gaps with a basic set of matching containers, usually under fifty dollars at any big box store.
What is the best layout for a small pantry?
Vertical is your best friend here. Use door mounted racks, tall stackable bins, and shelf risers to multiply your storage without needing a single extra square foot of floor space.
How often should I clean out my pantry?
Ideally, do a full purge twice a year and a quick ten minute reset weekly. That combination keeps expired food from piling up and stops small messes from becoming a full blown reorganization project.
Are glass or plastic containers better for pantry storage?
Both work well, it really depends on the shelf. Glass looks better on open shelving people actually see, while BPA free plastic is lighter, cheaper, and better suited for deep cabinets nobody’s looking into daily.
How much does a full pantry makeover cost?
A basic refresh runs under $100 using bins and lazy Susans alone. A full custom pull out system with a built in beverage station can run $600 or more, depending on your pantry’s size and whether you hire a carpenter.
Conclusion
Here’s the thing I want you to walk away with: you don’t need a magazine budget or a weekend of free time to fix this. Pick one shelf, one drawer, one corner today, and just start there. Your kitchen is the heart of your home, and a pantry that actually works for you changes something small every single day, whether you notice it or not. So tell me, which of these eighteen ideas are you tackling first?
