Most garages in America aren’t being used as garages anymore they’re being used as oversized junk drawers. I’ve walked into hundreds of homes where a two car garage barely fits one car, not because the space is too small, but because nobody ever gave it a real system. The good news? You don’t need a $3,000 custom cabinet setup to fix it. These 13 cheap garage organization ideas will help you reclaim every square foot without draining your wallet.
My Design Notes
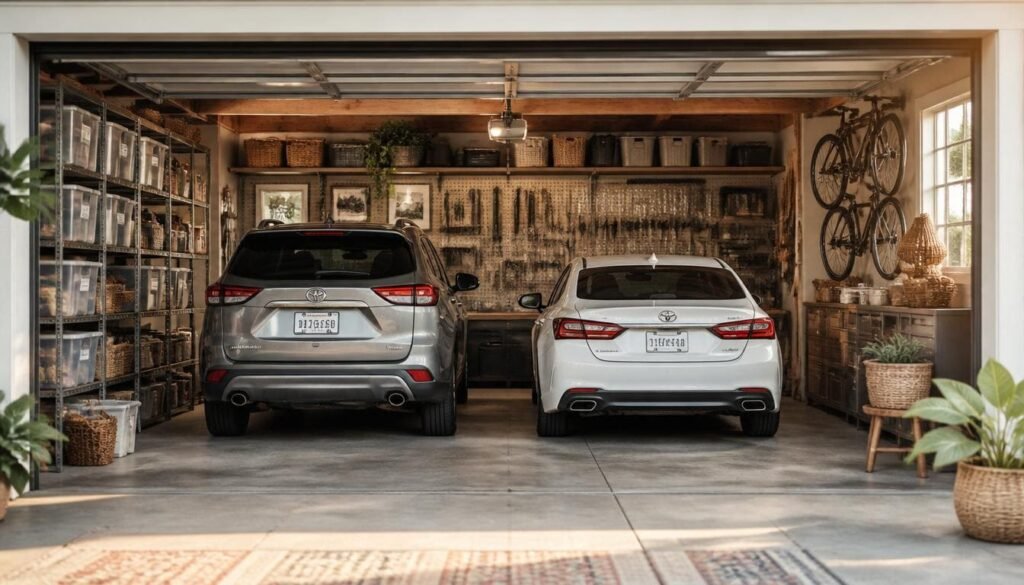
Last spring, I was called in to help a family in suburban Nashville completely overhaul their two car garage that had become, honestly, a safety hazard. Bikes were falling over, holiday bins were stacked six high with no labels, and three broken shop vacs were just sitting there like forgotten monuments to procrastination. Their budget was firm at $175 not a penny more. We started with a ruthless two hour purge that cut the clutter in half before we spent a single dollar. Then we repurposed a kitchen cabinet they were already tossing, added a $14 pegboard section from Home Depot above it, and used a simple wall-mounted track system just for the bikes. Final spend came to $168. When her husband walked in and saw both cars actually fitting inside for the first time in four years, he got a little emotional and honestly, so did I. That project is the reason I believe every garage can be fixed on a real budget.
Proven Garage Organization Strategies That Reclaim Your Space Without Breaking the Bank
1. Start With a Ruthless Purge (Free and Non-Negotiable)

Before you spend a single dollar, you need to spend a few hours being brutally honest with yourself. I know that sounds harsh, but every organized garage I’ve ever worked on started with a serious cleanout not a shuffle. Most people move clutter from one corner to another and call it organizing. That’s not organizing. That’s rearranging stress.
Pull everything out, group it by category, and ask yourself one simple question: have I used this in the last year? If the answer is no, it goes. Broken tools, duplicate rakes, that treadmill you swore you’d fix gone. A quick trick I’ve learned is to place donation boxes right at the garage entrance so there’s no “I’ll decide later” temptation.
2. Zone Your Garage Before You Buy Anything
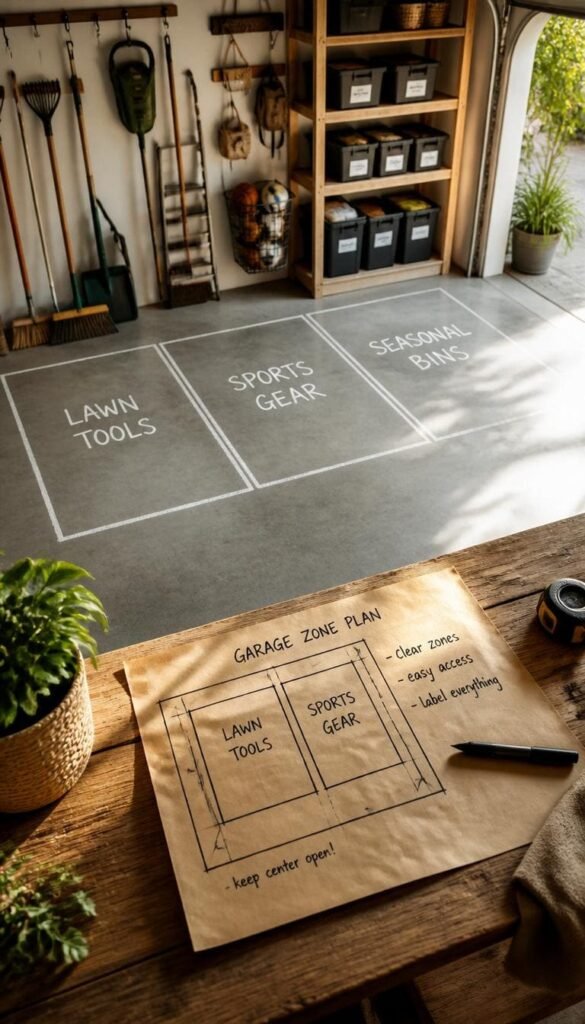
This is the step most people skip, and it’s exactly why their second attempt at organizing fails just like the first one did. Zoning means deciding where each category of items will permanently live before a single shelf goes up or a single bin gets purchased.
Grab a piece of paper and sketch your garage. Assign areas like:
- Lawn and garden tools near the garage door for easy grab-and-go access
- Sports equipment along one wall where kids can reach it independently
- Holiday and seasonal bins up high since they’re only needed a few times a year
One thing to watch out for is buying shelving first and planning second. I’ve seen homeowners spend $200 on a shelving unit that doesn’t fit their wall once the zones are mapped out. Plan first, shop second always.
3. The $15 Pegboard Wall That Beats a $300 System
A standard 4×8 pegboard sheet from Home Depot runs about $14 to $17. A pack of assorted hooks costs another $8. That’s under $25 for a wall storage solution that genuinely rivals systems sold for ten times the price. I’ve installed these in garages from Memphis to Minneapolis and they never disappoint as long as you use them correctly.
Mount it directly to wall studs, not just drywall. Drywall alone won’t hold the weight once you start loading it with tools. Also, keep heavier items like power drills on lower hooks and lighter things like tape measures and markers up top. The pegboard itself has limits don’t hang anything over 20 lbs on a single hook.
4. Freestanding Metal Shelving for Renters (No Drill Required)
If you’re renting your home, half the advice on the internet doesn’t apply to you because it assumes you can freely drill into walls. You often can’t or shouldn’t without permission. Freestanding metal shelving units are your best friend in this situation, and they’re genuinely affordable.
A solid 5 tier metal shelving unit from Costco, Walmart, or Amazon typically runs between $45 and $70. It holds several hundred pounds, you can move it anywhere, and you take it with you when you leave. I always recommend the wire style shelves over solid particle board for garages specifically because air circulates better, which helps prevent moisture buildup a real problem in humid climates like the Southeast.
5. Ceiling Storage for the Stuff You Forget You Own
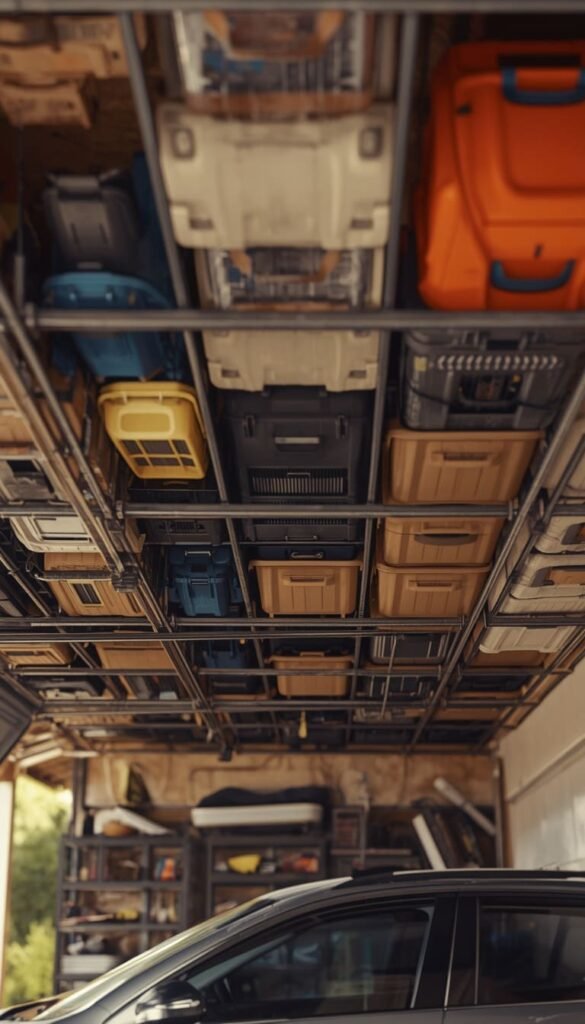
The ceiling is the most underused surface in almost every garage I’ve ever walked into. People look up, shrug, and move on and in doing so they ignore what could easily be 50 to 80 square feet of usable storage space. Overhead ceiling racks are available at most home improvement stores for around $50 to $100, and they’re genuinely one of the highest-return investments you can make in a garage.
That said, a few things matter before you start drilling into ceiling joists. Check your clearance first you need at least 6 to 8 inches between the rack and your car roof when the garage door is closed. And always anchor into joists, never just drywall. I’ve seen racks pull clean out of ceilings because someone skipped that step, and it’s not a pretty sight.
This space is best used for:
- Seasonal items like holiday décor, camping gear, and ski equipment
- Large lightweight items like luggage, sleeping bags, and pool floats
- Bulky items you need occasionally but not weekly
Which of these ideas are you tackling first the pegboard wall or the bike hooks?
6. Repurpose What You Already Own (The $0 Wins)
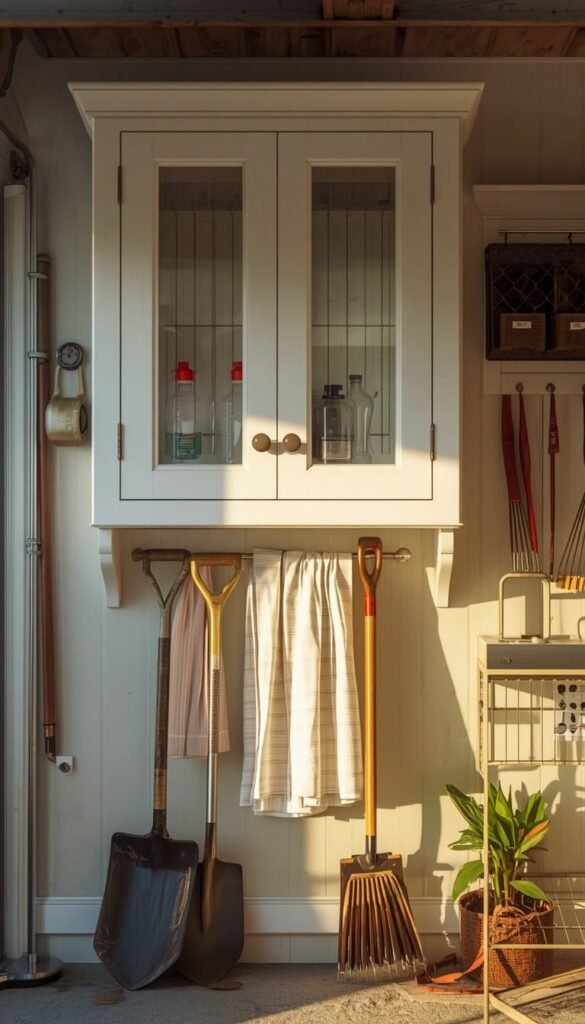
Some of my favorite garage transformations cost almost nothing because the homeowner already had everything they needed they just hadn’t looked at it creatively yet. An old kitchen cabinet pulled from a renovation becomes brilliant garage wall storage. A tension rod inside a cabinet creates an instant spray bottle organizer. A towel bar mounted low on a wall holds rakes and shovels with zero extra hardware needed.
Before you add anything to your shopping cart, do a full walk through your home. Check the basement, the attic, and any spare closets. You’d be surprised how many organizational problems a spare bookshelf or a handful of S hooks can solve for free.
Top 6 Ideas:
| Idea | Estimated Price | Maintenance |
|---|---|---|
| Pegboard Wall | $22 – $25 | Low |
| Freestanding Metal Shelving | $45 – $70 | Low |
| Ceiling Overhead Rack | $50 – $100 | Medium |
| Wall-Mounted Track System | $30 – $150 | Medium |
| DIY Workbench | $27 – $32 | Low |
| Bike Wall Hooks | $8 – $40 per bike | Low |
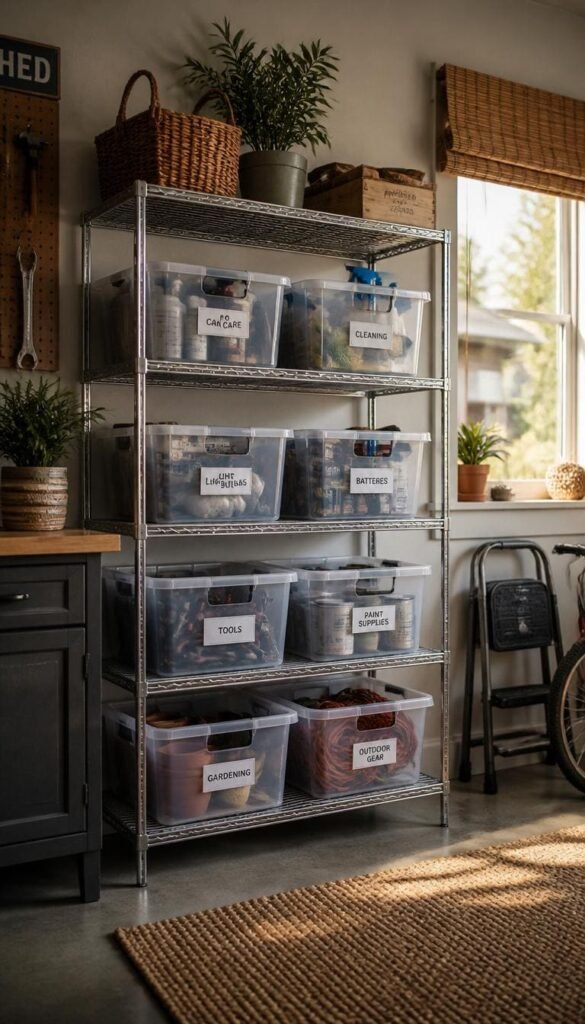
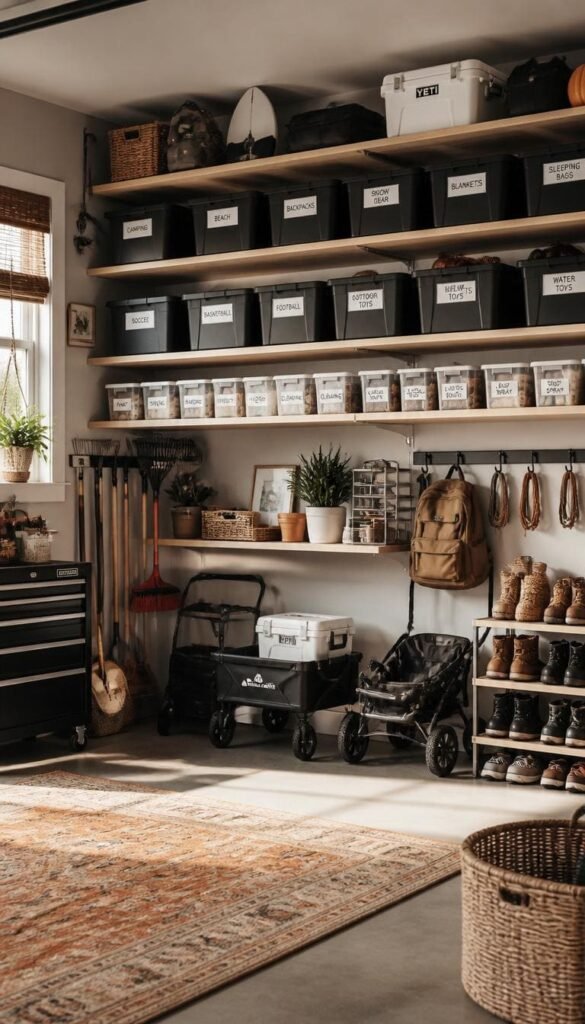
7. The Bin Strategy That Actually Stays Organized

Not all storage bins are created equal, and choosing the wrong ones is a mistake I see constantly. Here in the US, garage temperatures can swing from freezing winters to brutal summer heat depending on where you live. Cheap thin plastic bins crack in the cold and warp in the heat especially in garages in Texas, Arizona, or Florida where summer temps inside an uninsulated garage can hit 120°F.
Spend a little more on heavy duty bins with reinforced lids. Brands like Sterilite and HDX hold up significantly better than bargain bin options. As for the clear versus opaque debate I personally prefer clear bins for garages because you can see what’s inside without reading every label. One thing to watch out for is going too large with bin sizes. Giant bins sound efficient until everything gets thrown in together and you’re digging through a 60 gallon tub to find one set of jumper cables.
8. Wall Mounted Track Systems Worth It or Overhyped
They’re worth it but only if you buy them with realistic expectations. Systems like Gladiator GearTrack or Rubbermaid FastTrack run anywhere from $30 for a single strip to $150 for a full wall kit. The genius of these systems is the flexibility. You can reposition hooks, baskets, and bike mounts without drilling new holes every time your storage needs change.
The cons nobody talks about are real though. The hooks can be pricey individually sometimes $8 to $15 per hook and costs add up fast if you’re outfitting an entire wall. Also, cheaper off-brand track systems have a frustrating habit of letting hooks slide and shift under weight. If you go this route, stick with name brands and load-test everything before you trust it with a $400 bike.
9. A $30 Workbench Anyone Can Build in an Afternoon
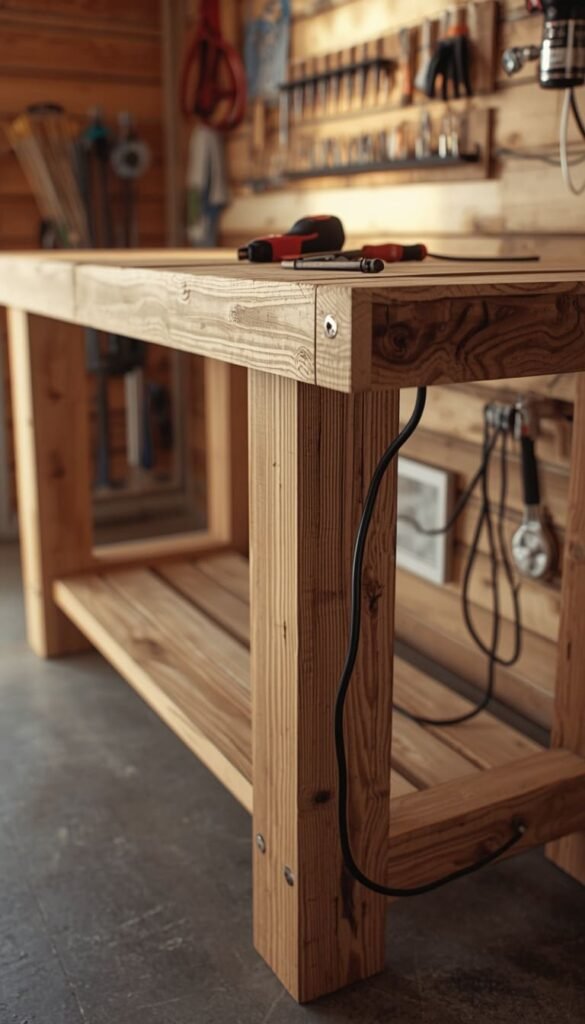
A proper workbench changes how you use your garage completely. Suddenly you have a surface for projects, repairs, and planning and you stop using the hood of your car as a makeshift table. The good news is you don’t need carpentry skills or an expensive kit to make this happen.
A basic but sturdy workbench can be built with:
- Two 4×4 posts for legs (around $8 total)
- One 2×8 plank for the surface (around $12)
- A handful of 3-inch screws and basic brackets (around $7)
Total cost sits right around $27 to $32 depending on your local Home Depot or Lowe’s pricing. Mount it directly to the wall studs at a comfortable standing height typically 34 to 36 inches and you’ve got a workspace that will outlast anything you’d find in a flat pack furniture box. A quick trick I’ve learned is to add a power strip underneath the surface edge so you always have an outlet right where you need it without running extension cords across the floor.
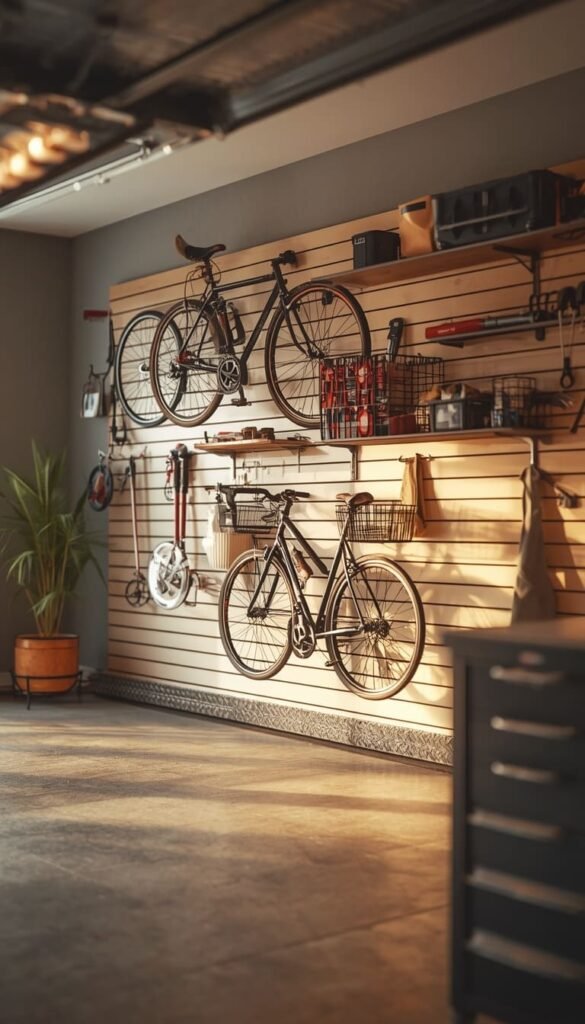
10. Bike and Sports Gear Storage Without Spending a Fortune
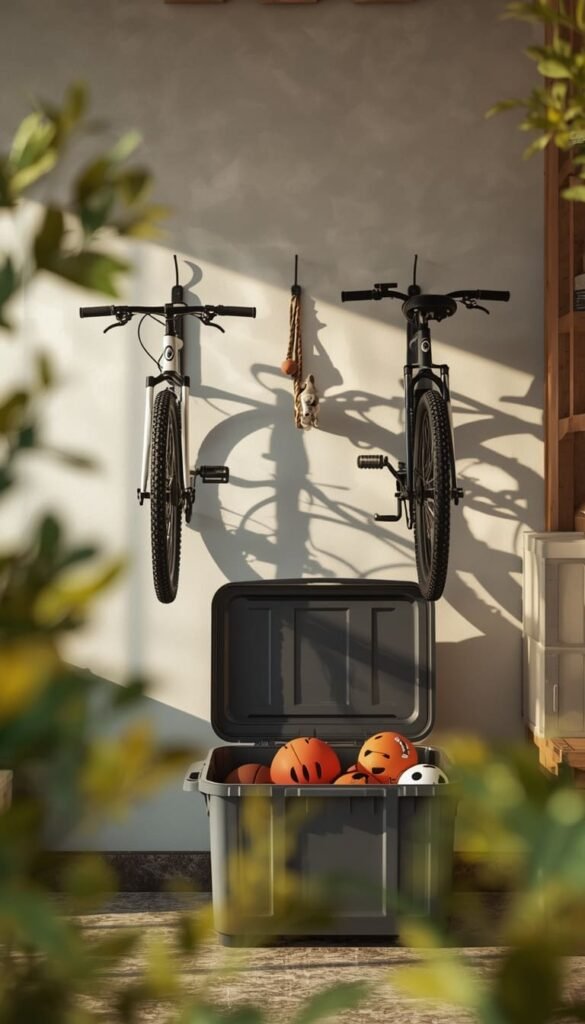
Bikes are the number one floor space killer in American garages. I’ve walked into three car garages that fit zero cars because four bikes were just leaning against everything. The fix is simple and cheap it’s just that most people put it off because they assume it’ll be complicated.
A basic wall mounted vertical bike hook costs about $8 at any hardware store. For two bikes, you’re looking at $16 and maybe 20 minutes of your Saturday morning. Ceiling pulley systems are slightly pricier at $25 to $40 per bike but work beautifully in garages where wall space is already maxed out. One thing to watch out for with ceiling systems is weight capacity always check that your joists can handle the load before you hang anything heavier than a standard bicycle up there.
For sports gear beyond bikes, an open top bin on a low shelf works better than any fancy rack system I’ve ever seen. Kids actually put things back when the barrier to entry is low. No lids, no latches, just drop it in and move on.
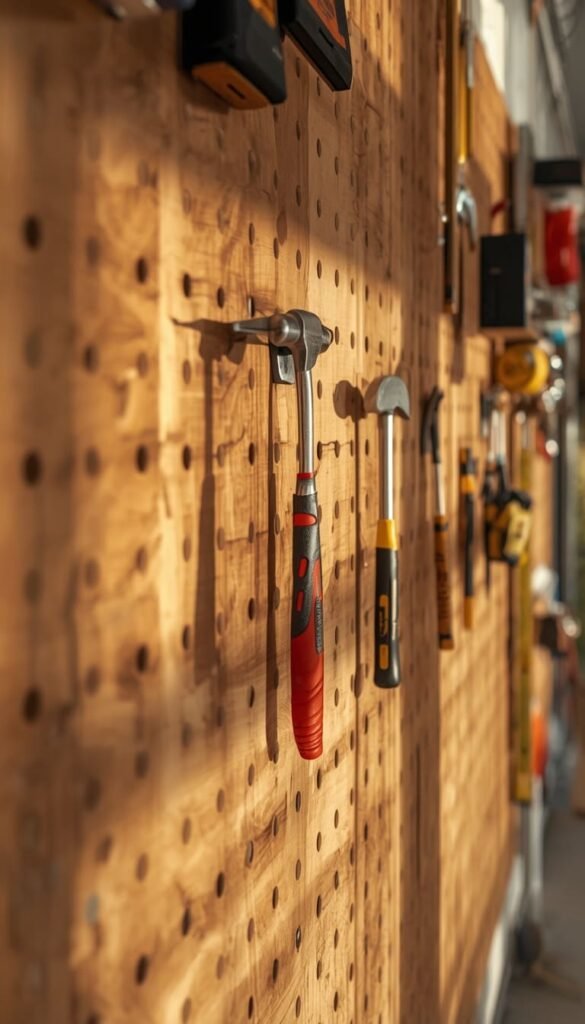
11. The Garage Pegboard Organization System for Tools

Most people hang a pegboard and then randomly stick tools wherever there’s an empty hook. That works for about two weeks before it turns into chaos again. The smarter approach is what professional woodworkers call a shadow board you trace the outline of each tool directly onto the pegboard with a marker so every tool has a dedicated, obvious home.
This takes an extra 30 minutes upfront and saves you years of frustration. Arrange your layout with the logic of how you actually work. Most-used tools like hammers, screwdrivers, and measuring tape go at eye level in the center. Specialty tools and seasonal items go toward the edges and top. Keep an empty hook or two intentionally open it gives the wall breathing room and leaves space for new tools without disrupting the whole system.
The pegboard itself is cheap. The hooks are cheap. What makes this idea genuinely powerful is the intentional layout behind it, and that costs nothing but a little thinking time.
12. Vertical Space Your Most Underused Asset
Floor space in a garage is precious. Wall space is useful. But the full vertical column from floor to ceiling? That’s where the real storage potential lives, and most garages only use about 40% of it. I always tell clients to stop thinking in terms of shelves and start thinking in terms of layers.
Here’s how I typically think about vertical zones in a garage:
- Floor level: Wheeled items, heavy equipment, and things used daily
- Waist to eye level: The prime zone bins, tools, and frequently grabbed items live here
- Above eye level to ceiling: Seasonal storage, rarely used gear, and overflow items
The mistake I see most often is placing heavy items too high because the upper shelves “looked like a good spot.” Heavy things belong low. Light things go high. It sounds obvious until you’re watching someone try to wrestle a 40-pound bin of holiday decorations down from an 8-foot shelf and that’s a liability nobody needs.
And honestly, how long has your garage been on your “I’ll fix it someday” list?
13. The Maintenance Habit That Keeps It Organized for Good

Getting your garage organized is honestly the easier half of this whole process. The harder part the part nobody wants to talk about is keeping it that way six months later. I’ve revisited client garages that looked immaculate in January and looked like a yard sale explosion by July. Not because the system failed, but because there was no maintenance habit in place.
What actually works is a quarterly reset. Four times a year, set aside 45 minutes to walk through the garage with fresh eyes. Check that everything is back in its zone, toss anything that’s broken or expired, and reassess whether your current system still matches how your family actually uses the space. Life changes kids grow up, hobbies shift, seasons turn and your garage organization should flex with those changes rather than fight against them.
A quick trick I’ve learned is to do your quarterly reset right at the season change. Swap out the snow shovels for the lawn mower, the ski gear for the camping equipment, and use that natural transition as your built in reminder to tidy everything up at the same time.
The 2-Minute Decision Map
By Budget
Tight Budget ($0 – $30)
- Start with the purge it’s free and cuts clutter in half
- Repurpose old cabinets, towel bars, and shelves you already own
- Build a DIY workbench for under $32
- Add a pegboard wall for under $25
Real Investment ($30 – $150)
- Wall mounted track systems for flexible, long-term storage
- Ceiling overhead racks for maximum space recovery
- Freestanding metal shelving for renters who need zero drilling
- Bike pulley systems if wall space is already maxed out
By Lifestyle
Busy Families
- Open-top sports bins kids actually put things back
- Wall-mounted bike hooks clears floor space fast
- Clear bins only no digging, no guessing
- Quarterly reset tied to season changes easy to remember
DIY Enthusiasts & Minimalists
- Shadow board pegboard every tool has one dedicated spot
- DIY workbench custom height, built to last
- Vertical zoning heavy low, light high, nothing wasted
- Zone mapping before buying anything no impulse purchases
Frequently Asked Questions
How do I organize my garage on a tight budget?
Start with a free purge cut clutter before spending a single dollar. A pegboard wall ($25) and one freestanding shelf ($50) handle 80% of most garages.
What is the cheapest way to store bikes in a garage?
A wall mounted vertical hook runs about $8 per bike. Two bikes, $16, and 20 minutes on a Saturday morning floor space instantly recovered.
How do I organize a garage without drilling into walls?
Freestanding wire shelving units ($45–$70) require zero drilling and hold hundreds of pounds. Perfect for renters and you take them when you move.
How often should I reorganize my garage?
Ideally, four times a year one quick 45-minute reset per season. Tie it to natural transitions like swapping snow shovels for lawn equipment so it never feels like extra work.
Are overhead ceiling racks in garages actually safe?
Yes, but only when anchored into ceiling joists never drywall alone. Keep at least 6–8 inches of clearance above your car roof and always check the weight rating before loading.
Conclusion
Your garage doesn’t need a renovation it needs a decision. Pick one wall, one corner, or even one shelf and start there today. The difference between a garage that stresses you out every morning and one that actually works for your family is rarely money it’s just a few focused hours and a honest purge. Small changes stick, and once that first zone clicks into place, the rest follows naturally.
So tell me what’s the one spot in your garage that’s been driving you crazy the longest? Drop it in the comments, I’d love to help you tackle it first.