

You walk into a room, glance up, and there it is: that bumpy, dusty, decades old ceiling texture staring back at you like it never left the Carter administration. I get asked about popcorn ceilings more than almost anything else in my line of work, and honestly, the questions are always some version of the same three things: is it dangerous, can I do this myself, and what’s it going to cost me. I’ve walked homeowners through this project more times than I can count, from the easy scrape jobs to the painted over nightmares that tested everyone’s patience. So let’s talk through what actually works, what the internet gets wrong, and what I’d tell you if you were standing in my client’s kitchen right now, looking up at that ceiling with a scraper in your hand.
My Design Notes
I still think about a project I worked on for a young couple outside Kansas City who wanted a full Modern Farmhouse refresh, shiplap, black hardware, the whole look. We started with what seemed like a simple update: swap out the old dining room chandelier for something with more presence. The second we pulled that fixture down, I saw it. Popcorn ceiling, and not the easy kind either. Someone had painted over it, probably more than once, which meant our quick weekend job turned into three.
I remember standing on the ladder with my client, both of us just staring up at it, and she asked me the question everyone asks: do we really have to deal with this right now? My answer was yes, because once you see it, you can’t unsee it, and it would have fought against every other update we made in that house. We tested a sample before touching anything, confirmed it was clear, and got to work.
It took longer than either of us wanted, and I definitely lost a good pair of gloves to that project. But when we finally primed and painted that ceiling, the whole dining room felt taller, brighter, and finally ready for the rest of the design. That’s the thing about popcorn ceilings. They’re rarely just a ceiling problem.
Mastering the Popcorn Ceiling Removal Process for a Flawless Finish
1. What Is a Popcorn Ceiling Really?
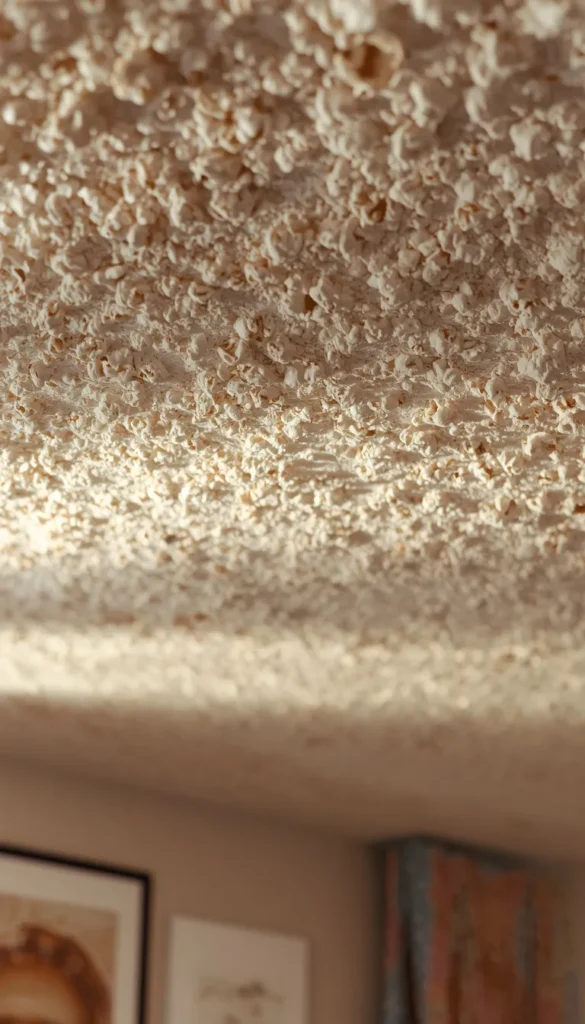
Popcorn ceiling goes by a few names depending on who you ask. Cottage cheese ceiling. Acoustic ceiling. Stucco ceiling. Whatever you call it, it’s that bumpy, sprayed on texture that took over American homes from the 1950s clear through the 1980s. Builders loved it because it was fast, it hid seams and imperfections in cheap drywall work, and it added a little sound dampening to boot. It was never really about beauty. It was about saving time and money on a job site, and homeowners just inherited the look.
2. The Honest Pros and Cons of Popcorn Ceilings
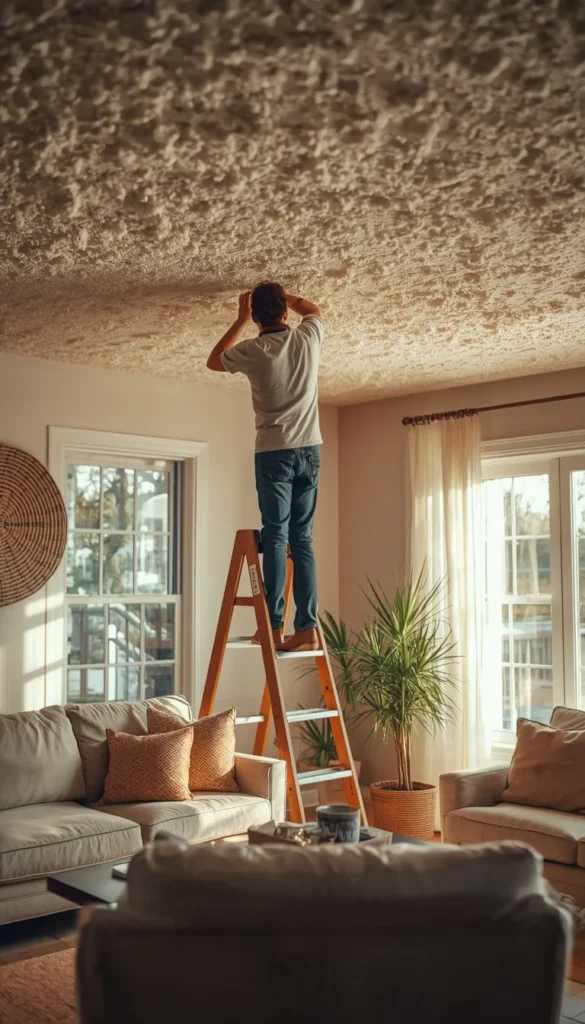
I’ll give credit where it’s due. Popcorn ceilings do a decent job absorbing sound, and they’re genuinely great at hiding minor cracks or uneven taping that would otherwise stick out on a smooth surface. But that’s about where the good news ends for most of my clients.
- They collect dust and cobwebs fast, and cleaning them is nearly impossible without damaging the texture
- Older versions may contain asbestos, which turns a cosmetic dislike into a real health consideration
- They read as dated to almost every buyer walking through an open house today
3. Popcorn Ceilings and Asbestos: What You Need to Know
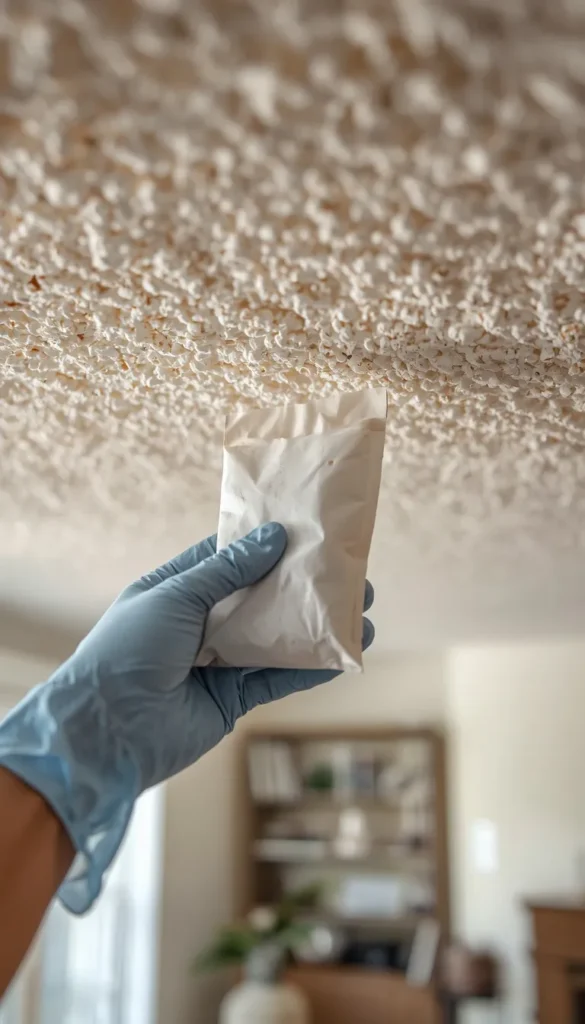
This is the part I never let clients skip, no matter how eager they are to grab a scraper. If your home was built before 1980, there’s a real chance the texture on your ceiling contains asbestos, and you won’t be able to tell just by looking at it. The safest move is sending a small sample to an accredited testing lab, which typically runs somewhere between 25 and 50 dollars. That’s a small price to pay for peace of mind before you start spraying water and scraping away at something over your head. If the test comes back positive, this stops being a weekend DIY project and becomes a job for a licensed asbestos abatement contractor, full stop.
4. DIY Removal vs Hiring a Pro: How to Decide
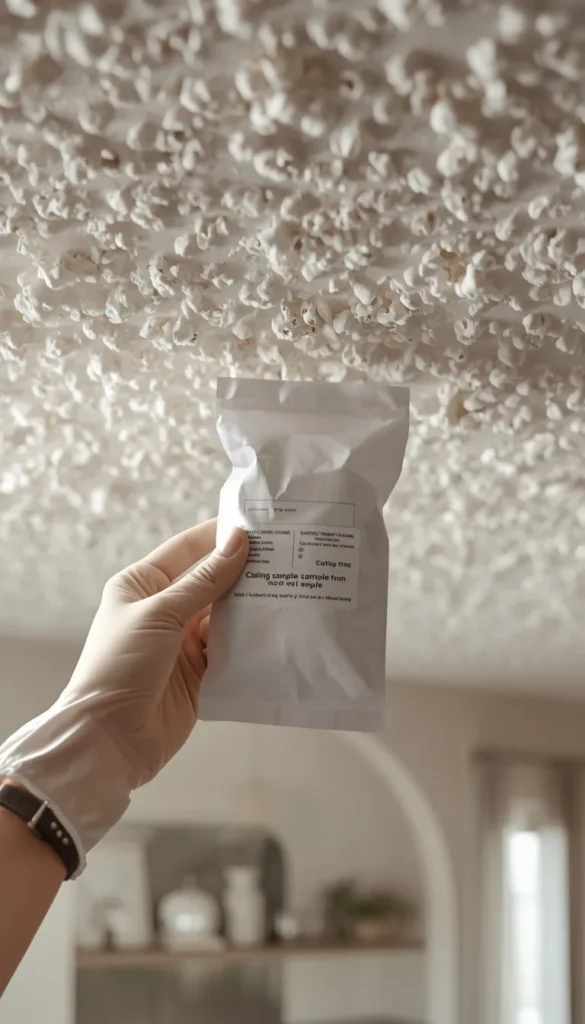
Once your ceiling is cleared for asbestos, the next question is whether you tackle this yourself or bring in help. I usually walk clients through three things before they decide: how much time they actually have on weekends, whether their ceiling has been painted over (which makes everything harder), and how comfortable they are with a genuinely messy few days. A single small bedroom is very doable on your own. A whole main floor with vaulted ceilings and multiple coats of old paint is a different story, and that’s usually when I recommend calling in a professional crew instead of burning three weekends and your patience.
Which room in your house has been hiding under popcorn the longest?
5. Popcorn Ceiling Removal Cost Breakdown
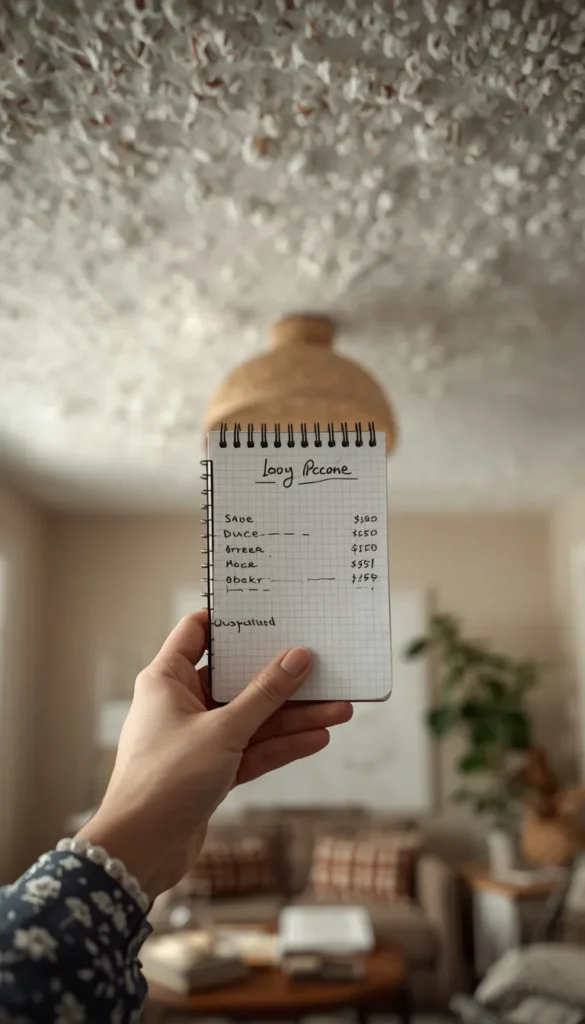
Let’s talk real numbers, because this is where most articles get vague. If you’re doing this yourself, you’re mostly paying for tools and materials, which usually lands somewhere between 100 and 250 dollars depending on room size and whether you already own a ladder and a shop vac. Hiring a professional crew is a different equation entirely, typically running anywhere from 1 to 3 dollars per square foot for straightforward scraping, and climbing higher if there’s asbestos abatement or extensive patching involved. A standard 12 by 12 bedroom might cost 150 to 400 dollars professionally, while a full main floor can easily run into the thousands. I always tell clients to get at least two quotes, because I’ve seen wildly different pricing for what is essentially the same job.
6. Tools You Actually Need
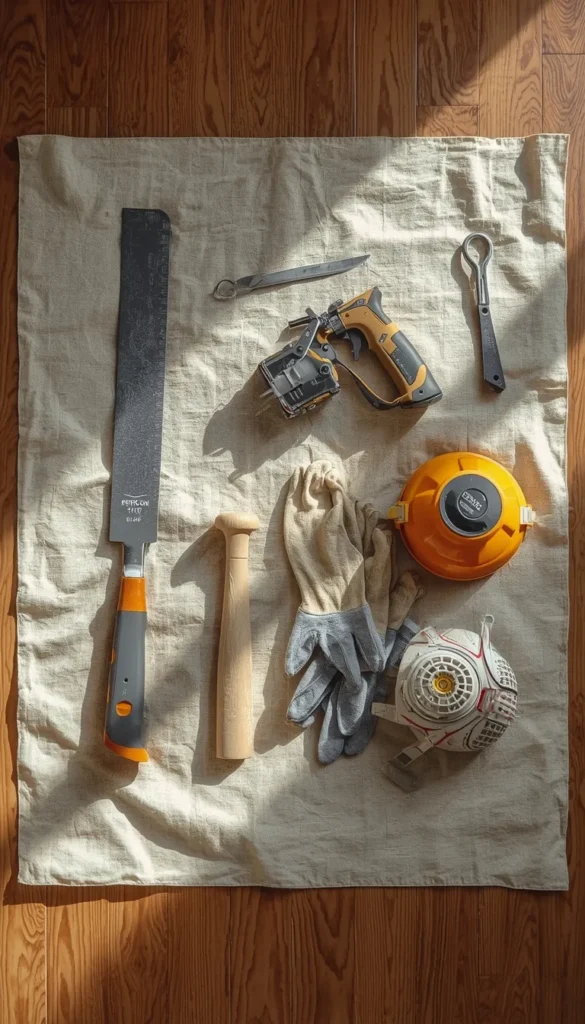
You don’t need a garage full of specialty equipment for this, and honestly, some of what gets marketed for popcorn removal is a waste of money. Here’s what actually earns its place in your toolkit.
- A wide, flexible taping knife or wall scraper, somewhere around 10 to 12 inches works best for most ceilings
- A pump sprayer for water, since a regular spray bottle will leave your arm aching before you finish one wall
- Plastic sheeting or drop cloths, plenty of them, along with a good respirator mask rated for fine particulates
One thing I’d skip is those bagged pole scrapers everyone raves about online. A few of my clients have tried them and found the bag fills up fast and gets awkward to manage, so a simple scraper and a steady rhythm usually wins out.
Top 6 popcorn ceiling complete guide to removal covering and painting ideas
| Idea | Estimated Price | Maintenance |
|---|---|---|
| DIY Popcorn Removal | 100 to 250 total | Low |
| Professional Removal | 1 to 3 per sq. ft. | Low |
| Asbestos Testing | 25 to 50 per sample | Low |
| Skim Coating Over Popcorn | 300 to 700 total | Medium |
| New Drywall Installation | 1.50 to 3.50 per sq. ft. | Low |
| Knockdown Texture Refinish | 400 to 900 total | Medium |
7. How to Prep a Room Before You Touch the Ceiling
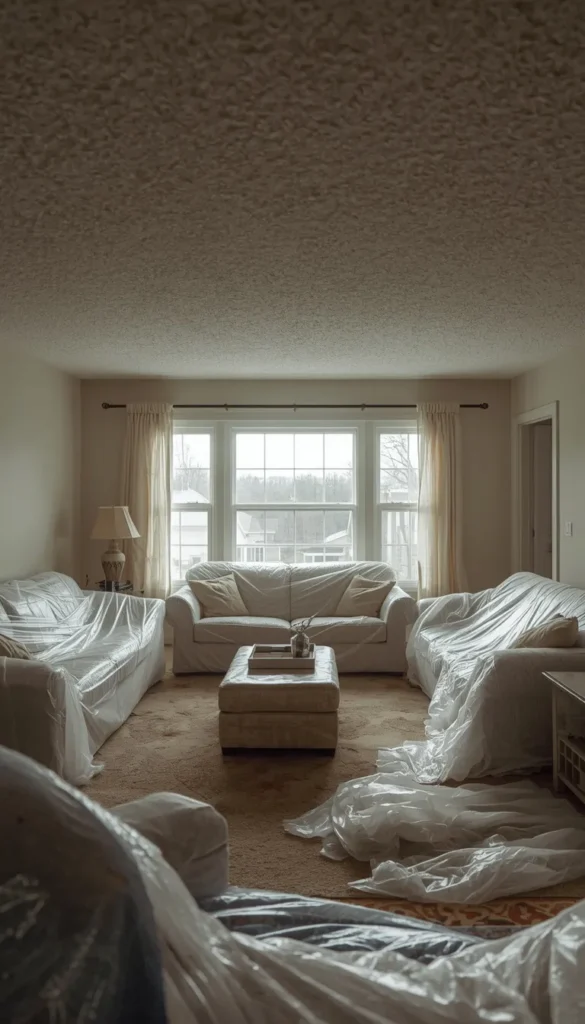
Prep work is where a lot of DIYers get impatient, and it’s exactly where I tell people to slow down instead. Move out everything you can, and for what’s left, cover it completely with plastic sheeting, taped at the edges so water doesn’t sneak underneath. Turn off power to the room and remove light fixtures, smoke detectors, and anything else mounted to that ceiling, because texture tends to hide underneath those fixtures and you’ll want a clean surface to work with. A little extra time here saves you hours of cleanup later, and trust me, wet popcorn residue ground into carpet fibers is not a fun Saturday afternoon.
8. How to Remove a Popcorn Ceiling
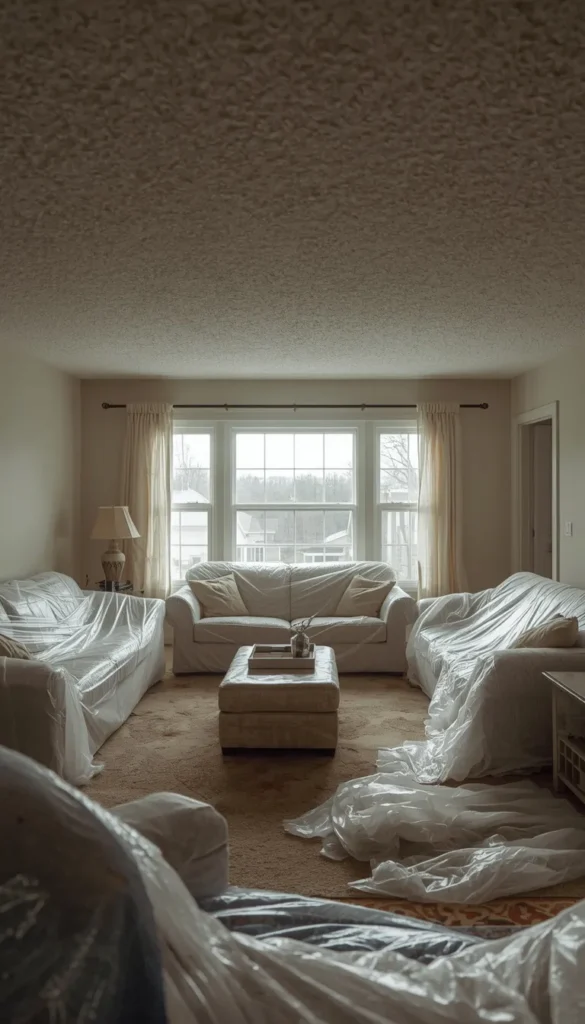
Once the room is prepped and you’ve confirmed there’s no asbestos, the actual process follows a rhythm that becomes second nature after the first hour or two.
- Spray a small section of ceiling with water and let it soak in for a few minutes so the texture softens
- Hold your scraper at a shallow angle and gently push along the surface, letting the material fall away in sheets rather than forcing it
- Work in that same rhythm across the room, spraying just ahead of where you’re scraping so you’re never waiting around
The texture should come off with moderate pressure once it’s properly soaked. If you’re fighting it or gouging the drywall underneath, that’s usually a sign the ceiling needs more water and a little more patience before you go back in with the scraper.
Have you ever actually checked your ceiling for asbestos, or has that step been sitting on your to-do list?
9. The Painted Popcorn Problem
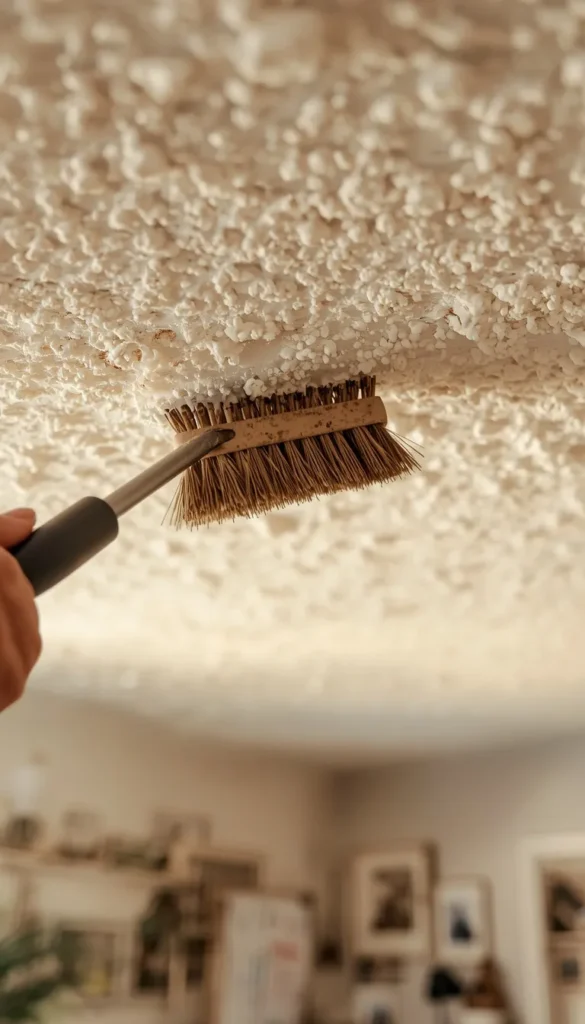
If your ceiling has been painted over at any point, and a lot of them have, you’re in for a tougher fight. Water struggles to soak through that painted layer to reach the texture underneath, which means the usual spray and scrape rhythm just doesn’t work the same way. A trick I’ve picked up from doing this more times than I’d like to admit is to lightly rough up the surface first, either with a wire brush or by scraping off the top layer of paint, before going back in with water. That gives the moisture somewhere to actually penetrate. It takes longer, and you’ll probably need two or three passes with the sprayer instead of one, so budget extra time if you know your ceiling has been painted.
10. How Long Does This Actually Take?

Everyone wants a timeline, and I get it, so here’s my honest answer based on what I’ve seen. A single small bedroom, unpainted popcorn, can realistically be done in a single afternoon once you’re prepped and moving. A larger living room or a ceiling that’s been painted over will often eat an entire weekend, sometimes two if you’re also patching and sanding before painting. Whole house projects tend to stretch across several weekends for most DIYers, simply because nobody has the stamina to scrape, sand, and paint an entire home’s worth of ceilings in one continuous push. Give yourself more time than you think you need, and you’ll enjoy the process a lot more than if you’re racing a deadline.
11. Common Mistakes That Wreck Your Drywall
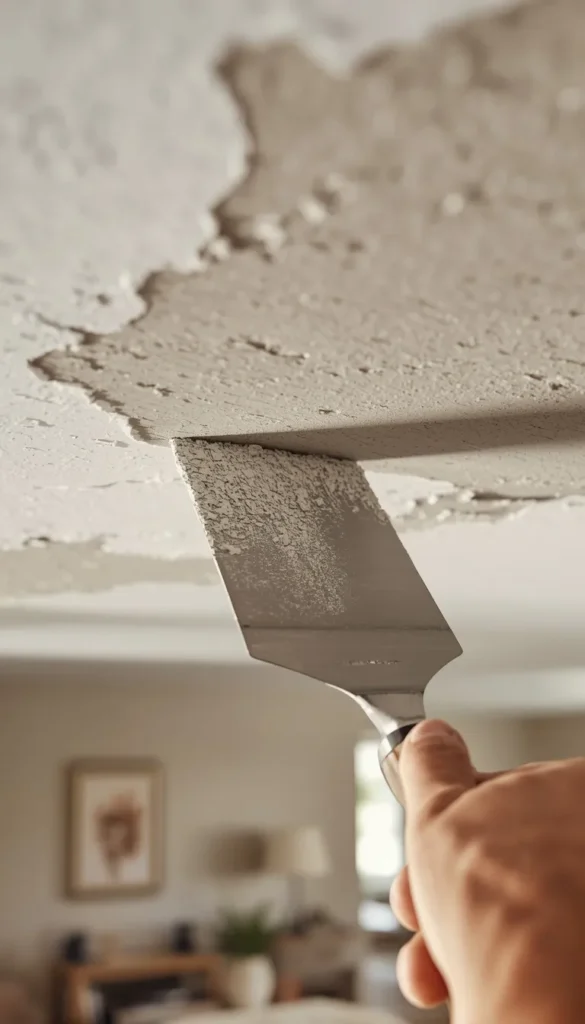
I’ve seen a lot of good intentions go sideways on this project, usually because of the same handful of mistakes.
- Scraping dry ceilings without enough water, which tears the paper facing right off the drywall underneath
- Pressing the scraper too flat against the surface instead of at a shallow angle, gouging into the board itself
- Skipping the sanding step after patching, which leaves visible ridges once you paint and prime
The good news is that most of these are easy to correct with a little joint compound and a light sanding pass, so don’t panic if you nick the drywall here and there. Just don’t ignore it, because paint has a way of making every imperfection more obvious, not less.
12. What to Do If You Find Plaster Instead of Drywall
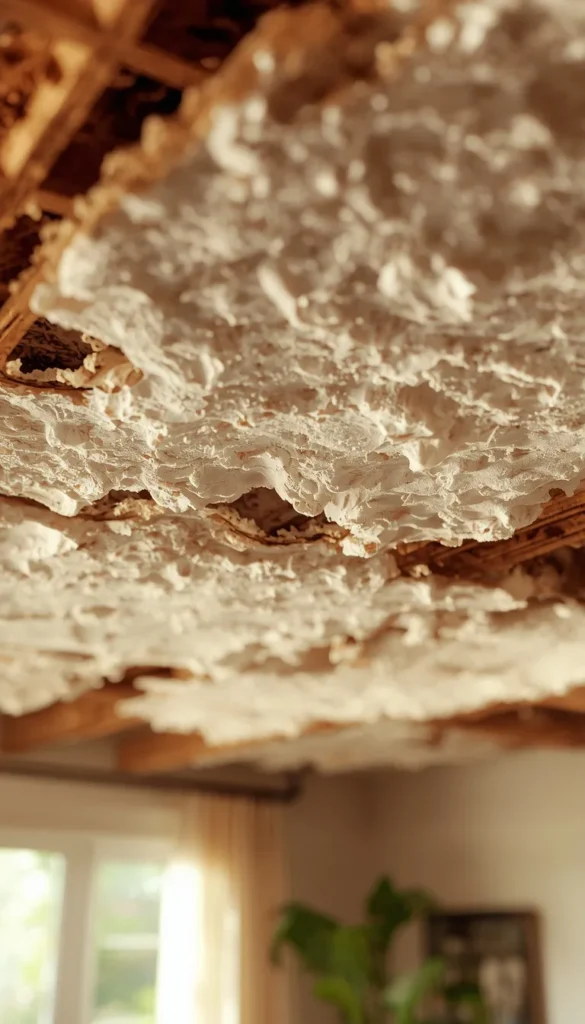
Older homes, especially anything built before the 1950s, sometimes have plaster ceilings underneath that popcorn texture rather than drywall. This changes your approach a bit. Plaster tends to be more forgiving with water than drywall, since it won’t tear the way paper facing does, but it can also crack or crumble if you get too aggressive with scraping. My advice is to go slower here, use a gentler touch, and lean more on a damp sponge for stubborn spots rather than forcing a scraper against it. If you notice the plaster itself starting to loosen from the lath behind it, that’s your cue to stop and bring in a plaster specialist rather than continuing on your own.
If you had to pick just one room to tackle this weekend, which one would it be?
13. My Final Take

After walking so many homeowners through this exact decision, my honest answer is almost always yes. A smooth ceiling changes a room in a way that’s hard to explain until you’ve stood in it. Rooms feel taller, light bounces differently, and suddenly all those other design choices you’ve been making, the paint color, the light fixtures, the furniture layout, actually get to shine the way they were meant to. It’s messy, it tests your patience, and if your ceiling was painted over more than once you might question your life choices somewhere around hour six. But every client I’ve worked with who pushed through has told me the same thing afterward. They wish they’d done it sooner.
Which Path Is Yours?
By Budget
- Starter/DIY: Small bedroom, unpainted popcorn, weekend warrior energy. Grab a scraper and a pump sprayer, budget under 250 total, and go at your own pace.
- Investment/Pro: Whole main floor, painted popcorn, vaulted ceilings, or anything testing positive for asbestos. Call in a licensed crew and treat it as a real line item in your renovation budget.
By Lifestyle
- Busy Families: Skip the multi weekend DIY grind. Hire out the job so your living spaces are back in action fast, and pick a smooth finish that’s easy to wipe clean later.
- Hands On Homeowners: This is your project. Test for asbestos first, then take it room by room on your own schedule, no rush required.
- Small Spaces: A single bathroom or bedroom is a perfect low risk DIY starting point before you commit to the whole house.
- Open Layouts: Large connected spaces with painted popcorn are best left to pros, since matching texture and finish across one continuous ceiling takes a practiced hand.
Frequently Asked Questions
Is it safe to remove a popcorn ceiling myself?
Yes, but only after you’ve confirmed there’s no asbestos. Once you get a clear test result, DIY removal is straightforward with the right gear and a little patience.
How much does it cost to remove a popcorn ceiling?
DIY runs about 100 to 250 dollars in materials. Professional removal typically costs 1 to 3 dollars per square foot depending on your ceiling’s condition.
Do all popcorn ceilings contain asbestos?
No, only ceilings installed before the early 1980s carry real risk. Testing is the only way to know for sure, and it’s cheap insurance either way.
Can you paint over a popcorn ceiling instead of removing it?
Yes, and it’s a solid option if removal feels too daunting right now. Just use a thick ceiling paint and expect to redo it eventually since texture traps dust fast.
How long does popcorn ceiling removal take?
A small bedroom takes an afternoon. A full house with painted popcorn can stretch across several weekends, so plan your timeline accordingly.
Conclusion
that popcorn ceiling has been staring down at you for years, and today’s the day you get to change that story. Your home is the one place you get to shape completely, and something as simple as a smooth ceiling can make every room underneath it feel new again. So grab your keys, head to the hardware store, and pick up a testing kit this weekend. That’s the whole first step, nothing more.
