
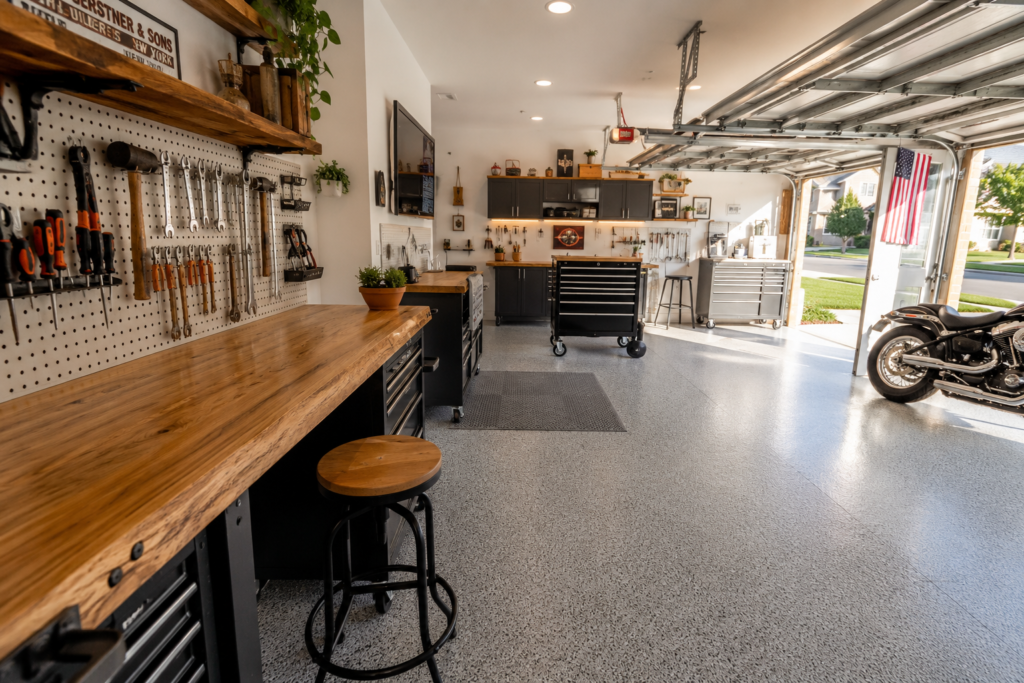
Most people treat their garage like a dumping ground. Tools piled in corners, extension cords tangled like spaghetti, and a workbench buried under last year’s holiday returns. Sound familiar? I’ve walked into hundreds of garages across the US, and I can tell you the ones that actually work aren’t bigger. They’re just smarter. This guide covers 15 garage shop ideas that will help you turn that chaotic space into a workspace you’re genuinely excited to walk into.
My Design Notes
When I was working on a garage renovation project in Seattle, the homeowner had a two-car space that felt impossibly cramped until we stripped it down to the studs and started thinking vertically. My biggest realization? We kept fixing the floor when the walls were the real estate. I remember a similar moment in a Phoenix shop where we mounted a full lumber rack overhead and suddenly the guy had his whole floor back. What I’ve learned across dozens of these projects is that the transformation isn’t about buying new stuff it’s about building smarter systems around the tools you already love. Every one of these 15 ideas comes from a real garage, a real mess, and a real person who just wanted a space that worked for them the way their tools were supposed to.
Garage Workshop Strategies That Serious Builders Swear By
1. Floor to Ceiling Pegboard Walls
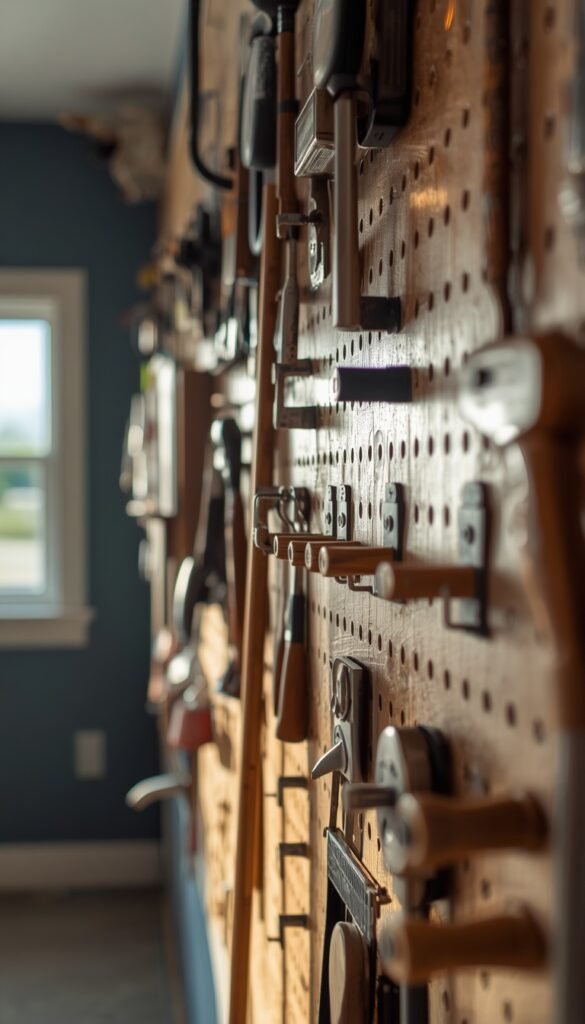
If there’s one upgrade that changes everything about how a garage feels, it’s this one. I’ve seen homeowners go from “I can never find anything” to “I know exactly where every tool is” within a single weekend just by mounting pegboard across one full wall. The magic isn’t the pegboard itself. It’s the visibility. When your tools are out in the open, arranged by how you actually use them, the whole shop starts to feel intentional.
A quick trick I’ve learned: don’t just hang tools randomly. Group them by task all your measuring tools together, all your fasteners nearby, all your cutting tools in one zone. Your hands will start reaching automatically.
- Use 1/4 tempered pegboard over the thinner stuff it holds heavier tools without bowing
- Leave 1 of air gap behind the board so hooks sit flush and swing freely
- Paint the wall behind it a contrasting color; it makes finding tools genuinely faster
2. Overhead Storage Systems
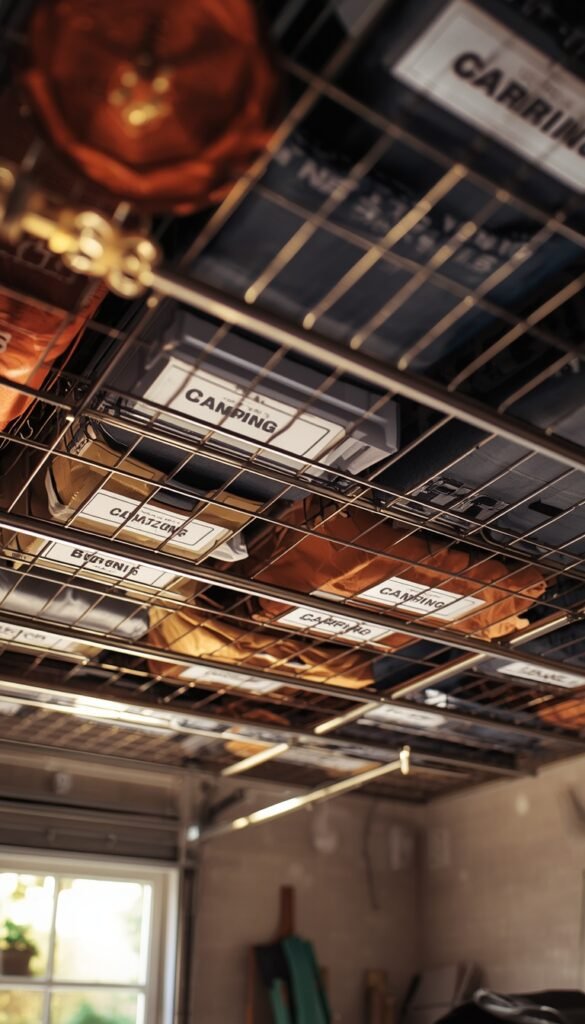
Most people never look up in their garage and that’s exactly why the ceiling is the most underused real estate in the entire space. I was working with a family in Columbus who had bikes, holiday bins, and camping gear eating up half their floor. We mounted a simple ceiling platform system, and within a day, they had their two-car garage actually fitting two cars again.
The ceiling zone is best reserved for things you reach maybe once a month seasonal decorations, luggage, roof racks, that kind of thing. Pulley-lift systems make retrieval effortless even for heavy loads, and fixed grid platforms with wire decking give you a clean, visible storage layer overhead without permanent construction.
3. French Cleat Wall System
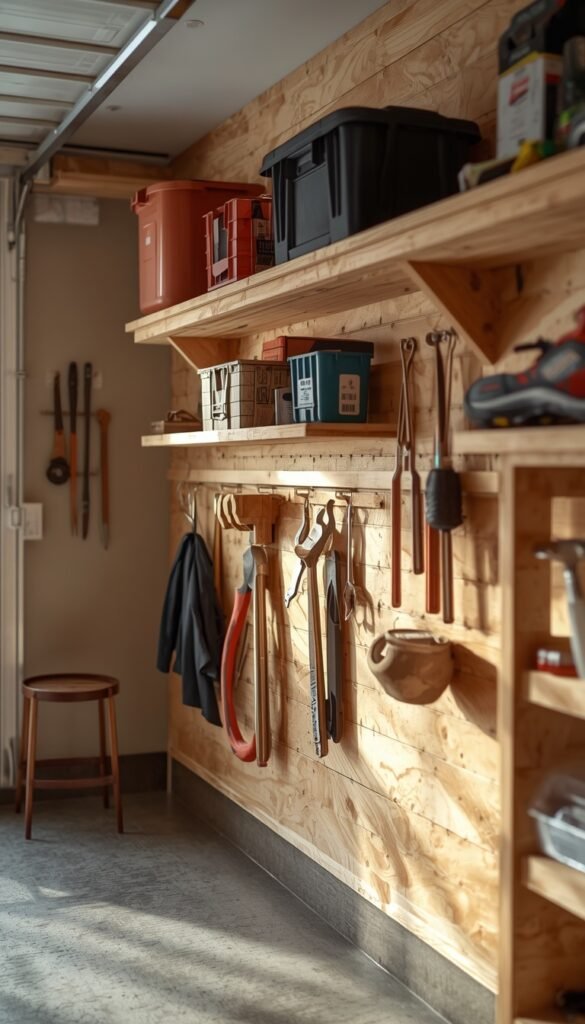
This is the one I recommend to almost every serious hobbyist, and it never gets old. A French cleat wall is just strips of plywood cut at a 45-degree angle, mounted horizontally across a wall but what you can do with it is endlessly flexible. Hooks, shelves, bins, tool holders, even small cabinets all click in and out without a single new hole. One thing to watch out for is cutting the cleats too narrow go at least 3/4″ thick plywood so the system can handle real weight without flexing.
What makes it feel genuinely special is the modularity. As your shop evolves, your wall evolves with it. Nothing is permanent. Nothing is wasted.
4. Rolling Tool Carts
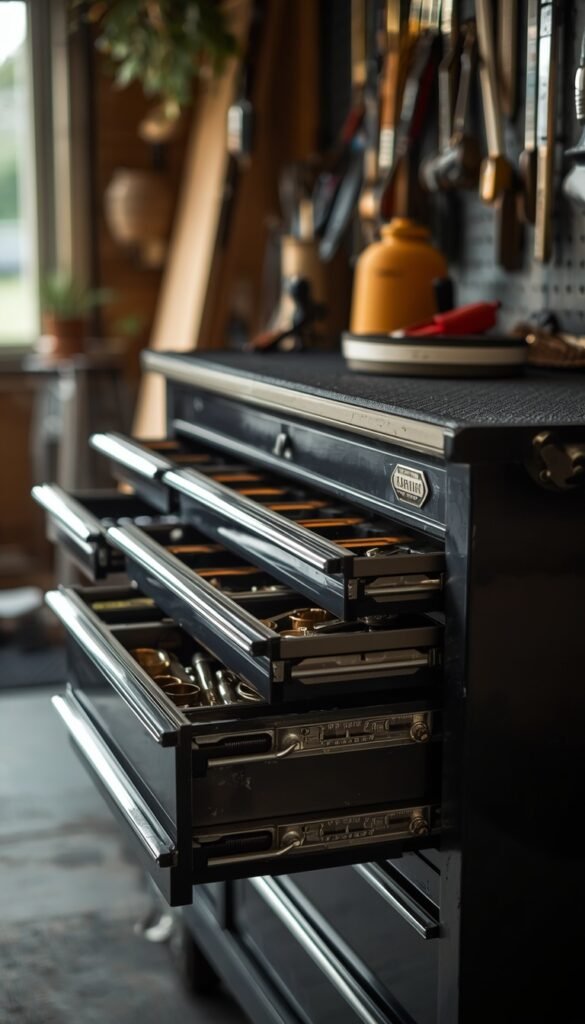
There’s a version of this upgrade that feels almost embarrassingly simple until you try it. A good rolling tool chest with a locking top puts your most-used tools exactly where the work is happening, not across the room where you left them. I spent years watching people walk back and forth in their shops, burning energy on retrieval instead of building.
A mid-range 5-drawer chest on casters handles most home shops beautifully. Look for:
- Ball-bearing drawer slides they matter more than drawer count
- A solid rubber work surface on top (or add one yourself)
- Casters with individual locks so the cart stays put when you need it to
Is your biggest problem finding tools, or storing them?
5. Built-In Hardwood Workbench
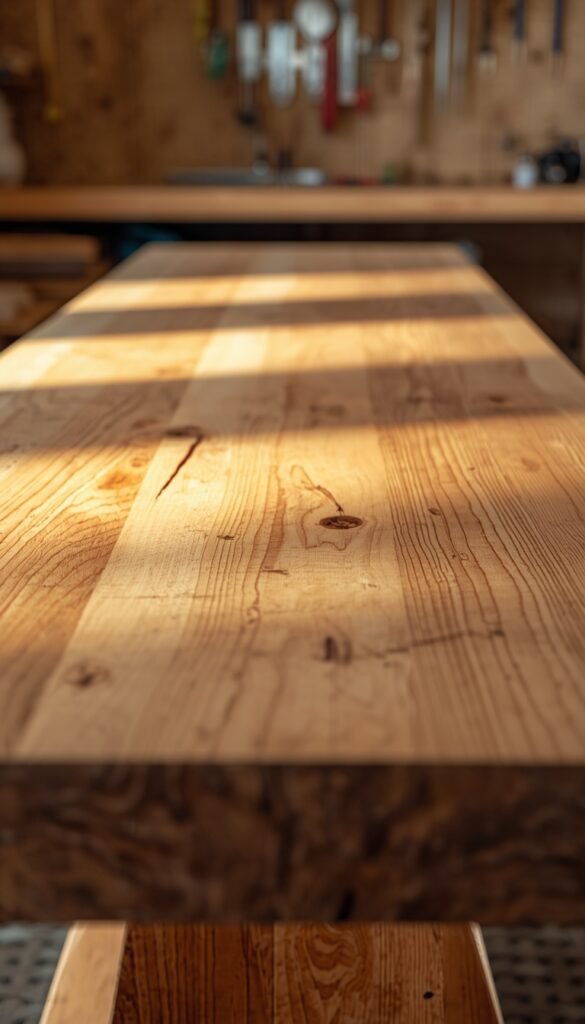
There’s something almost emotional about a well-built workbench. It sounds dramatic, I know but ask anyone who’s spent years hunching over a wobbly folding table and then finally built themselves a proper bench. The difference isn’t just physical comfort. It’s the signal it sends to your brain: this is a real shop, and I’m a real builder.
The height is everything. A bench built to your exact knuckle height measure with your arms relaxed at your sides means you can work for hours without your back screaming. Hardwood tops like maple or beech take abuse beautifully and can be planed flat again when they get too chewed up to work on cleanly.
6. Fold-Down Wall Workstation
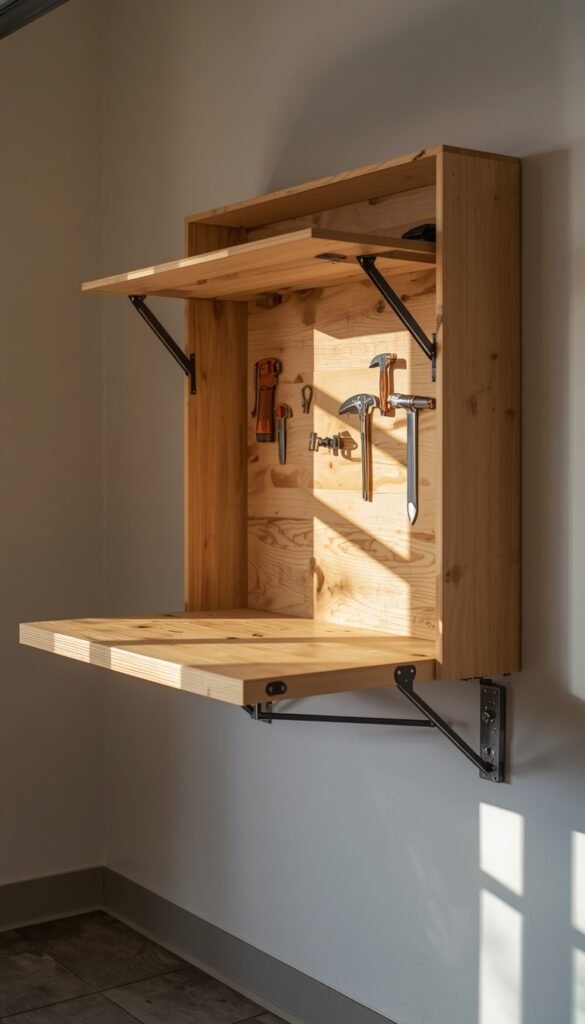
For anyone working with a one-car garage or a shared space, this idea is genuinely life-changing. A Murphy-style fold-down bench mounts flush to the wall and drops into position only when you need it. When the car comes home, the bench goes up and your floor disappears back into usable space.
A quick trick I’ve learned here: add a shallow cabinet behind the bench surface so your most-used small tools stay mounted on the wall even when the bench is folded. You’re not just saving space you’re building a system that’s ready the moment you are.
Top 6 Garage Shop Ideas to Maximize Your Workspace Ideas
| Idea | Estimated Price | Maintenance |
|---|---|---|
| Pegboard Wall | $100 – $300 | Low |
| Overhead Storage System | $200 – $600 | Low |
| French Cleat Wall | $150 – $400 | Low |
| Rolling Tool Cart | $250 – $800 | Medium |
| LED Shop Light Grid | $150 – $500 | Low |
| Epoxy-Coated Floor | $3 – $12 per sq. ft. | Medium |
7. Dedicated Assembly Table
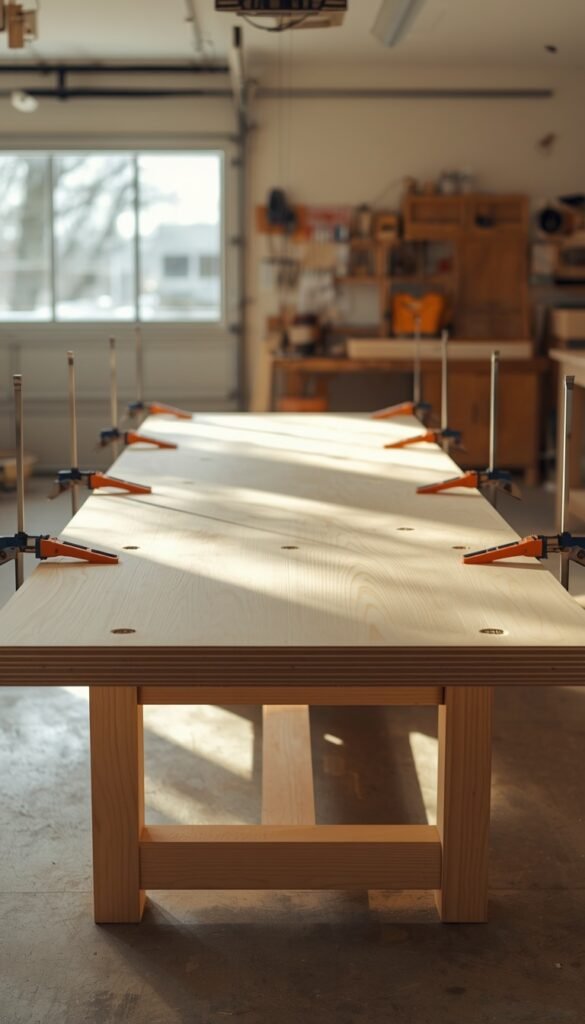
Most builders make the mistake of treating their workbench as both a build surface and a storage shelf. Things pile up, project space shrinks, frustration builds. A separate assembly table even a modest 4×4 sheet of torsion-box plywood on sawhorses changes the whole dynamic of how a project flows.
Keep this surface ruthlessly clear. Nothing lives on it permanently:
- Use it for dry-fitting, glue-ups, and final assembly only
- Mount a few holdfasts or clamps along the edges for securing work
- Set it at a slightly lower height than your main bench hip-level is ideal for assembly work where you’re leaning in
One thing to watch out for is building the table too tall. Most assembly work benefits from a lower surface where you can apply downward pressure naturally without straining your shoulders.
8. Ceiling-Drop Outlet Strips
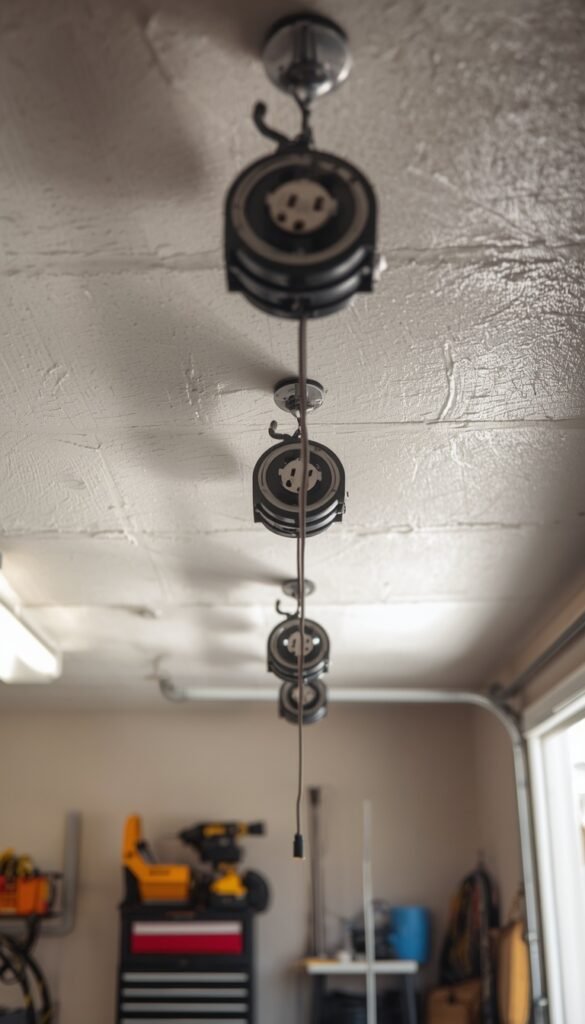
Extension cords on the floor are one of those things you tolerate for years until you trip on one mid-project and send something expensive flying. Ceiling-mounted outlet strips either fixed or on retractable reels bring power down exactly where your tools are, and the cord goes straight up instead of snaking across the ground.
I helped a woodworker in Nashville install four retractable reels evenly spaced across his shop ceiling, and he told me afterward it was the single upgrade he wished he’d done first. The floor felt twice as large overnight. The cords vanished. The whole shop felt safer and more professional not because anything changed structurally, but because the chaos was gone.
9. LED Shop Light Grid
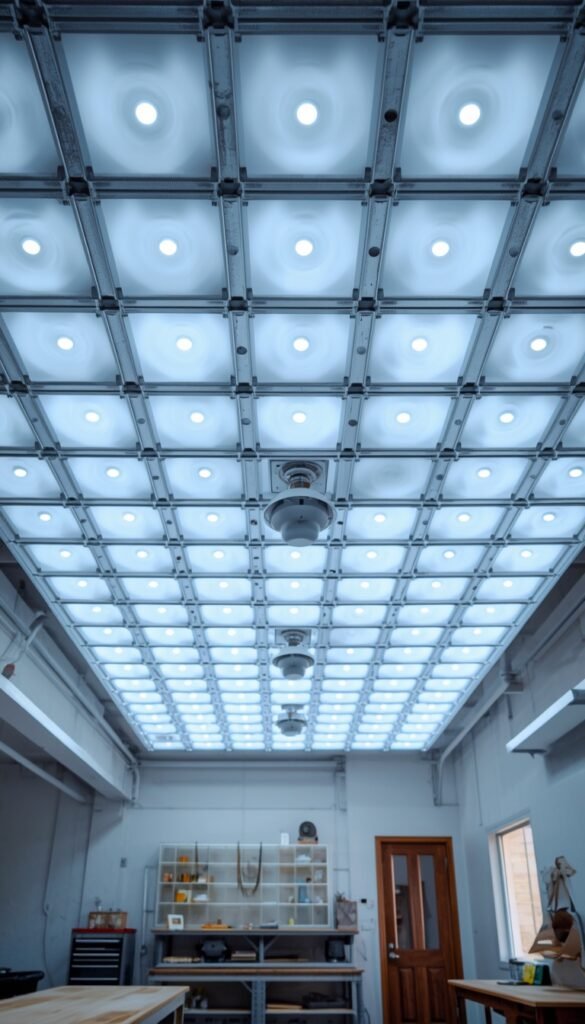
Bad lighting is one of those problems that hides in plain sight you adapt to it so gradually that you forget what you’re missing. I walked into a shop in Portland once where the guy was convinced his staining work was perfect, right up until he carried a cabinet outside and saw it in daylight. One warm, dim bulb overhead had been lying to him for years.
A grid of linked 5000K LED shop lights changes everything. Cool white light reveals grain, catches tear-out, exposes gaps in joinery that warmer bulbs simply swallow. String them in rows across the ceiling and link them so a single switch controls the whole grid. Your shop will feel bigger, cleaner, and honestly more motivating to spend time in.
Are you working with a one-car garage or a two-car space?
10. Dedicated 240V Circuit
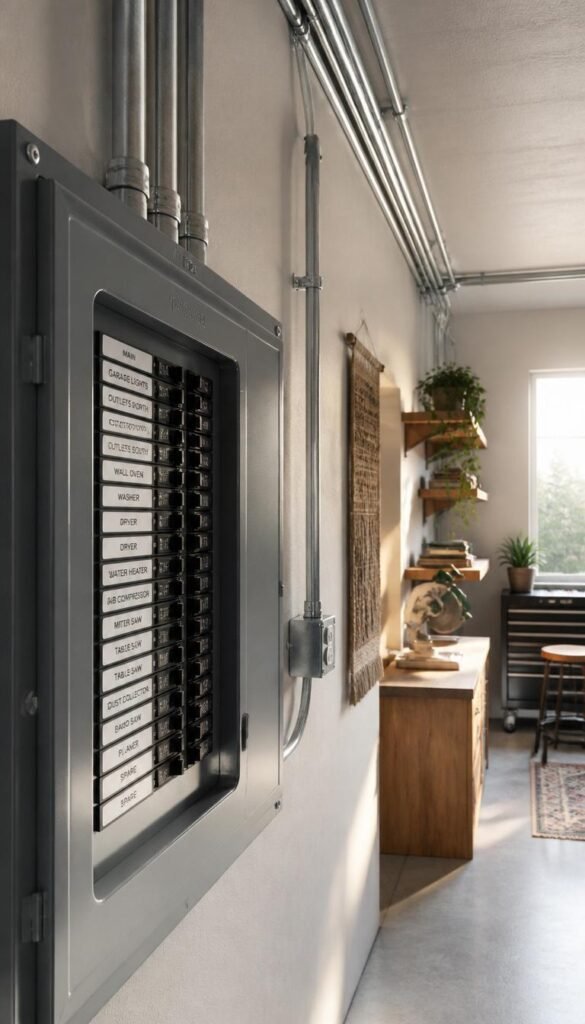
This one feels like an electrician’s errand until you actually need it and then it feels like the most obvious thing in the world. Table saws, dust collectors, air compressors, and lathes all perform better, run cooler, and last longer on a dedicated 240V circuit. Running them on shared 120V lines means you’re constantly flirting with tripped breakers, voltage drops, and motors working harder than they should.
A quick trick I’ve learned: while the electrician is already in your panel, add an extra circuit or two beyond what you need right now. Rough-in the outlets even if the tools aren’t there yet:
- One dedicated circuit per major stationary tool is the gold standard
- Label every breaker clearly future you will be grateful
- Plan conduit runs along the ceiling perimeter so adding drops later stays clean and simple
The upfront cost feels steep. The long-term payoff in tool life and uninterrupted workflow is absolutely worth it.
11. Dust Collection System
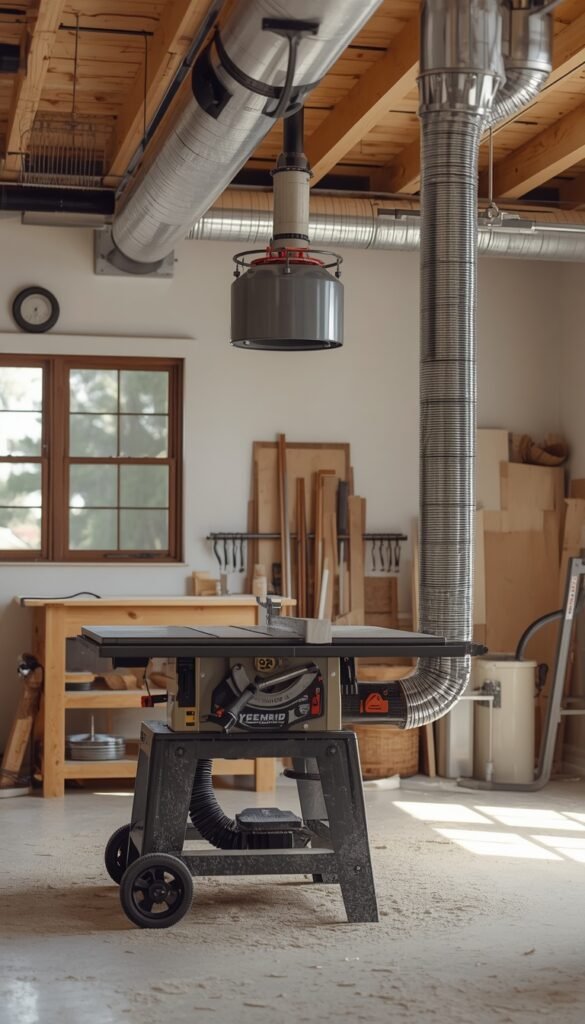
Sawdust is sneaky. It settles on everything, gets into finishes, coats your lungs, and covers the floor in a fine layer that becomes genuinely slippery underfoot. I’ve seen gorgeous shops that were borderline hazardous just because dust collection was an afterthought. A central collector with 4″ flex lines dropping to each stationary tool is the upgrade that keeps every other upgrade cleaner, longer.
One thing to watch out for is undersizing the collector for your space. A single-stage unit works fine for one or two tools, but if you’re running a tablesaw, jointer, and planer regularly, step up to a two-stage system that separates the heavy chips before they hit the filter. Your filters last longer, your suction stays stronger, and cleanup goes from a chore to almost nothing.
12. Mini-Split Climate Control
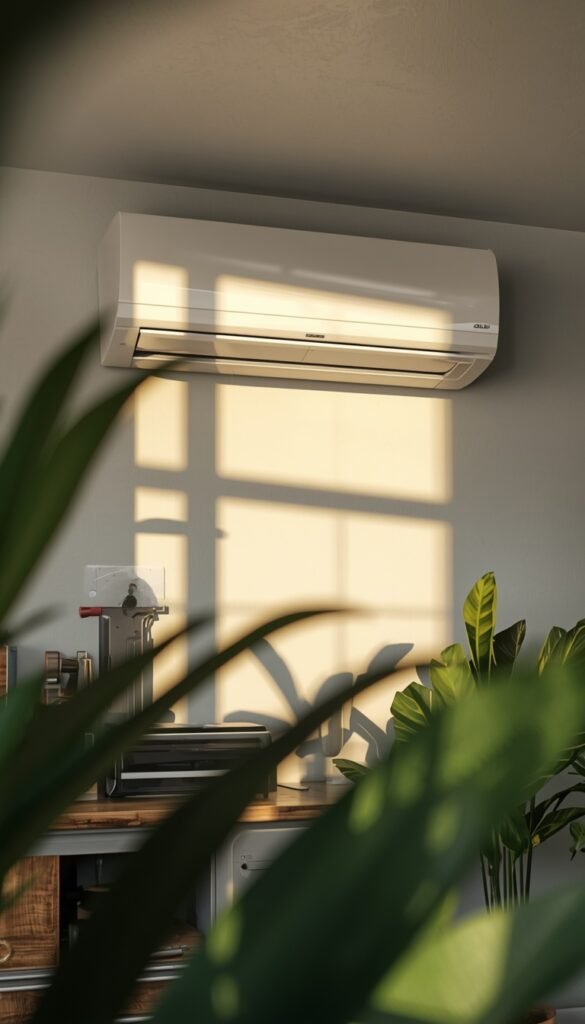
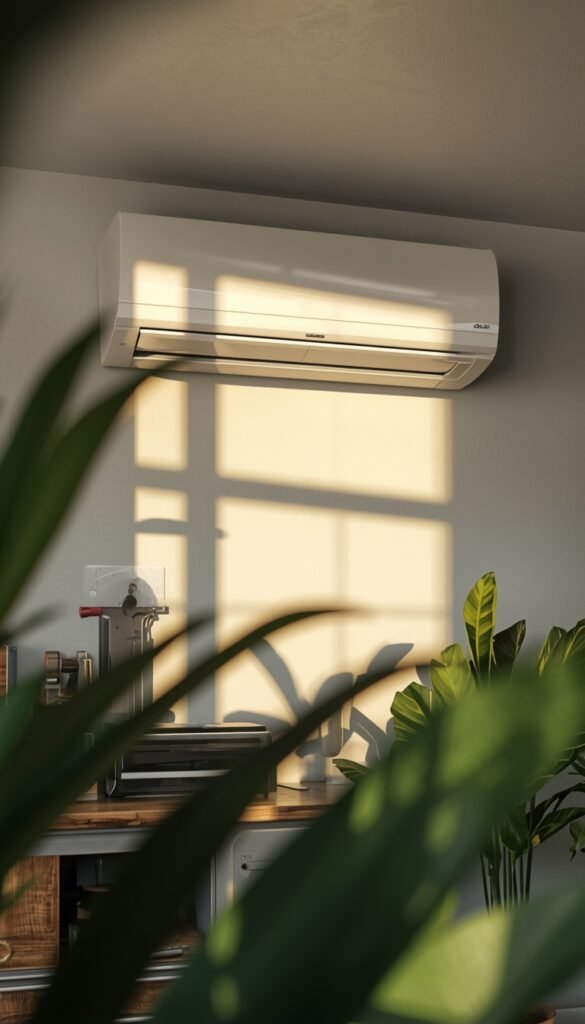
Here’s an honest truth about garage shops that nobody talks about enough: if the space is miserable to be in, you won’t use it. A sweltering August afternoon or a freezing January morning isn’t just uncomfortable it’s the reason half-finished projects stay half-finished for months.
A mini-split heat pump handles both heating and cooling efficiently without eating floor space or ceiling clearance the way portable units do. They’re whisper-quiet, which matters more than you’d think when you’re doing detailed hand work and don’t want engine noise in the background. Installation runs a half-day for most single-zone setups:
- Size for the cubic footage of your space, not just square footage ceiling height matters
- Mount the head unit high on a wall away from sawdust-generating tools
- Add a programmable schedule so the shop is already at temperature when you walk in
There’s a real lifestyle shift that happens when your shop is comfortable year-round. You start going out there just to think, not just to build.
What’s holding you back most budget, time, or knowing where to start?
13. Epoxy-Coated Floor
The floor is the last thing most people think about and the first thing you notice in a shop that feels genuinely professional. There’s a reason every high-end garage you’ve ever admired has a sealed floor it pulls the whole space together the way a good rug anchors a living room. I remember walking into a shop in Austin that had mid-range tools, basic shelving, nothing fancy but that glossy flake epoxy floor made the entire space feel like somewhere you’d want to spend a Saturday.
Beyond aesthetics, a sealed floor is simply easier to live with. Oil drips wipe up instead of soaking in. Sawdust sweeps cleanly instead of grinding into concrete pores. Rolling tools and carts across a smooth surface takes a fraction of the effort. A quick trick I’ve learned: add anti-fatigue zones with rubber matting in front of your workbench and stationary tools the epoxy looks great everywhere else, but your joints will thank you for the cushion where you actually stand for hours.
14. Built-In Audio and Charging Station
This one doesn’t make every “serious workshop” list, and I think that’s a mistake. A shop you genuinely enjoy being in is a shop you’ll actually use and good sound is one of the simplest ways to make a space feel alive. I’ve watched people transform their relationship with long, tedious project phases sanding, finishing, waiting for glue to cure just by having music that fills the room properly instead of tinny phone speakers competing with tool noise.
Wall-mounted speakers wired to a simple amplifier give you clean, room-filling sound without taking up bench or floor space. Pair that with a dedicated charging station for your cordless battery ecosystem:
- Mount a simple wood shelf with individual battery bays labeled by tool brand
- Add a power strip with USB-A and USB-C ports for phones, tablets, and LED work lights
- Keep it near the entrance so batteries are always charged and ready before you start
One thing to watch out for is placing speakers near dust-generating tools fine particles work their way into tweeters over time. High on the wall, behind the main work zones, is the sweet spot.
15. Zone-Based Layout Plan
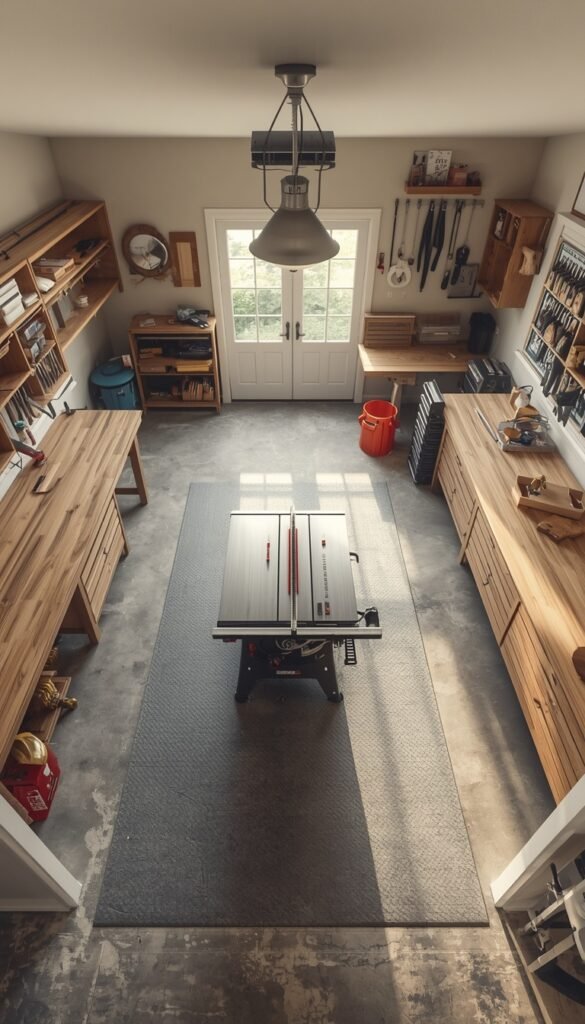
Every idea in this guide works better when it lives inside a thoughtful zone plan and this is really where everything comes together. A zone-based layout isn’t about perfection or having a massive space. It’s about assigning every activity its own territory so that tools, materials, and workflow stop competing with each other for the same square footage.
Think of your garage the way a professional kitchen thinks about its stations. There’s a cutting zone anchored by your tablesaw or miter saw, with clearance on both sides for long stock. There’s an assembly zone with your workbench and that dedicated assembly table. A finishing zone ideally near a window or vent stays separated from dust-generating work. Storage zones live along the walls, not in the middle of the floor. And the clean zone near the door, where you transition in and out, stays clear of project mess by design.
What I find most beautiful about this approach is how it quietly changes your behavior without you having to think about it. When the zones are right, you just move through the space naturally picking up where you left off, finding what you need, finishing what you started. The garage stops feeling like a place where projects go to stall, and starts feeling like a place where things actually get made.
The 2-Minute Workshop Decision Map
By Budget
Weekend Builder (Under $500)
- Start with pegboard walls biggest visual and functional impact per dollar
- Add a French cleat system for zero-waste, rearrangeable storage
- Grab a mid-range rolling cart with ball-bearing slides
- Seal the floor yourself with a DIY epoxy kit ($3–$5/sq. ft.)
Serious Investor ($500 and Beyond)
- Built-in hardwood workbench custom-cut to your height
- Central dust collection system with ceiling-drop flex lines
- Mini-split climate control for year-round comfort
- Professional epoxy floor with anti-fatigue zones ($8–$12/sq. ft.)
By Lifestyle
Shared Family Garage
- Fold-down wall workstation reclaims floor space when shop mode is off
- Overhead ceiling platforms for bikes, bins, and seasonal gear
- Rolling carts that tuck away rather than permanent benching
- Zone-based layout so kids’ stuff and tools never compete
Dedicated Shop Enthusiast
- Dedicate full walls to French cleats and pegboard systems
- Invest in a 240V circuit before buying your next big tool
- Build separate zones: cutting, assembly, finishing no overlap
- Add built-in audio and a battery charging station for long sessions
Frequently Asked Questions
How much does it cost to set up a garage workshop from scratch?
The average cost runs $1,000 – $5,000 depending on how deep you go. Basic pegboard, a workbench, and lighting can come in under $800. A full build with epoxy floors, dust collection, and climate control pushes $3,000+.
What’s the best first upgrade for a messy garage shop?
Pegboard walls hands down. One weekend, under $300, and suddenly every tool has a home you can actually see.
Do I need a permit to add outlets or a 240V circuit in my garage?
Yes, in most US counties you do. Electrical work beyond simple fixture swaps typically requires a permit and inspection. Hire a licensed electrician it protects your homeowner’s insurance too.
How do I maximize storage in a small one-car garage?
Go vertical immediately. French cleats, ceiling platforms, and a fold-down workbench reclaim floor space without shrinking your usable square footage. The floor is the last place to store anything.
Is epoxy flooring worth it for a home garage shop?
Yes, but prep work determines everything. A properly etched and primed concrete floor holds epoxy for 10+ years. Skip the prep and it peels within months most DIY failures come from rushing that first step
Conclusion
Your dream shop isn’t waiting on a bigger budget or a better garage it’s waiting on a first decision. Pick one idea from this list, order the supplies, and do something this weekend, even if it’s just clearing one wall or mounting three hooks. I’ve watched that single move turn into a complete transformation more times than I can count.
Your garage is part of your home, and your home should work for you not against you. A space you’re genuinely excited to walk into changes how you spend your time, what you finish, and honestly, how you feel at the end of a Saturday
